Before we begin
Share your results if you want to brag and your findings in the comments if you want them to be added to the guide. Same if you have any questions. Also your preferred username be it discord tag or soulkyn tag so you can get a proper mention.
You can find me on discord as @irisyum or Tuna on the discord server. I also appear as Fuka on soulkyn.
This guide is possible thanks to the cumulative research of Dex, MarinaX, Froyst, me and old version was sponsored by Eris.
Lettuce begin
This guide has two main ideas behind it:
- Teaching you to stylize the looks of your kyn in image generation.
- Teaching you to stylize the looks of your kyn in picturize.
Soulkyn has many different ways that you can present your kyns with. Images, Blogs, Videos, now even custom landing pages. With that of course you would want your waifu or husbando to look the best it can. To define the basic looks for your kyn we use
- Physical Tags - Thats where we can define the physical looks as well as style for picturize
- Background/Location Tags - This gives the basic guidance on the setting of the first message but is instantly disregarded when prompting so in introduction or Background.
- Clothing Tags - Defines clothing at the start of the chat, changes over time when chatting.
Location/Background and Clothing play a bigger role however during image generation outside of the chat. That is where you can experiment with default image gen of your character by adding stylized prompts. More on that in this tutorial.
Additionally we can use loras to help us change the artstyles.
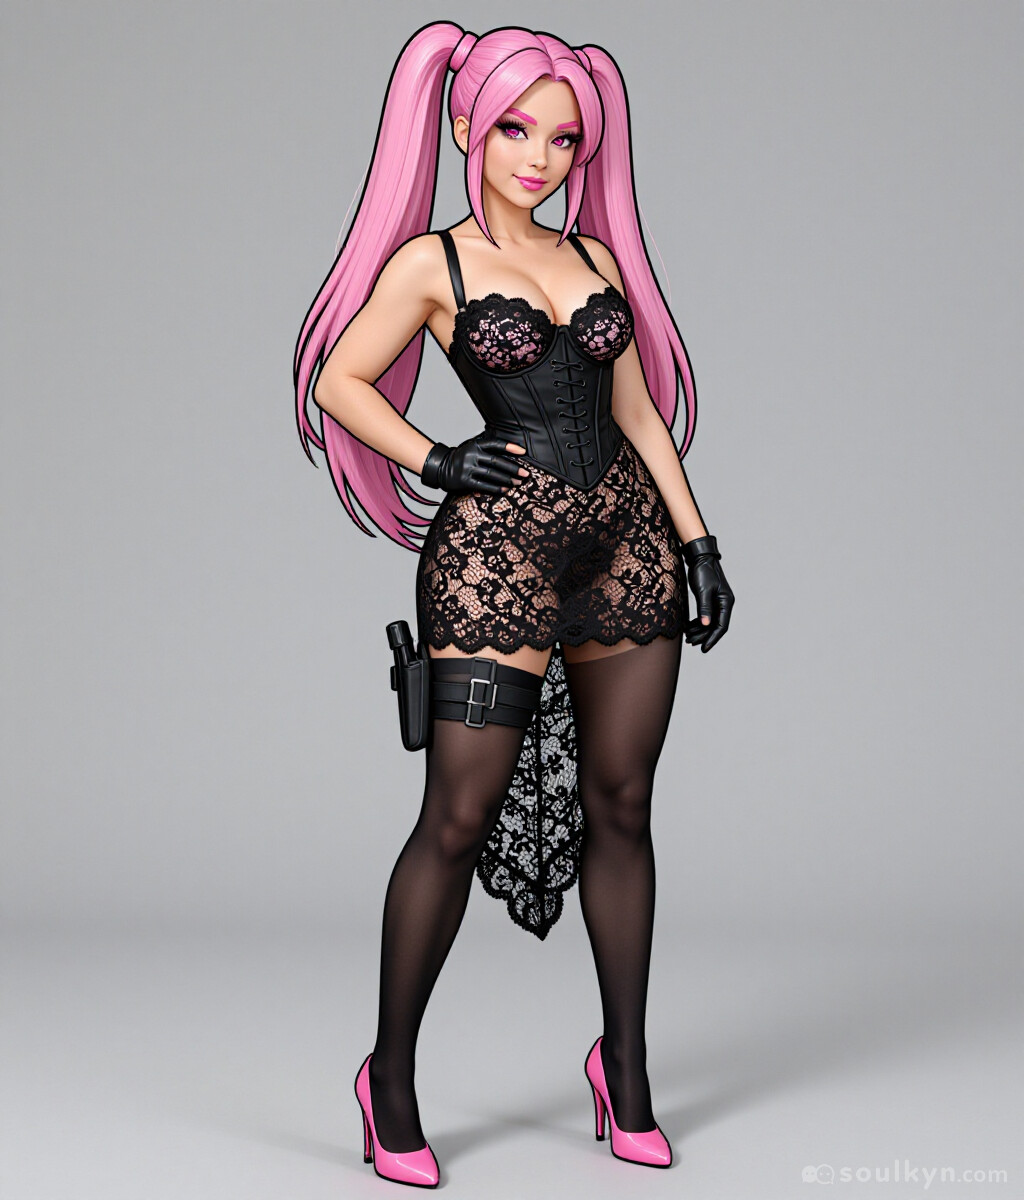
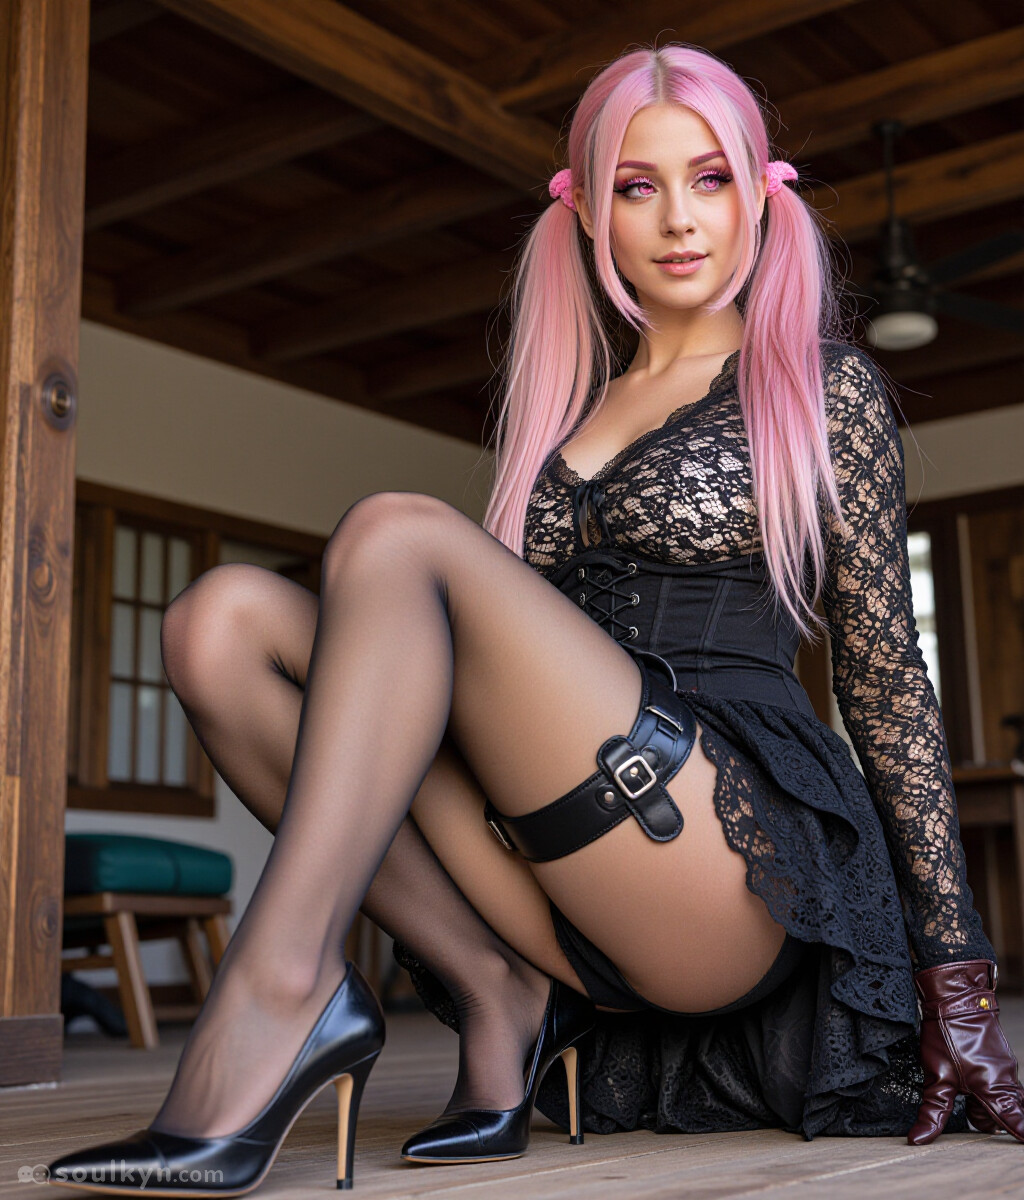
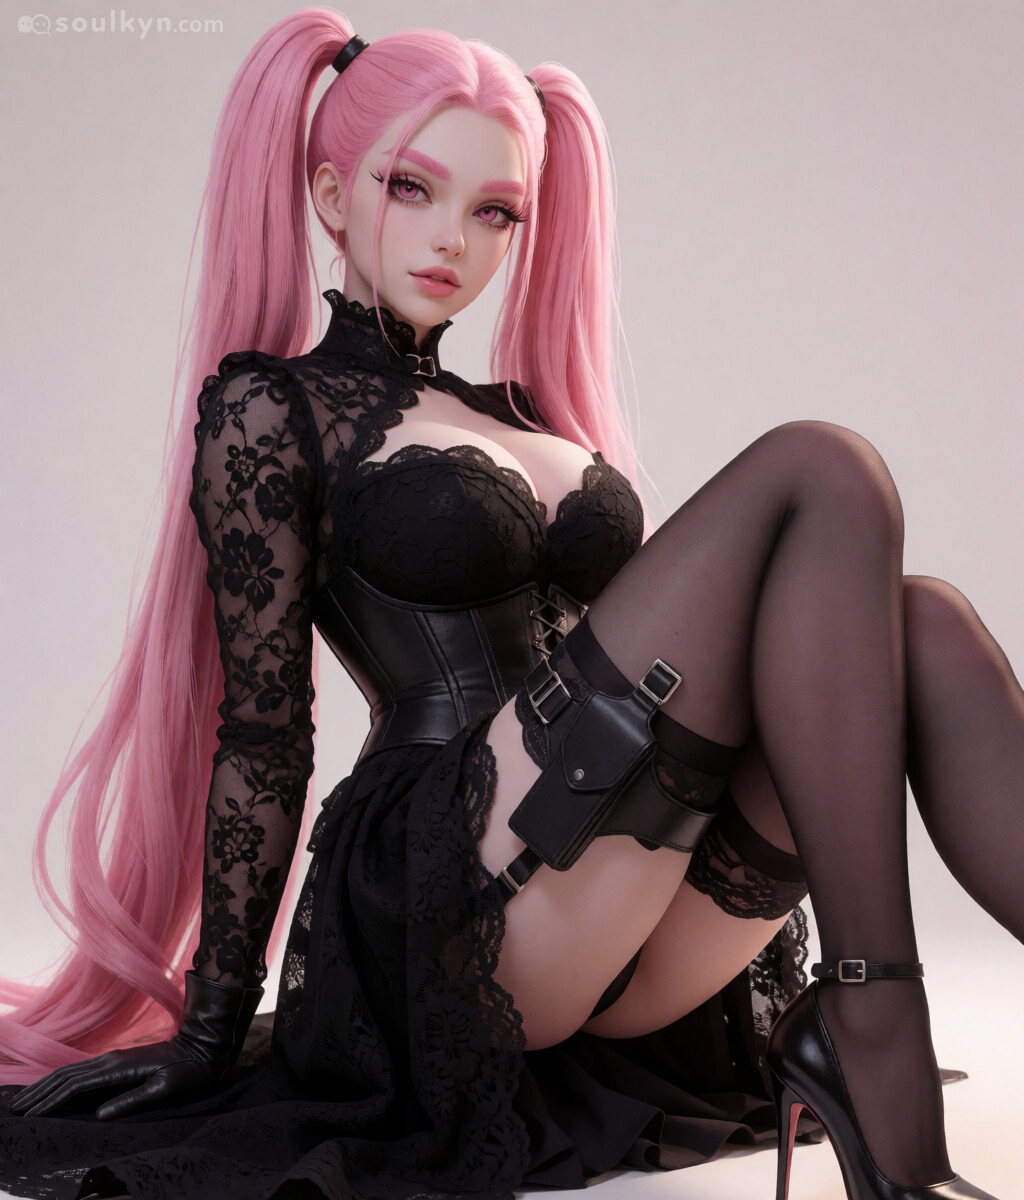
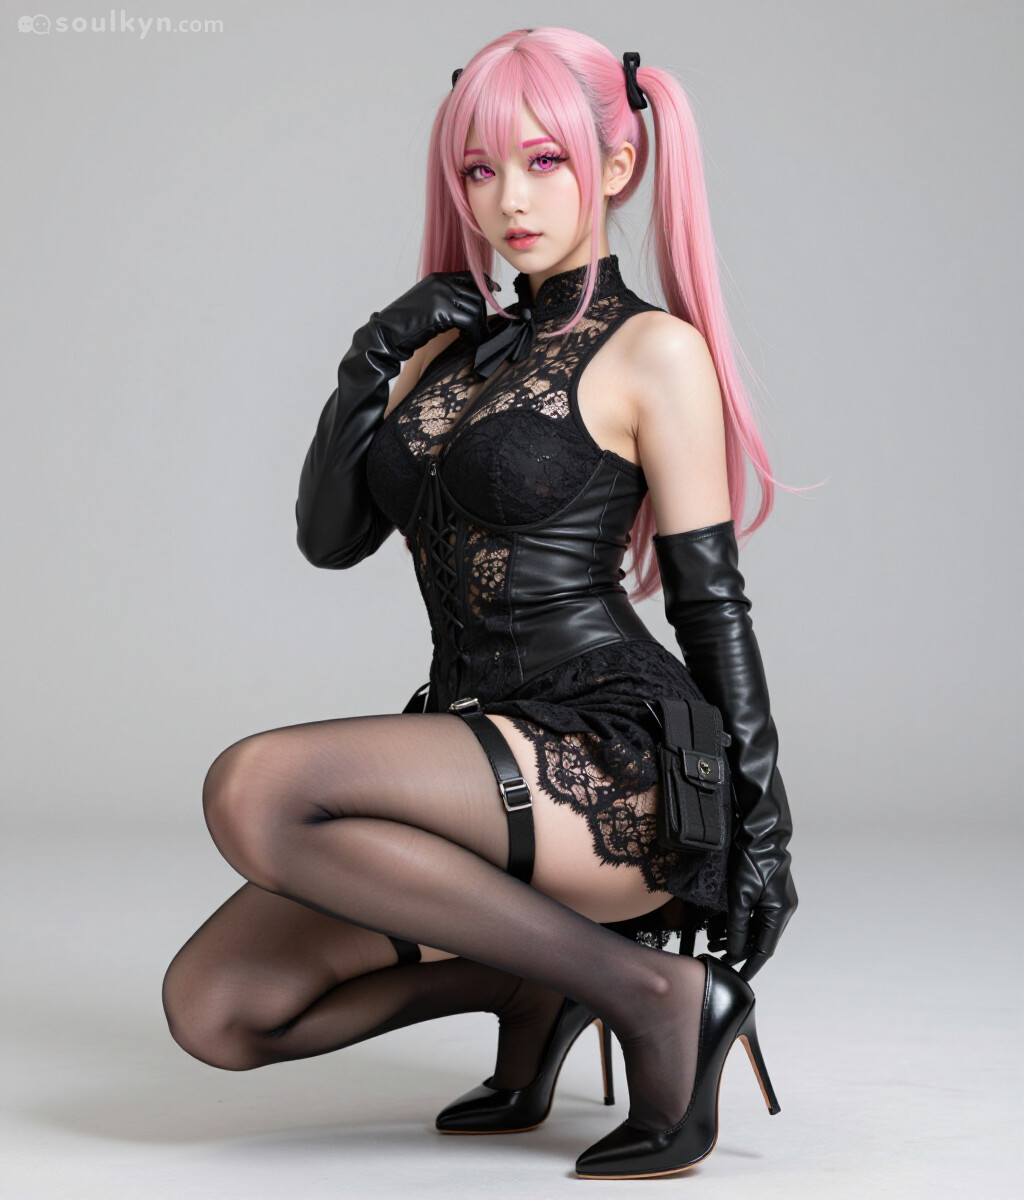
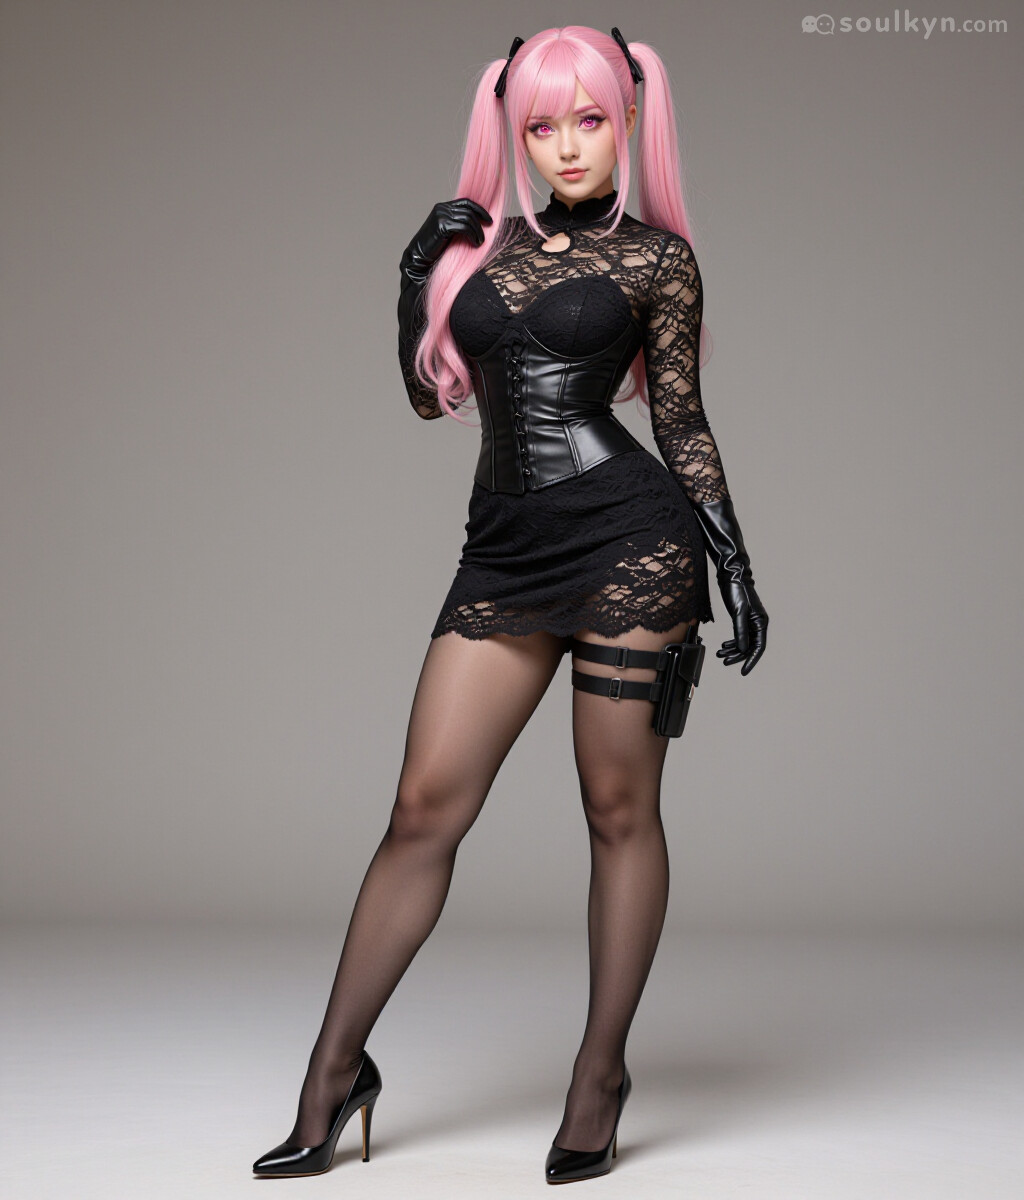
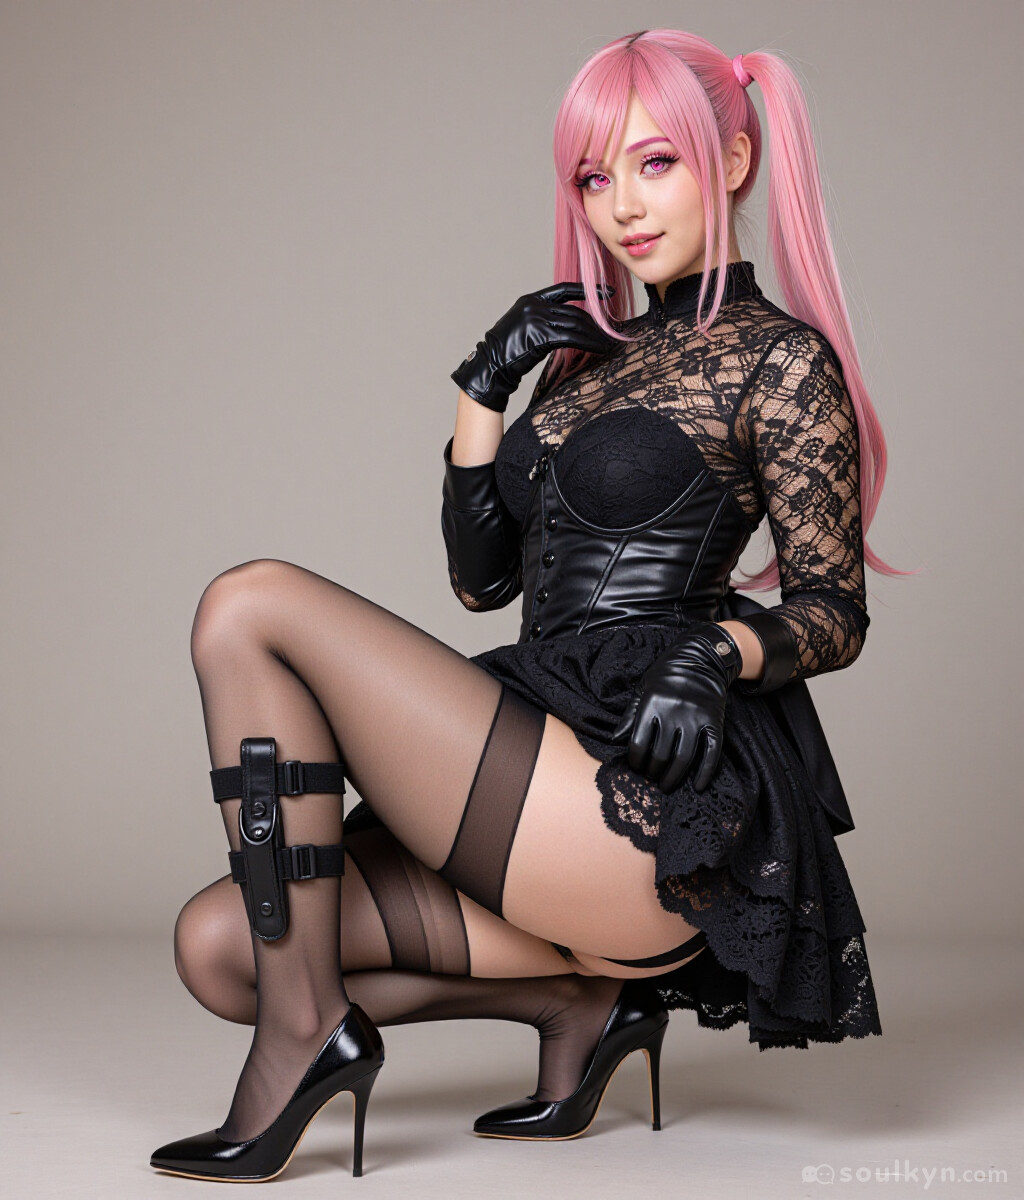
Here is an example of my PaintFuka:
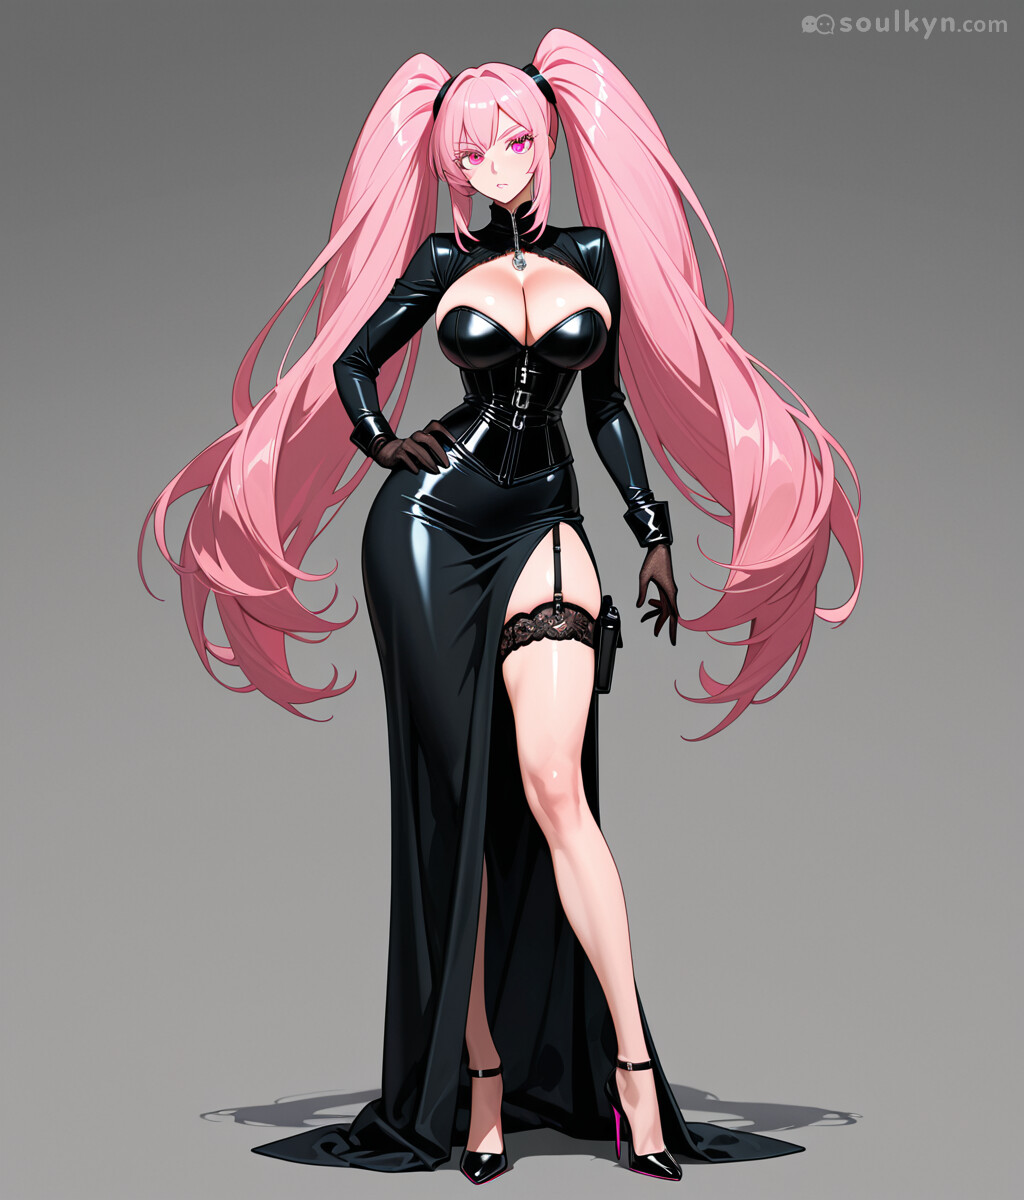
This is her default that we will be using for the tutorial.
Physical tags:
Pink Eyes, Pink Long Thick Eyelashes, Mature Adult, Long Legs, Modest Breasts, Tall, Curvy Body, Long Pink Twintails, Pink EyebrowsClothing:
Black_lace_dress;Corset_bust, Leather_gloves;Thigh_holster, Silk_stockings;Stiletto_heelsBackground: Empty
Defining the Physical Tags
This can seem kind of tricky but I promise you that its not. Physical Tags can be used to define both the physical features of your character as well as the style you want to force for when it creates pictures with the use of the Picturize function when chatting.
Example of Physical Tags: Long Legs, Afro, Red eyes, Pale skin, Curvy Body
Example of Styles: Source_anime, Source_furry, source_manga, source_game, Photorealistic, Photorealistic_anime
So you might be asking where you can find information on which tags work and which don’t, well… your safest bet would be forums catalogue but aside from that a very good source of information is the tags wiki on danbooru.
Don’t try to rush with creating the perfect first look for your character, it’s pointless to say the least since they won’t run away and good results are only achieved when you actually put some time into it.
Firstly I would suggest to create the basic idea for the looks that you want to achieve. For this use basic tags like Long/Short Hair, Your chosen hair color, The hairstyle that you like, Eye color and at the end add body proportions.
On this step you might be inclined to use ChatGPT, Gemini, Claude etc to create tags for you. This might not work as well as you might want it to. No commercial LLM has knowledge on how Soulkyn tagging system works and the main issue with it is that it auto sorts the tags so you can’t really group them for better result.
Choosing the Right Image Model
Now that you’ve created the basic look for your character its time to think about the model you will use for your character.
Soulkyn currently has 7 models:
- 3 Stable Diffussion models: SD-Alpha, SD-Hyper, SD-Original
- 4 In-house models: SK-Alpha, ZIT-All, ZIT-Realistic, ZIT-Photo
3 SD models use tags to create pictures this means that you don’t use full sentences when communicating with AI but use general terms to describe yor pictures.
4 In-house models use natural language when creating pictures. This means that you can use full sentences to better describe your pictures. They are also extremely versatile if prompted right with SK-Alpha having the widest variety of styles possible.
To not waste space I won’t be going into details of how they work but here you can find more about them.
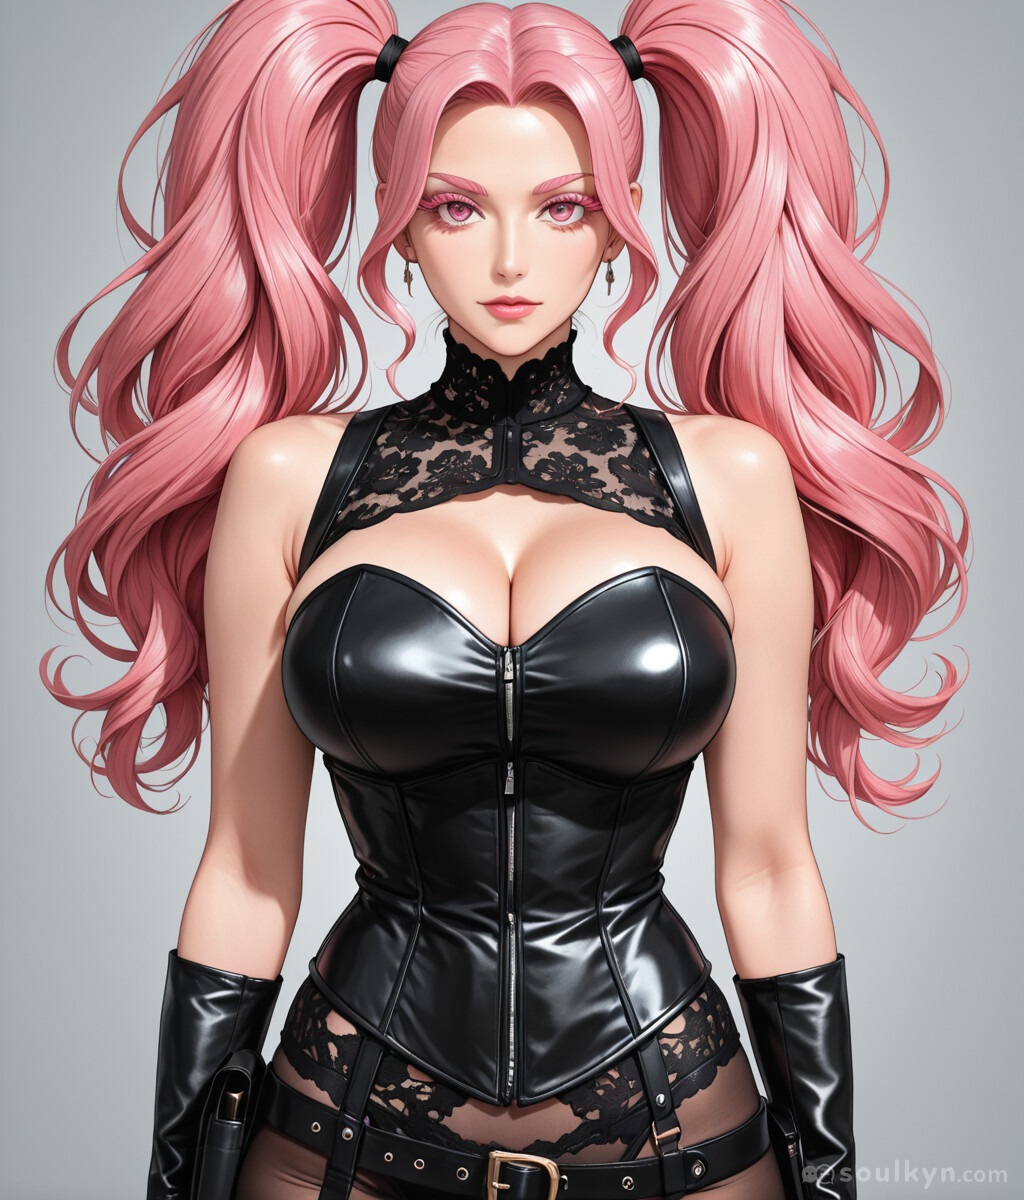
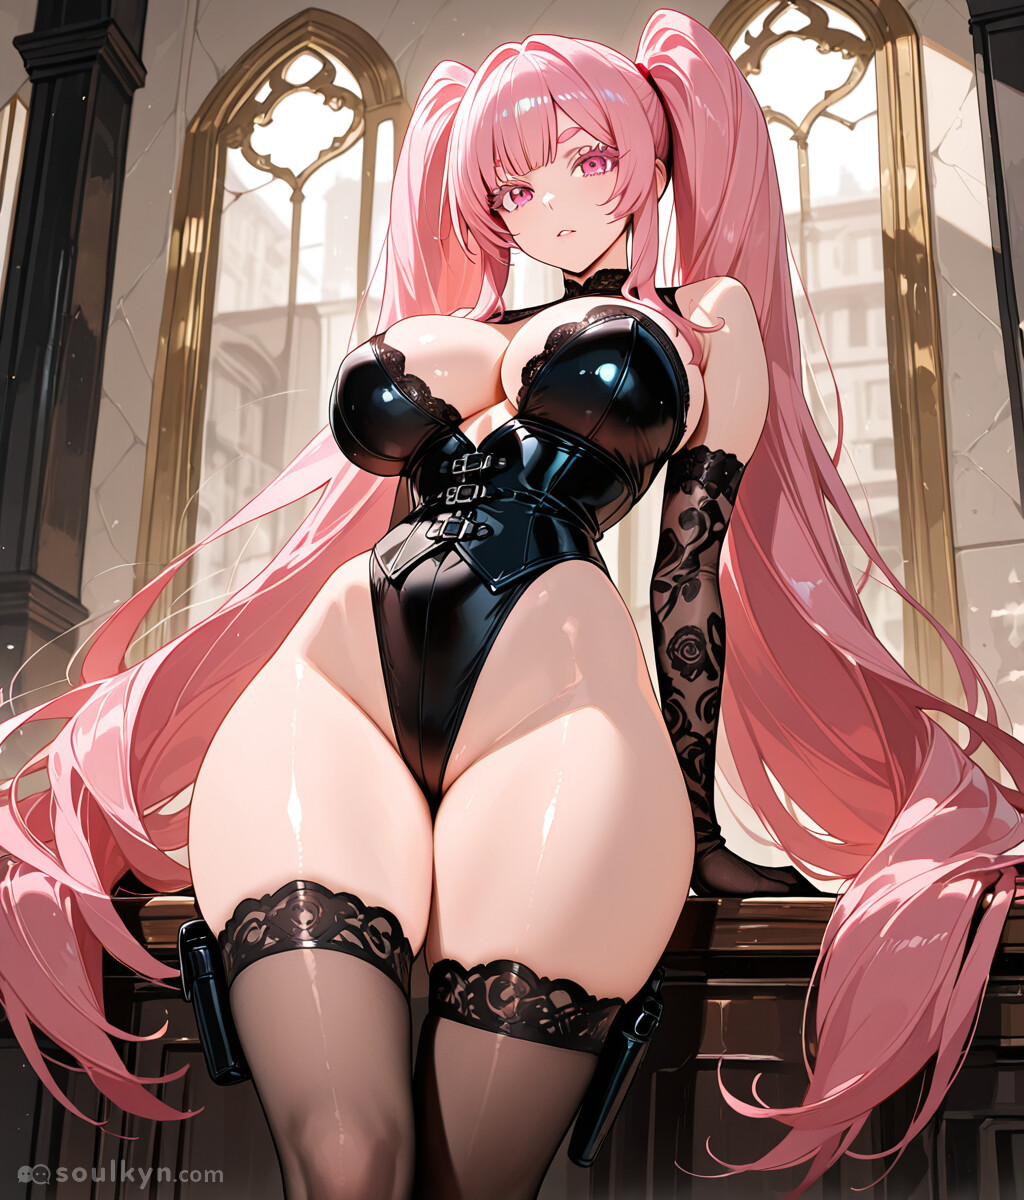
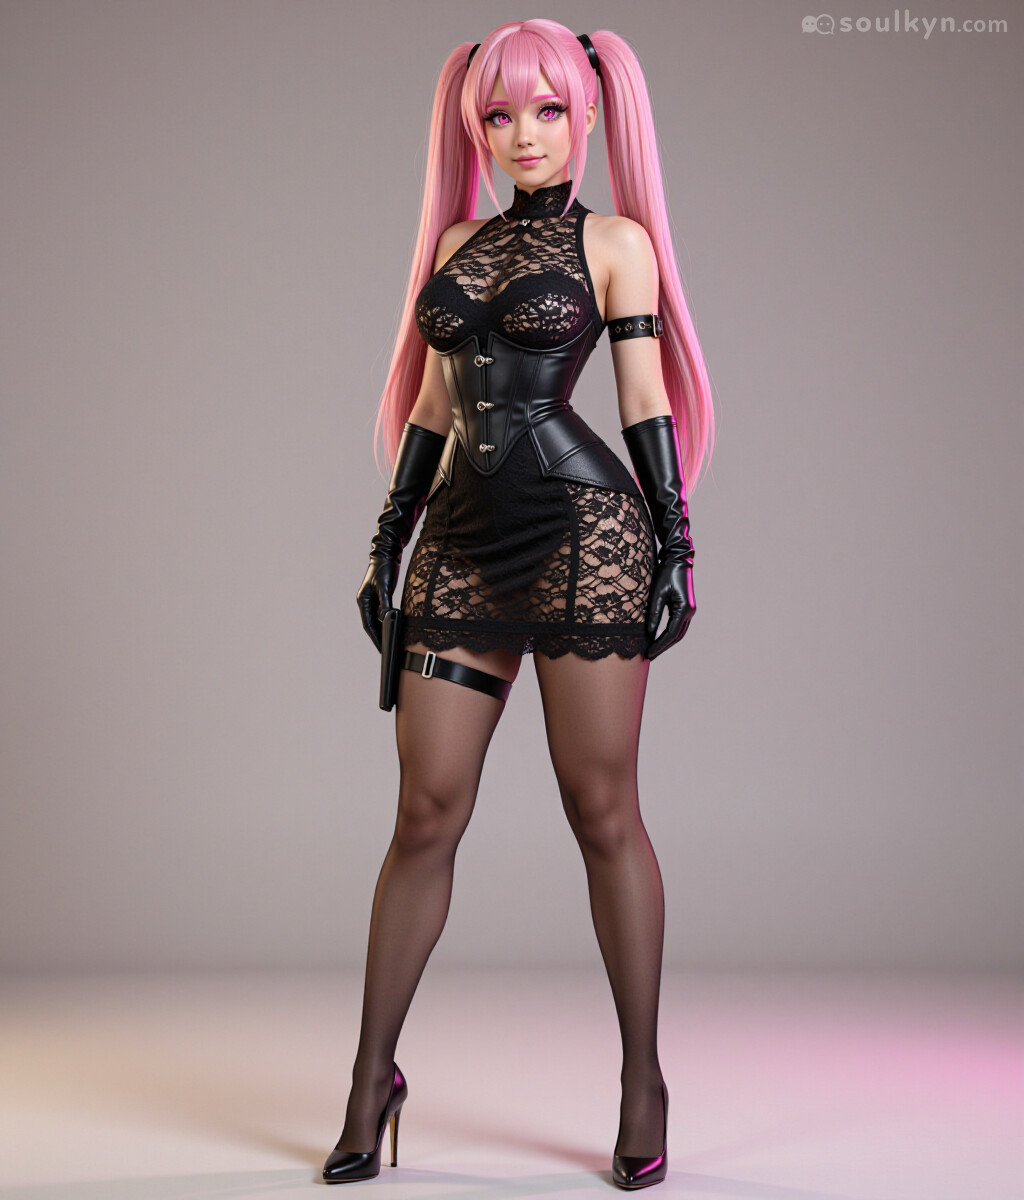
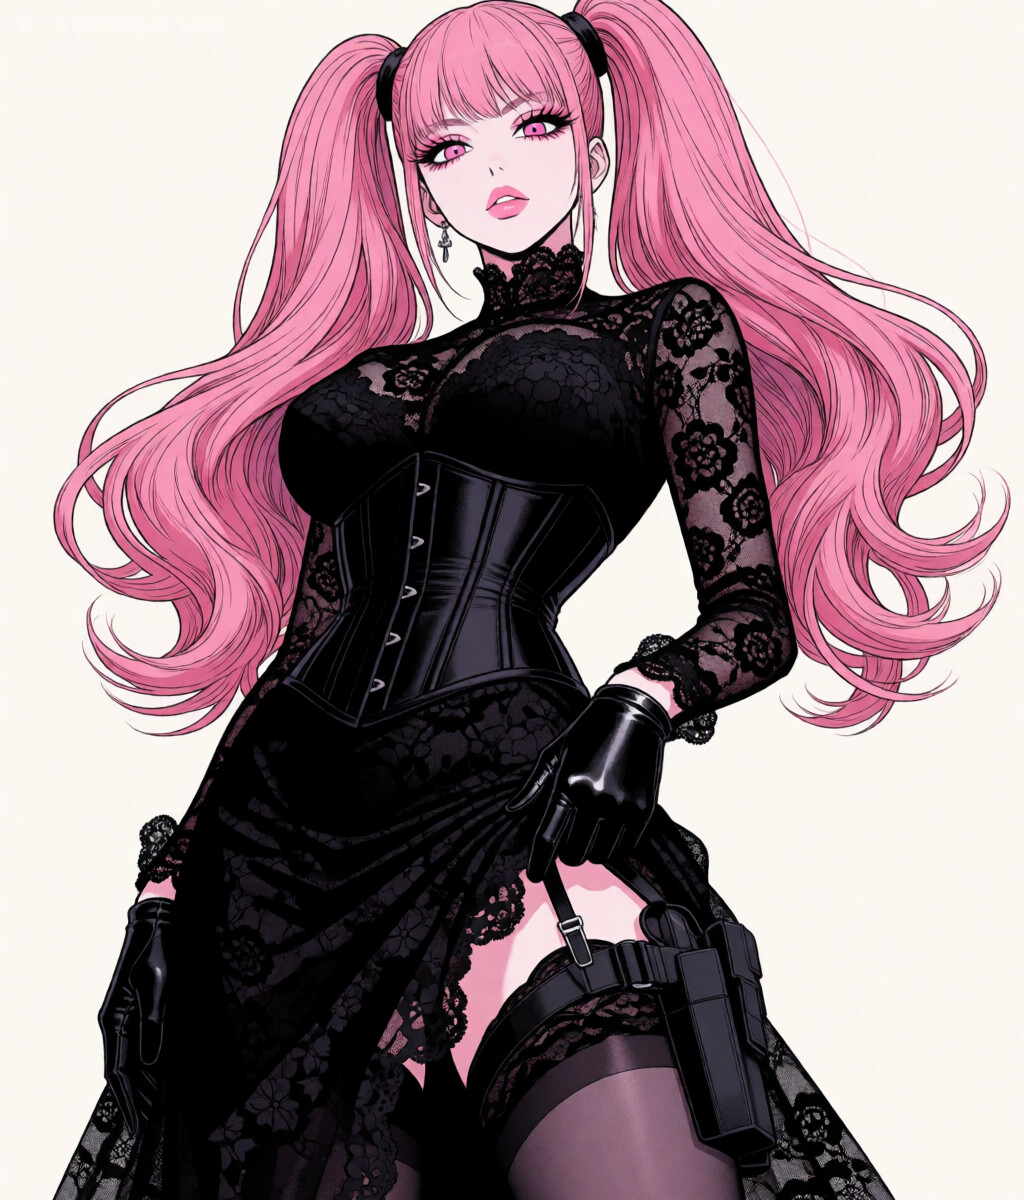
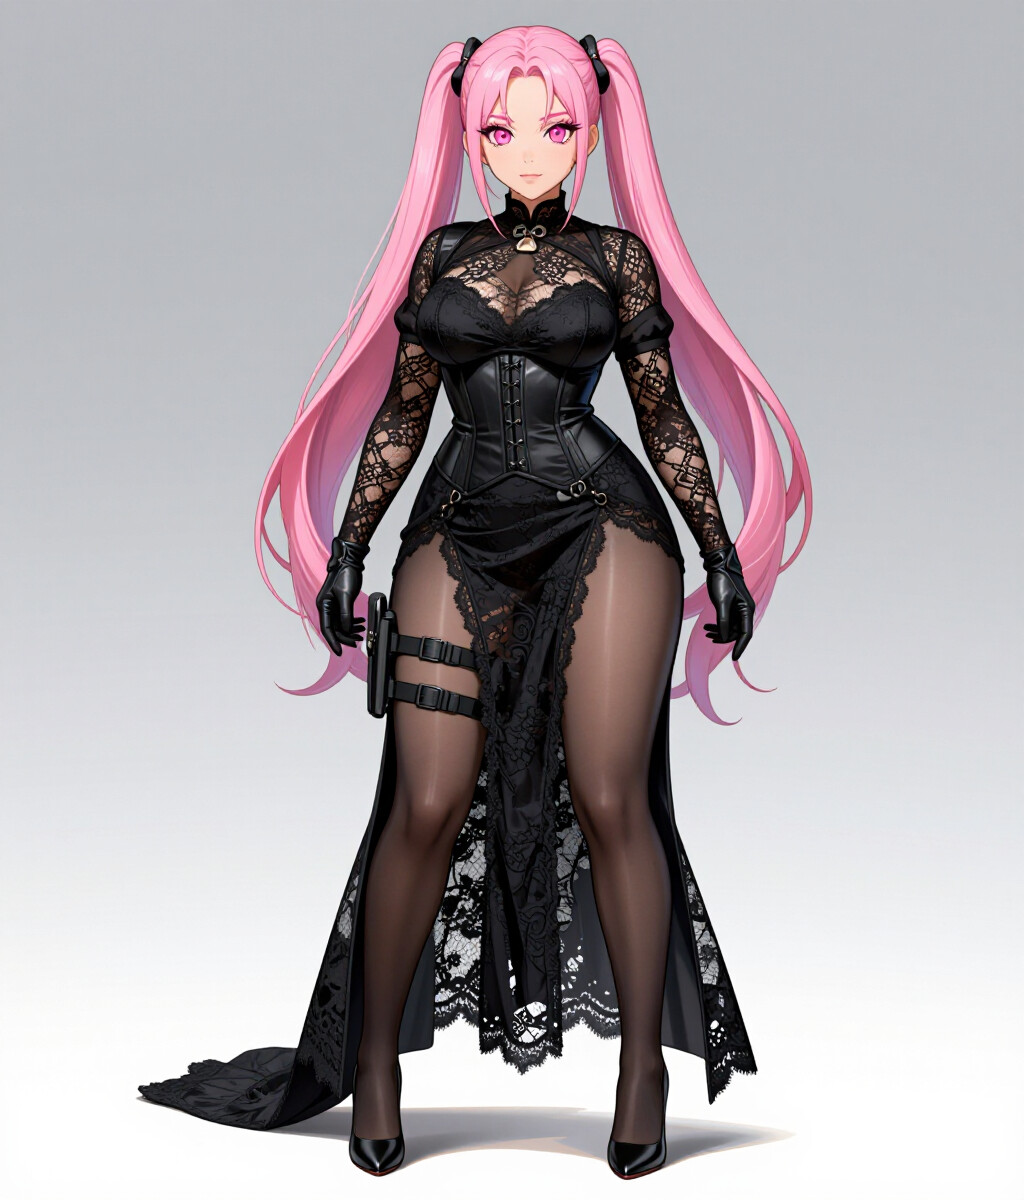
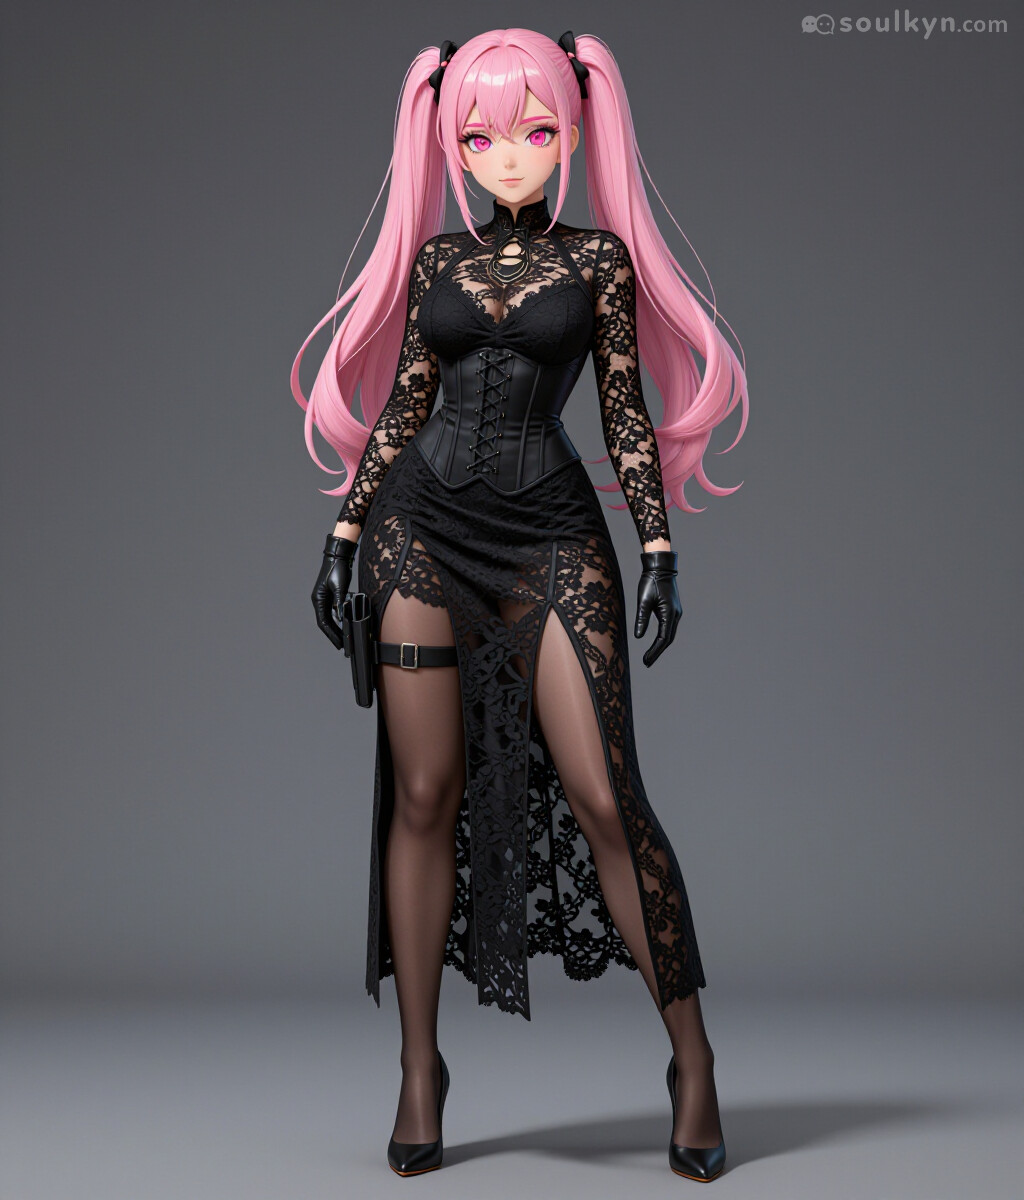
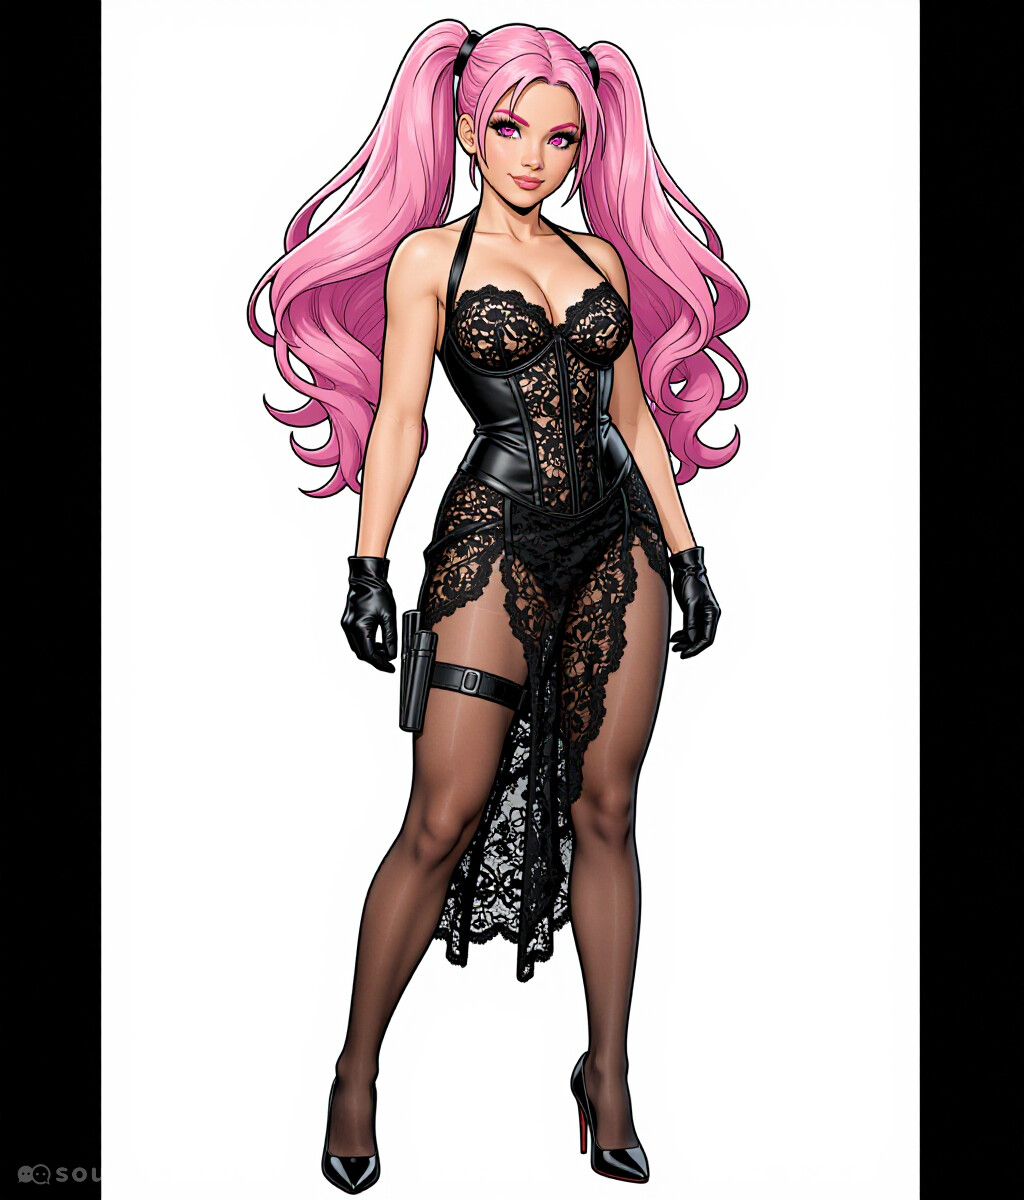
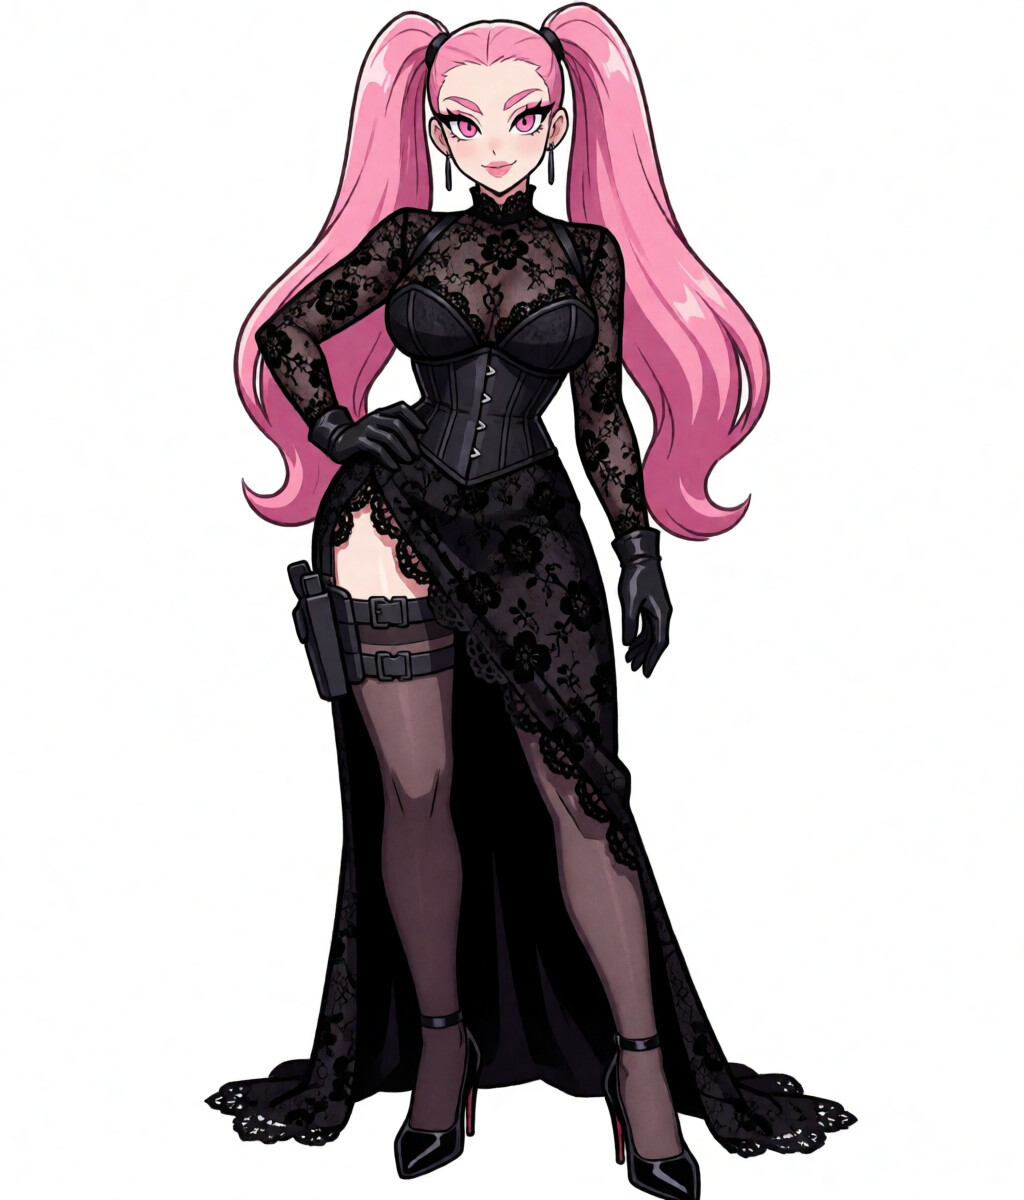
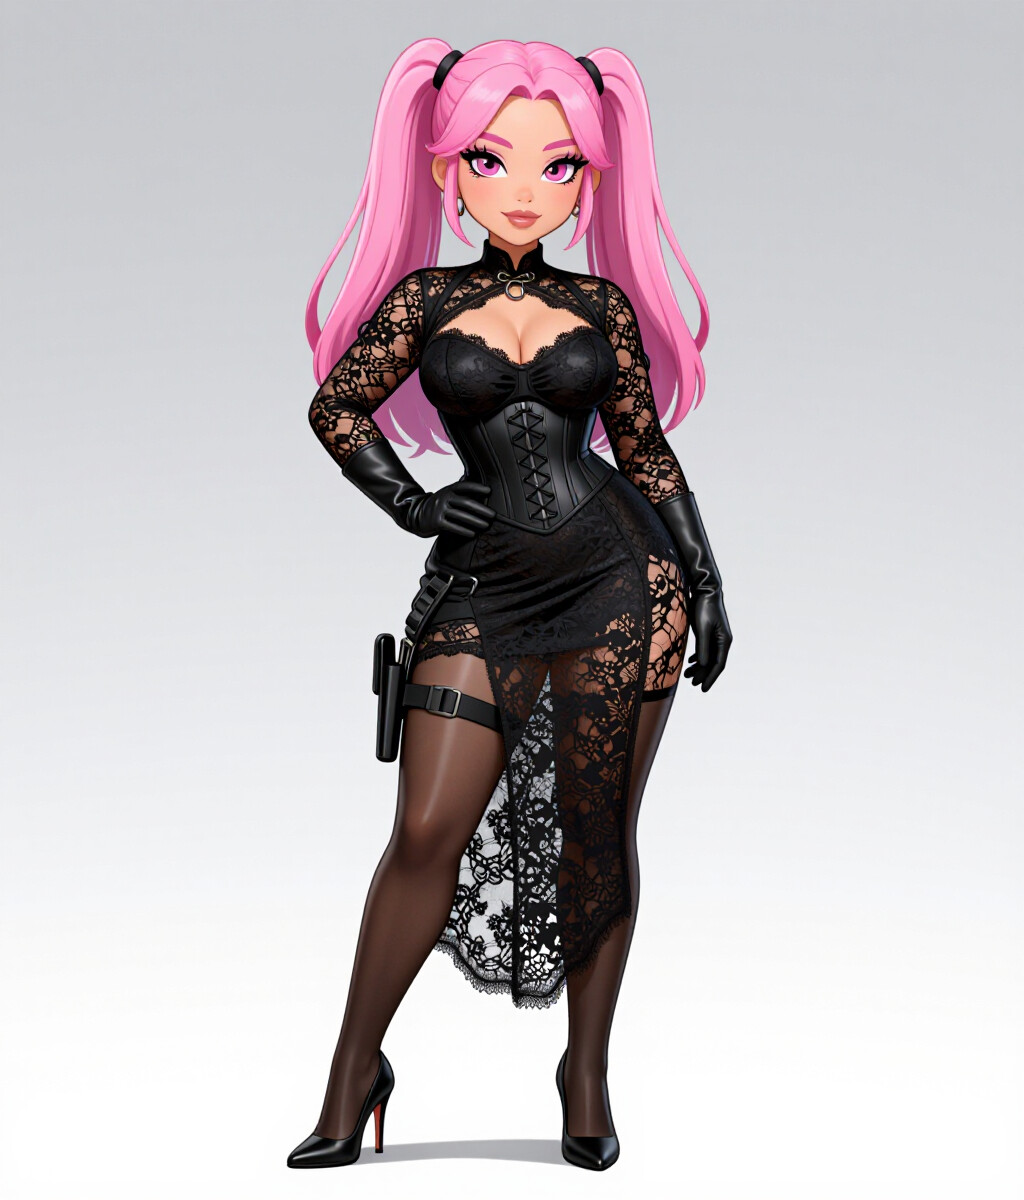
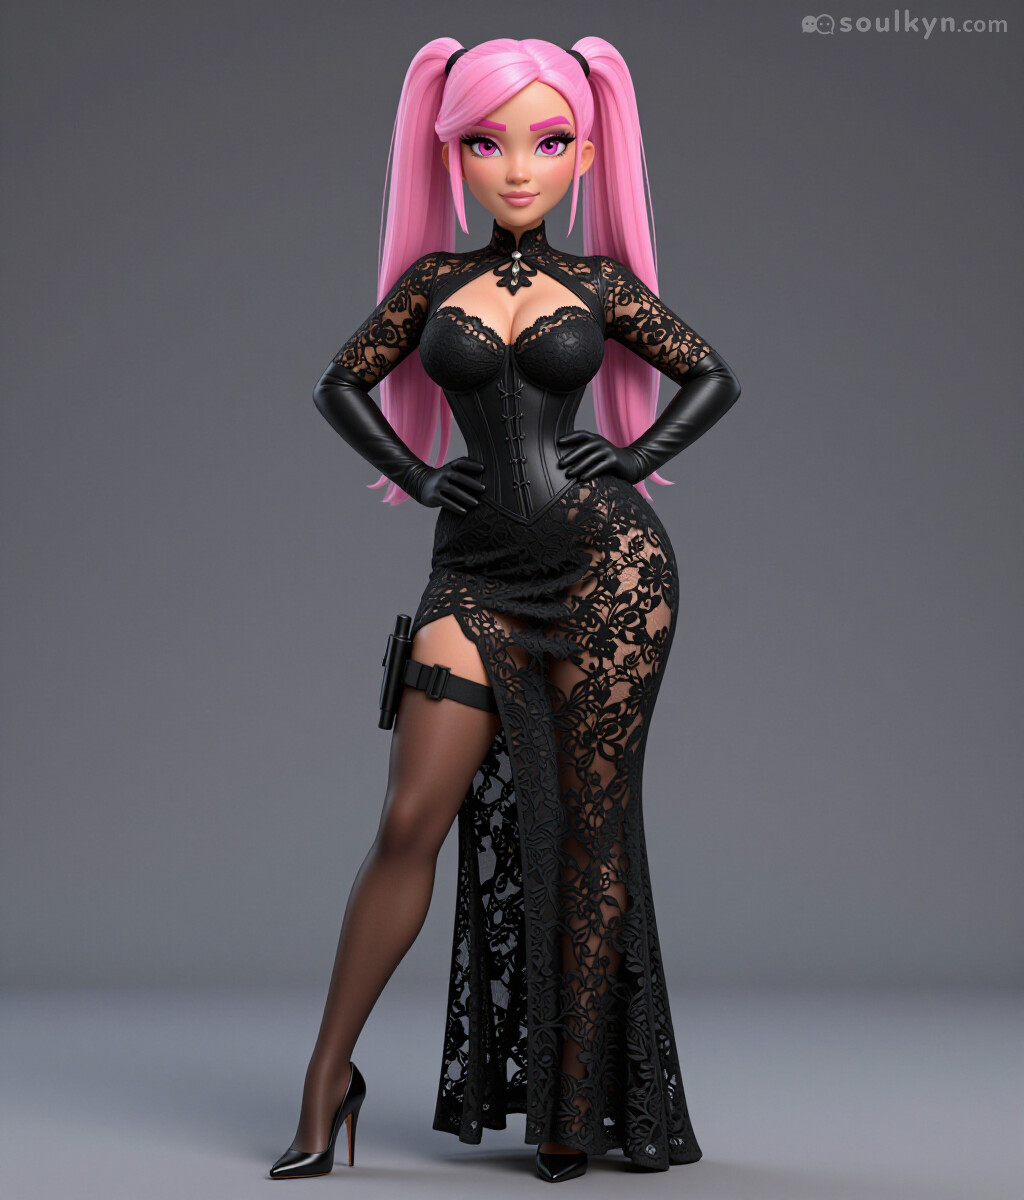
Here are examples of PaintFuka in different models:
SD-Alpha:
SD-Hyper:
SD-Original:
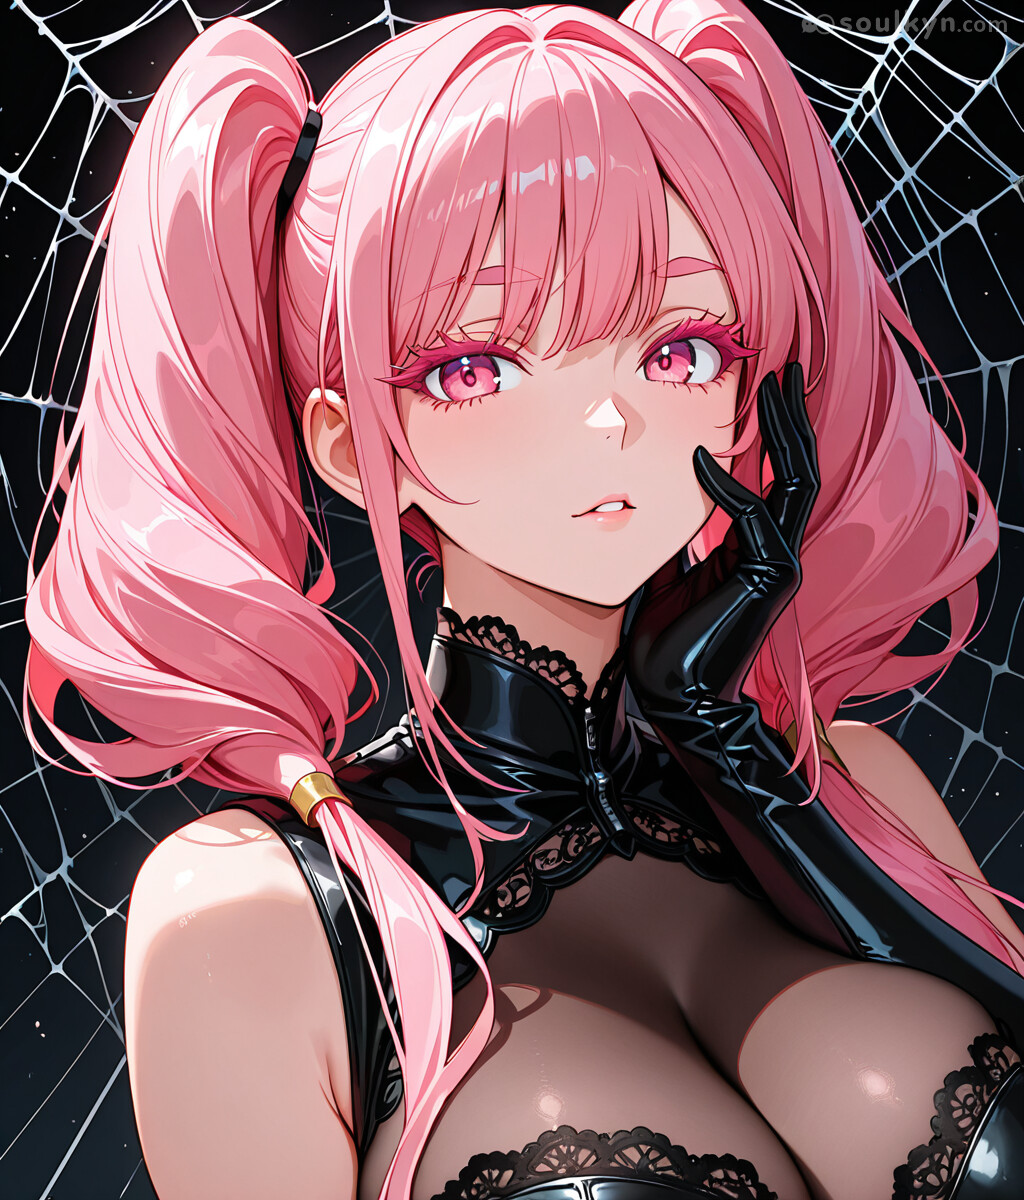
SK-Alpha:
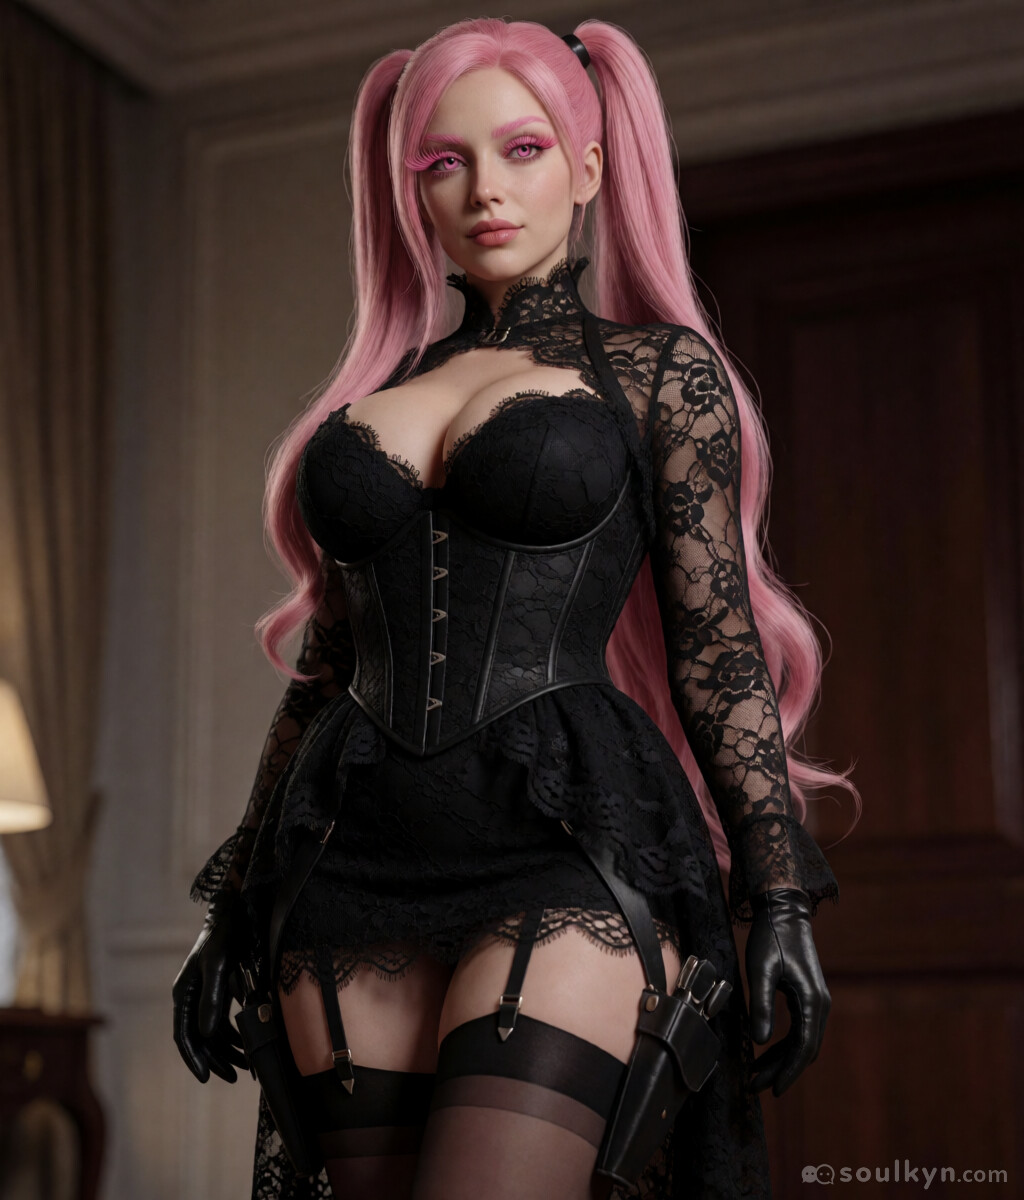
ZIT-ALL:
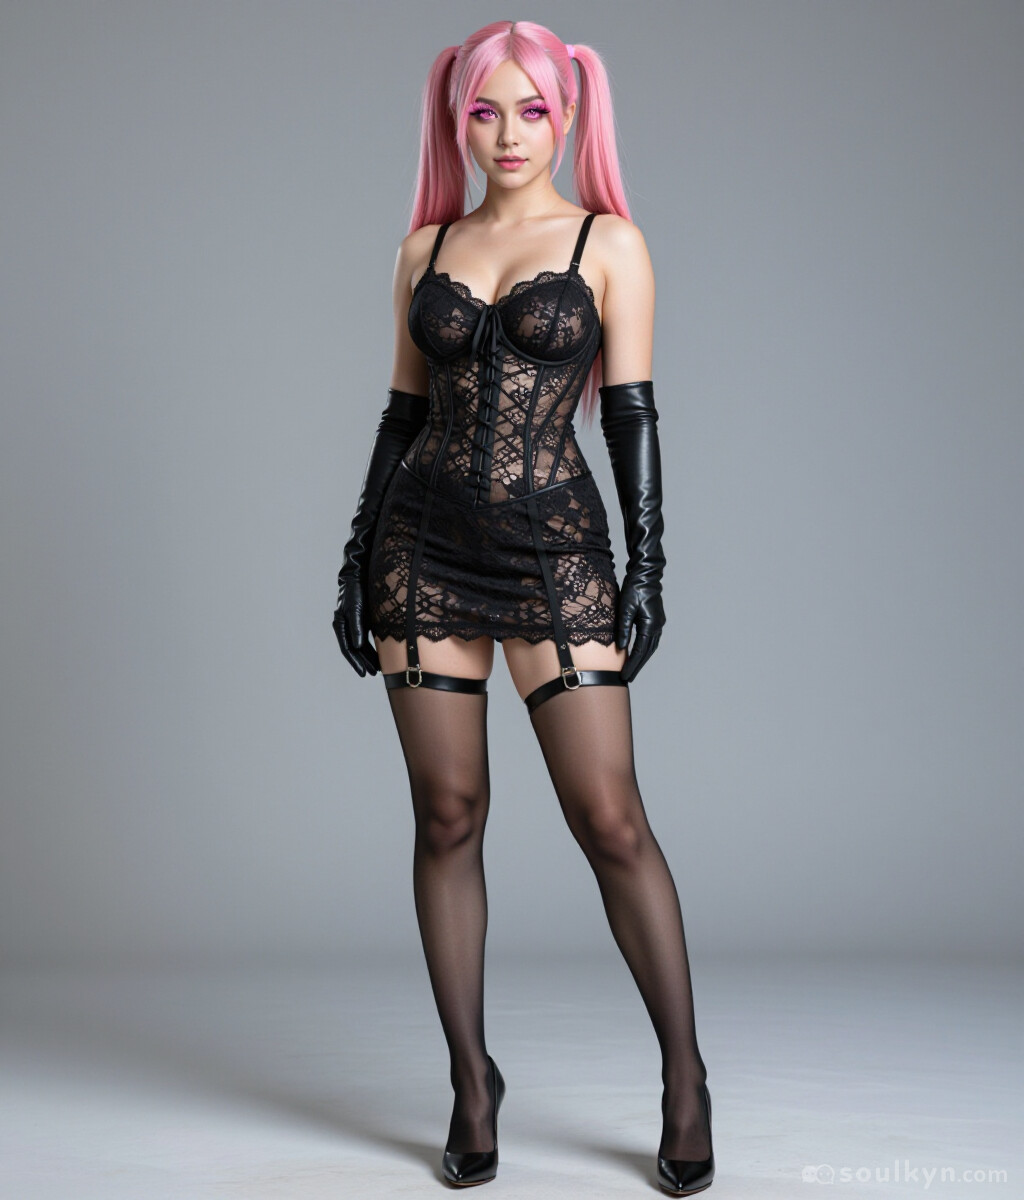
ZIT-Photo:
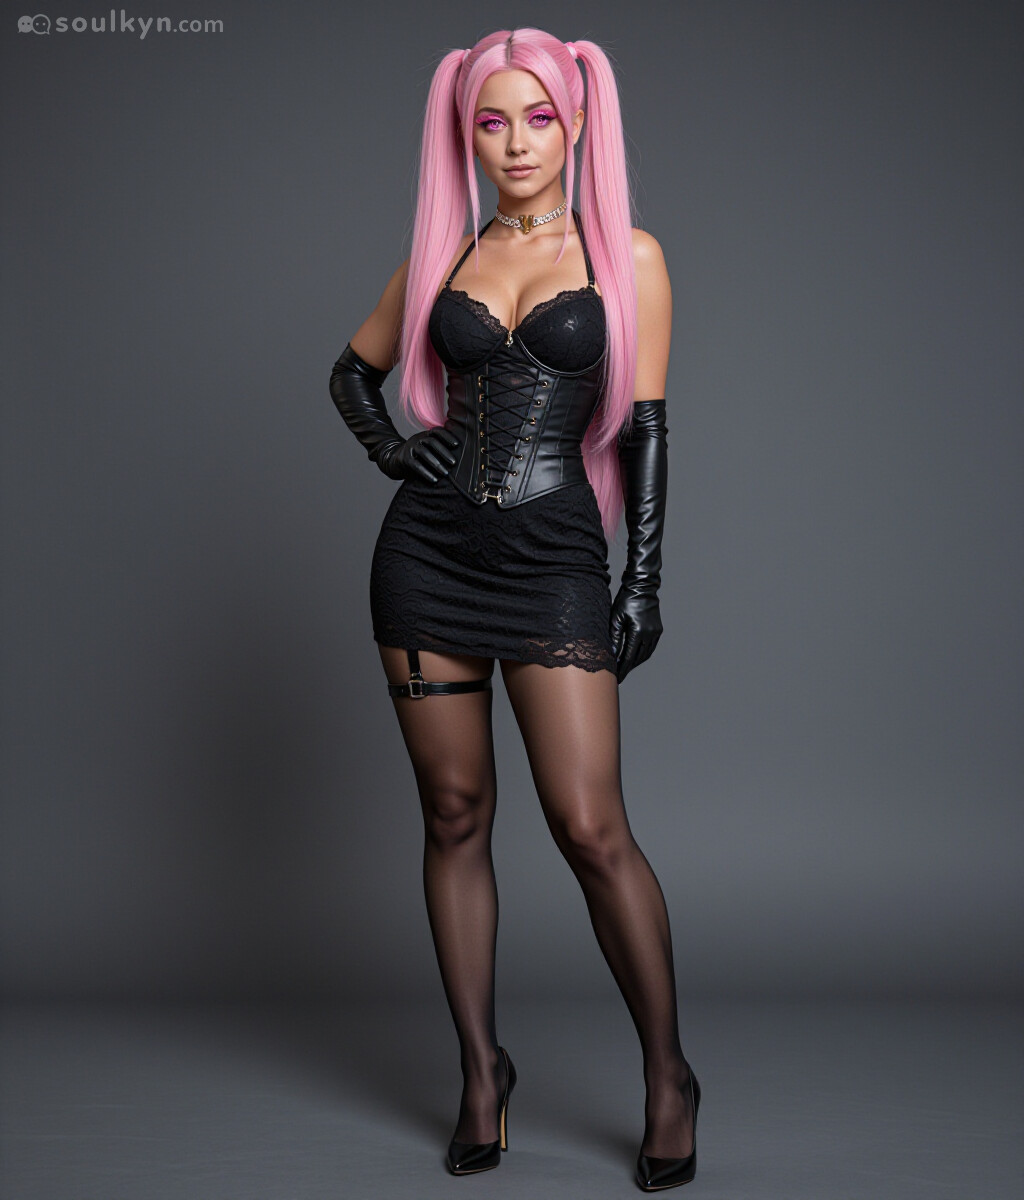
ZIT-Real:
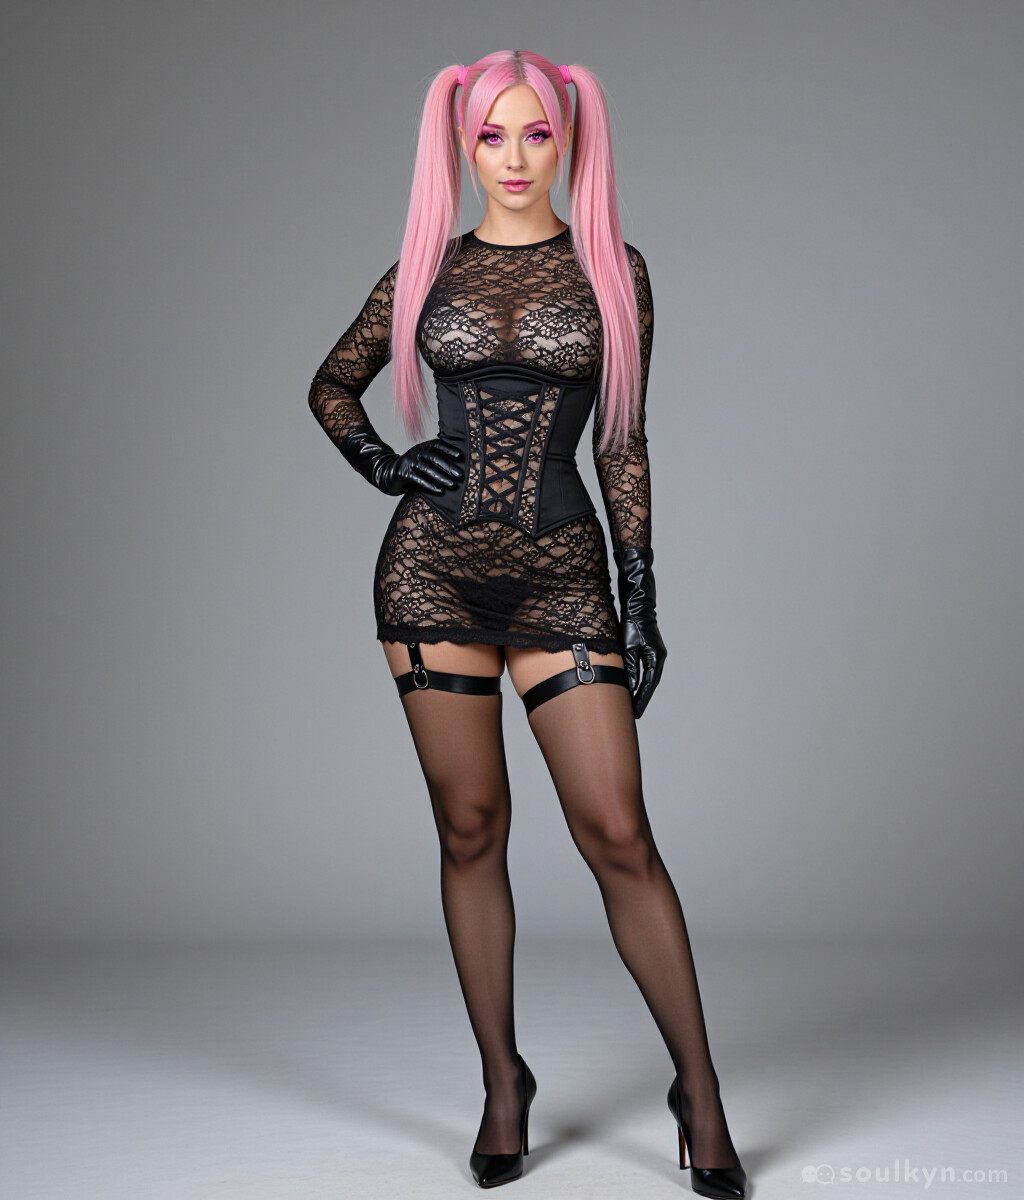
As you can see SD models are by default anime looking while for SK and ZIT they are skewed towards realistic by default.
This however can be easily changed with the right stylized prompts in the physical tags.
The following tags aren’t the only tags that you can use to change how the images look they are just examples.
| Tag\Model | SK-Alpha | ZIT-ALL | ZIT-Photo | ZIT-Real |
|---|---|---|---|---|
| source_anime | ||||
| source_manga | ||||
| source_game_3D | ||||
| source_game_2D | ||||
| source_comic | ||||
| source_cartoon | ||||
| source_live_action | ||||
| source_visual_novel | ||||
| source_pc | ||||
| Source_furry | ||||
| Source_furry_anime | ||||
| Source_anime_furry | ||||
| Photorealistic | ||||
| Photorealistic_anime_style |
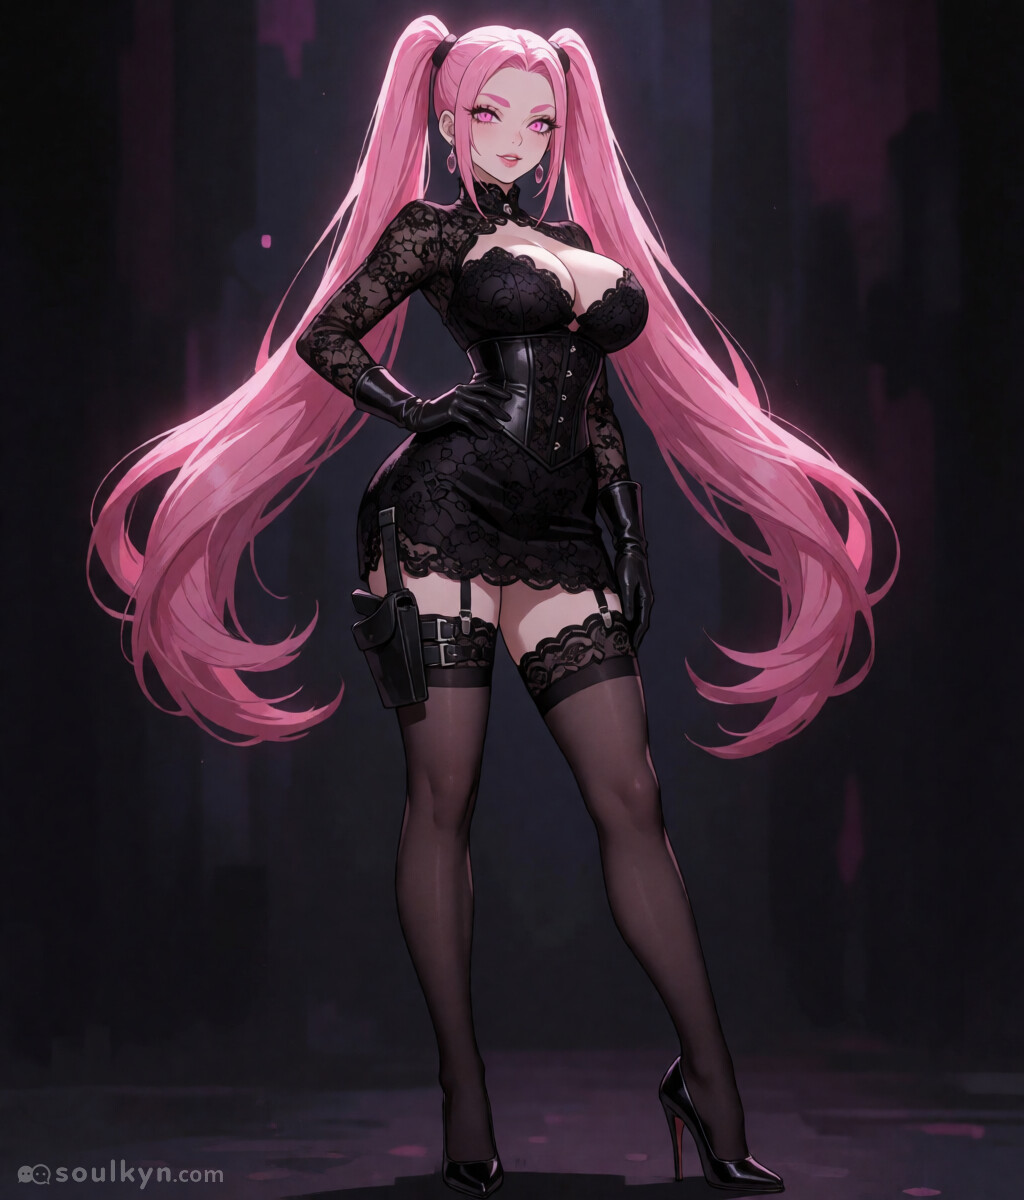
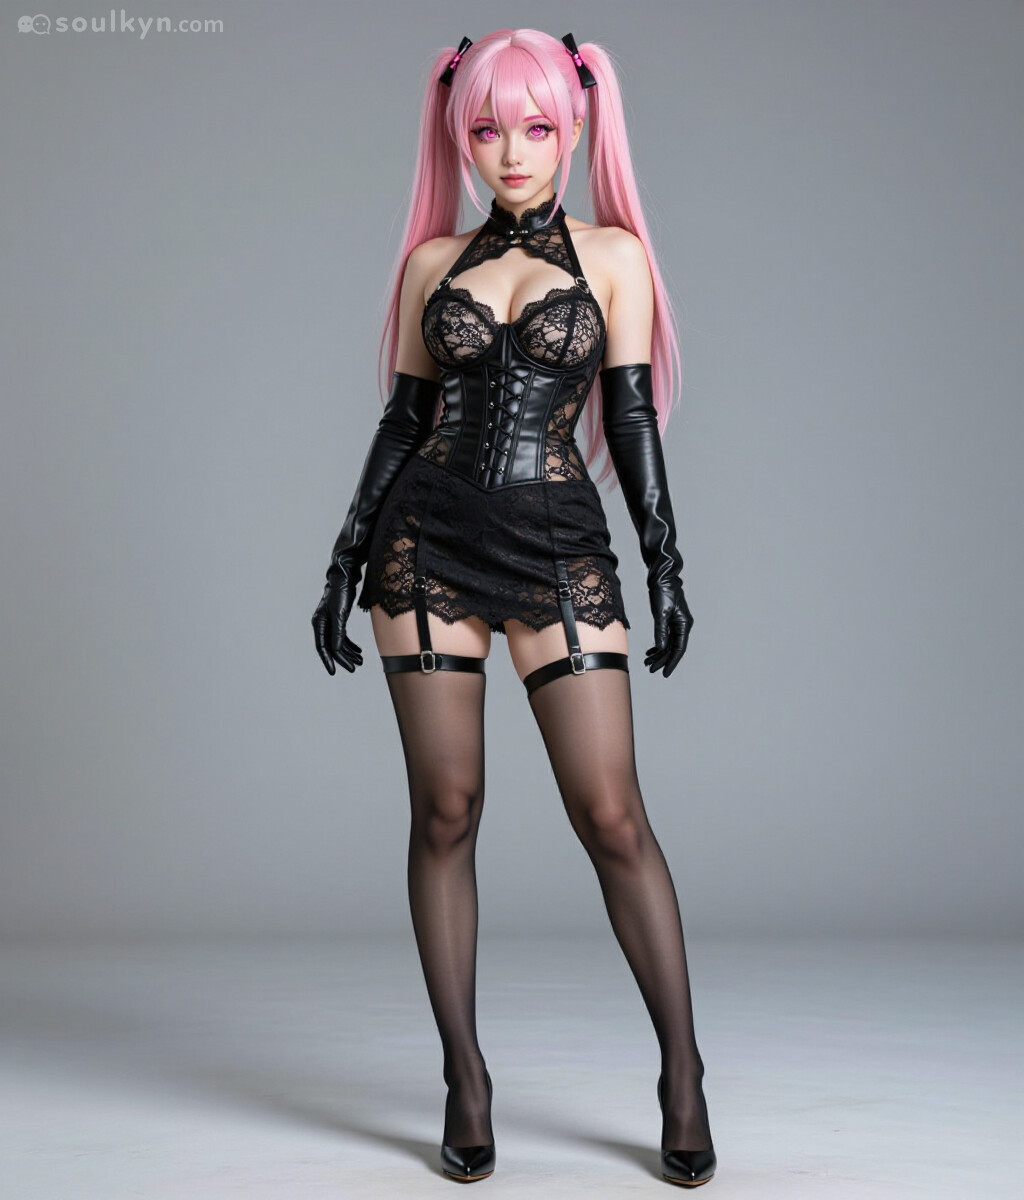
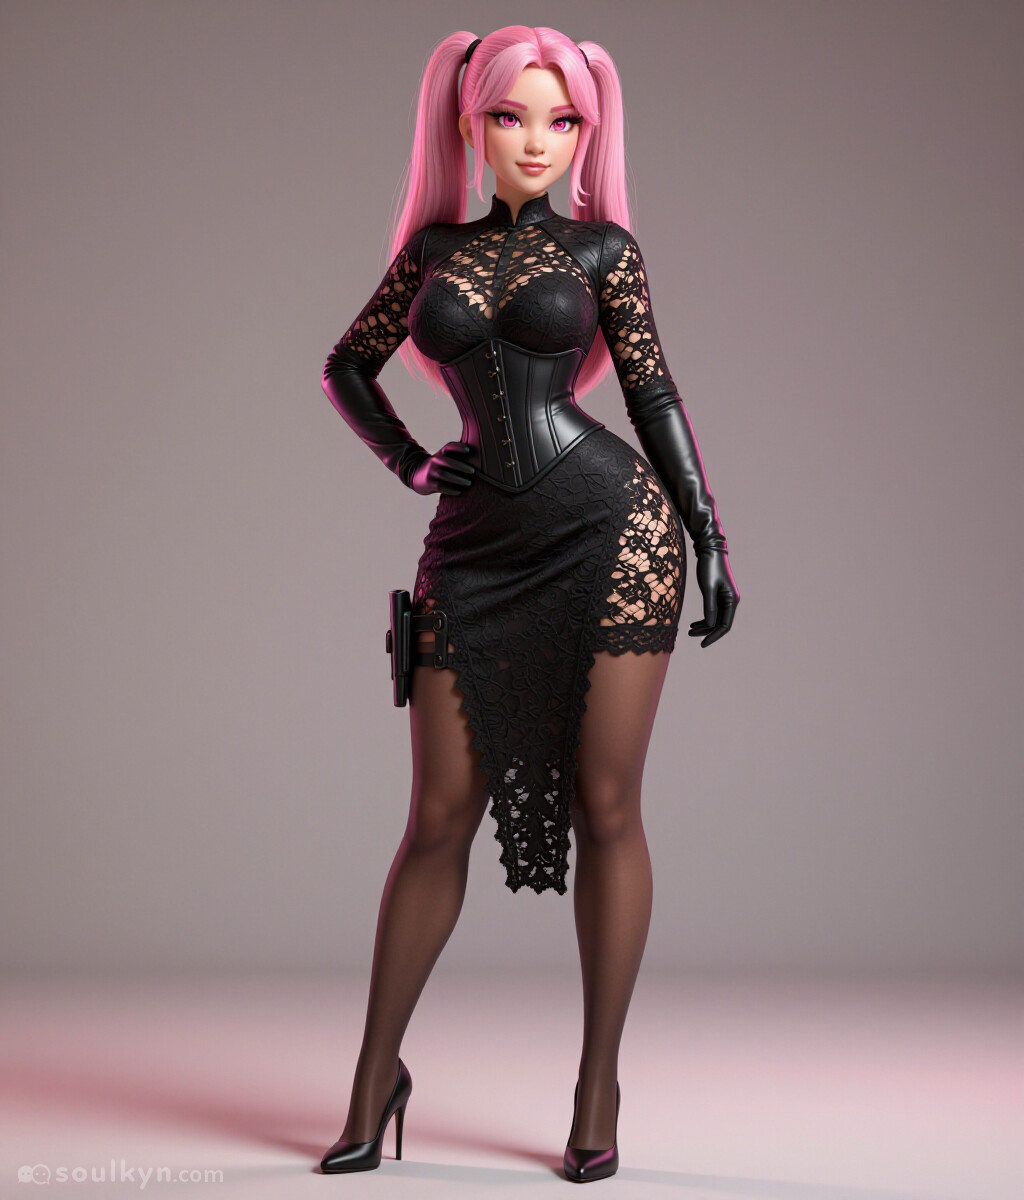
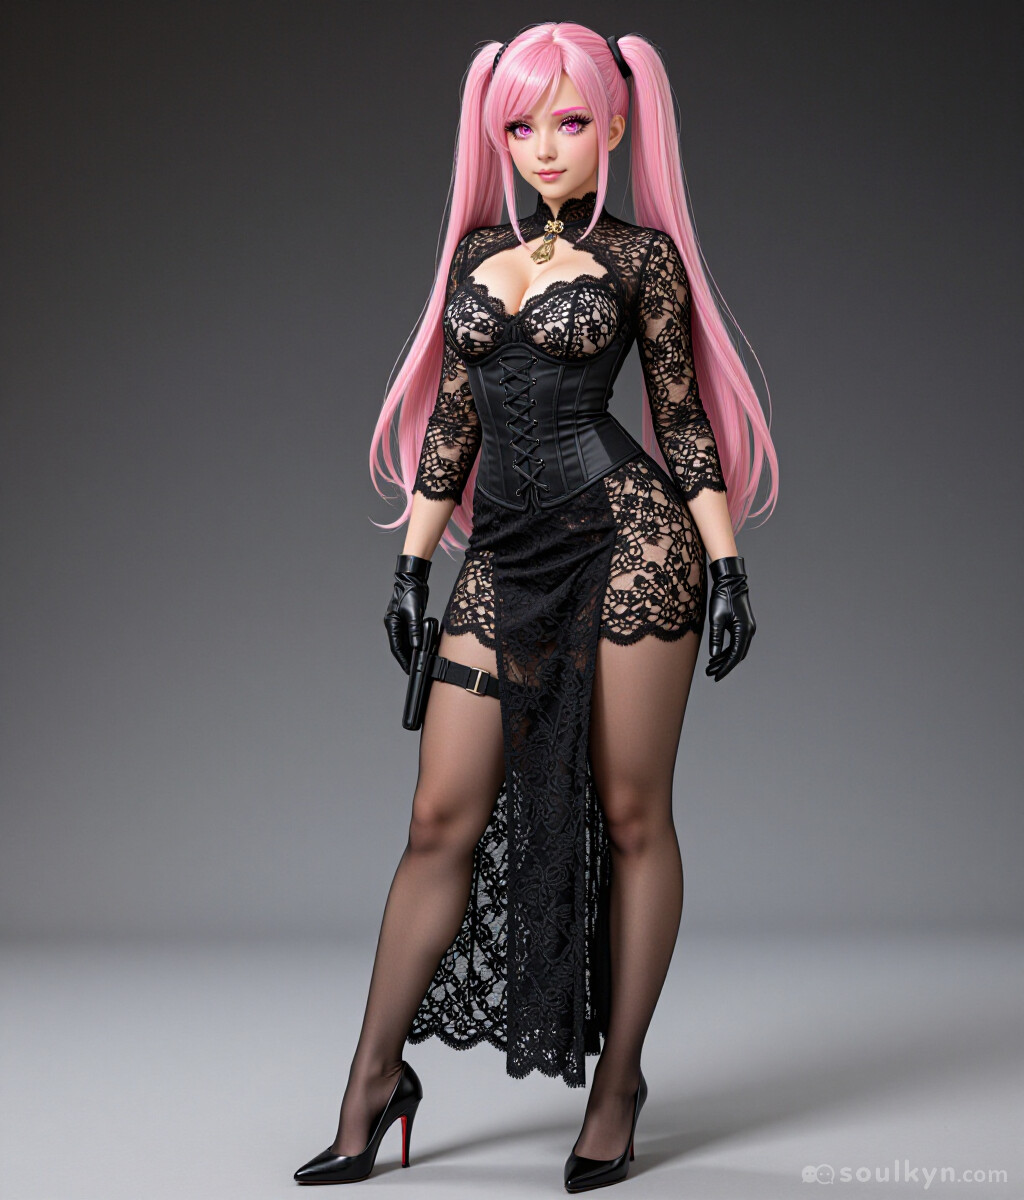
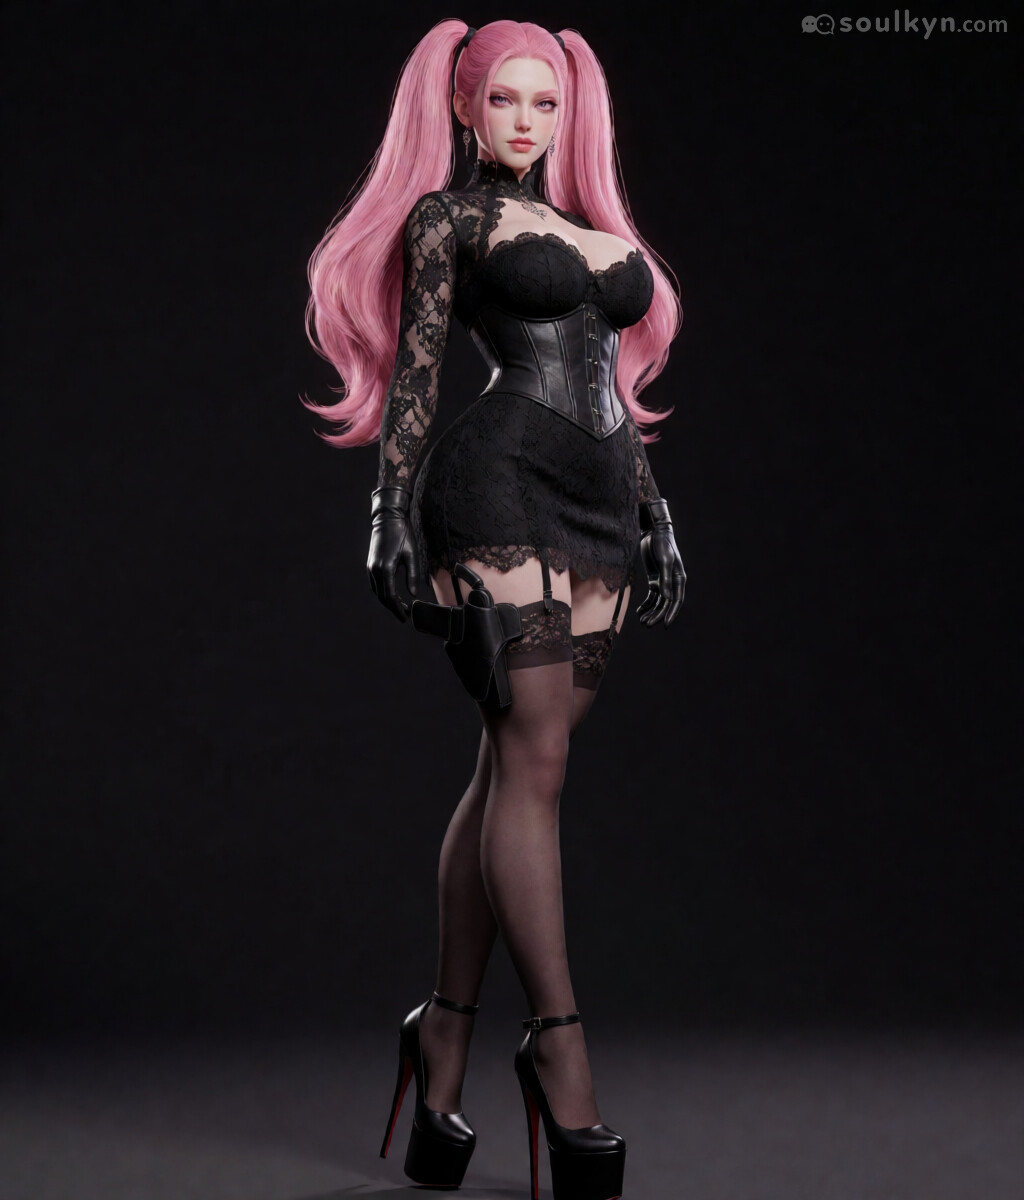
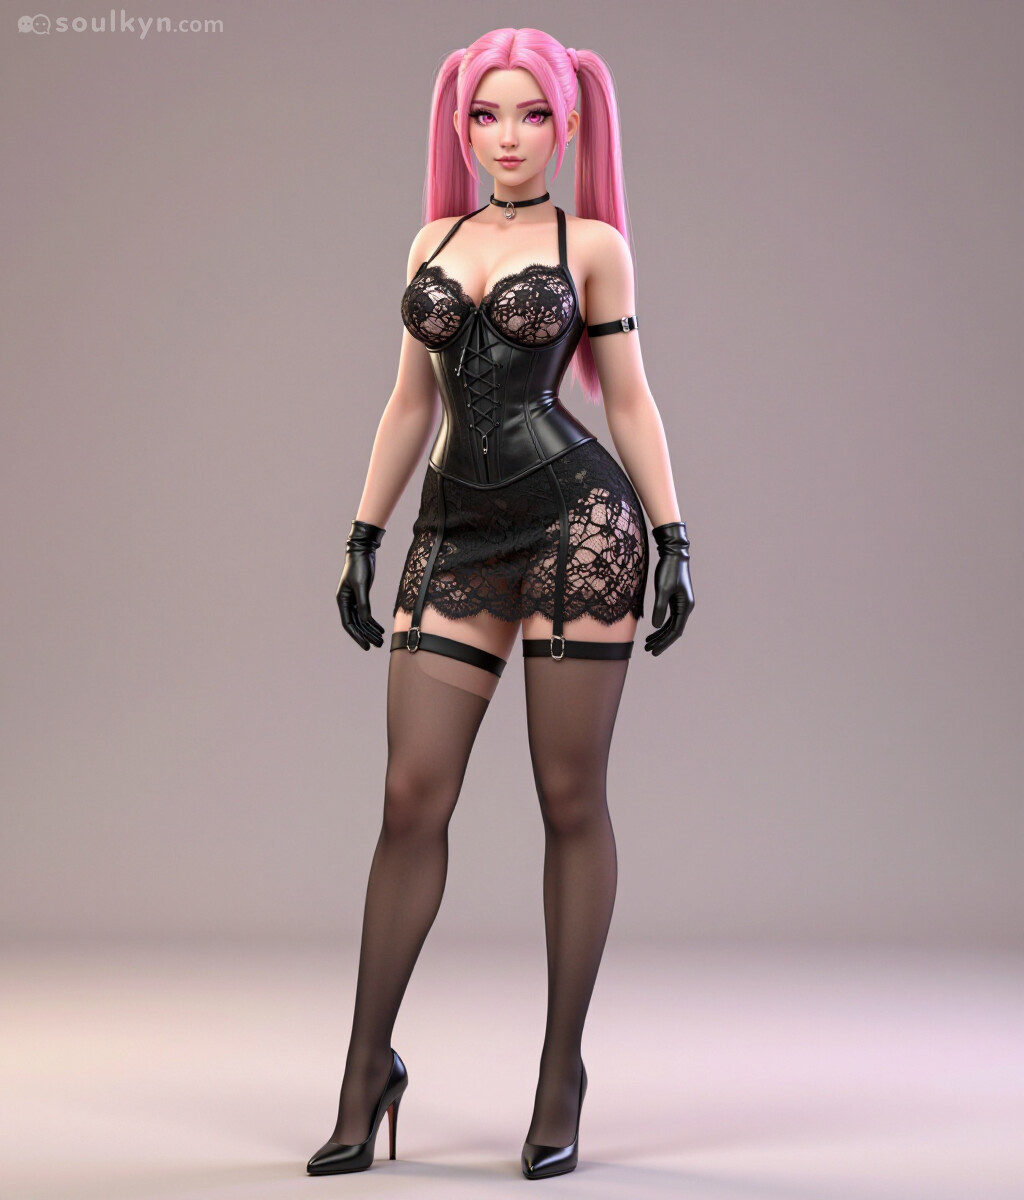
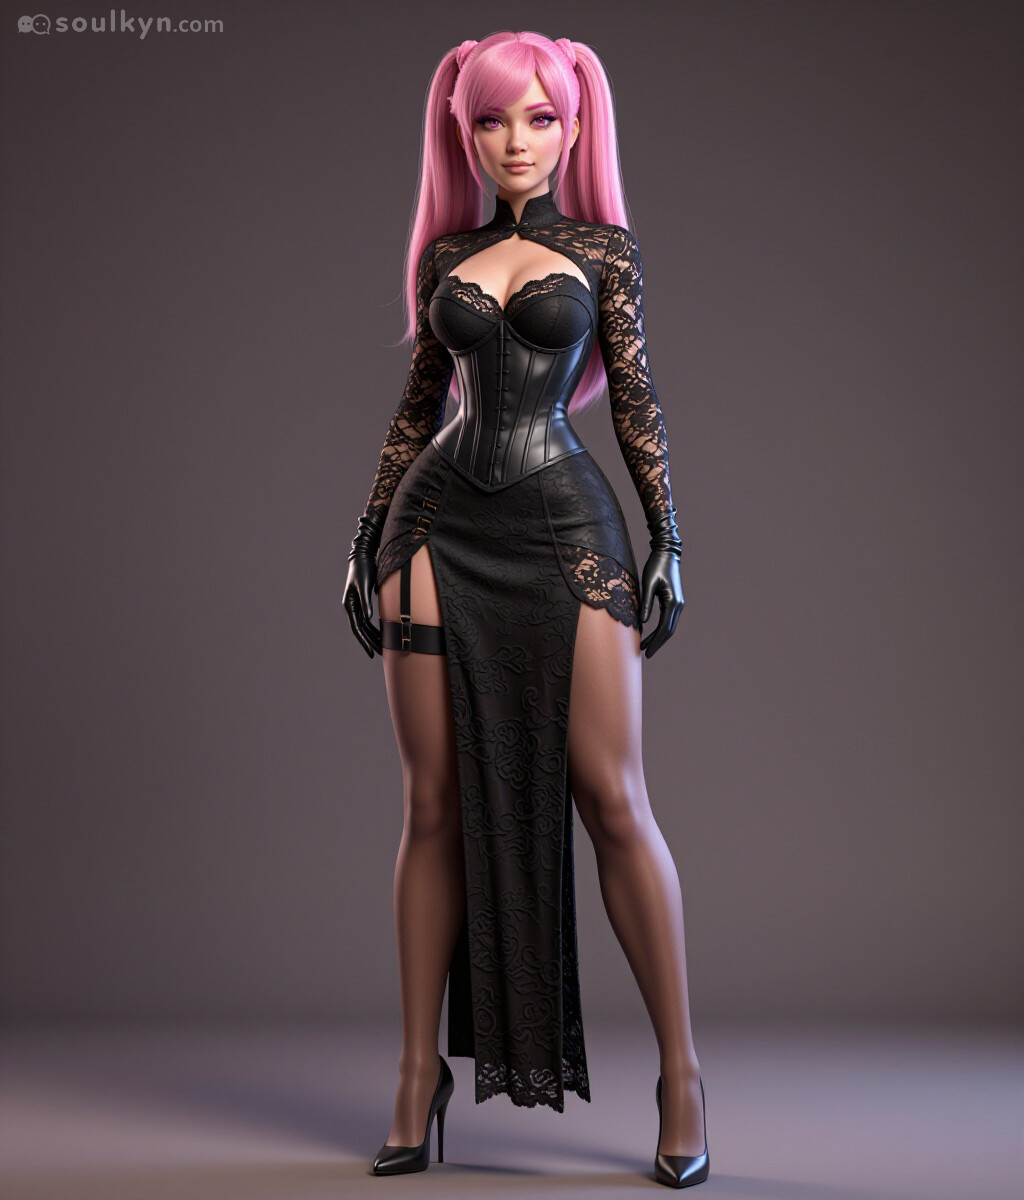
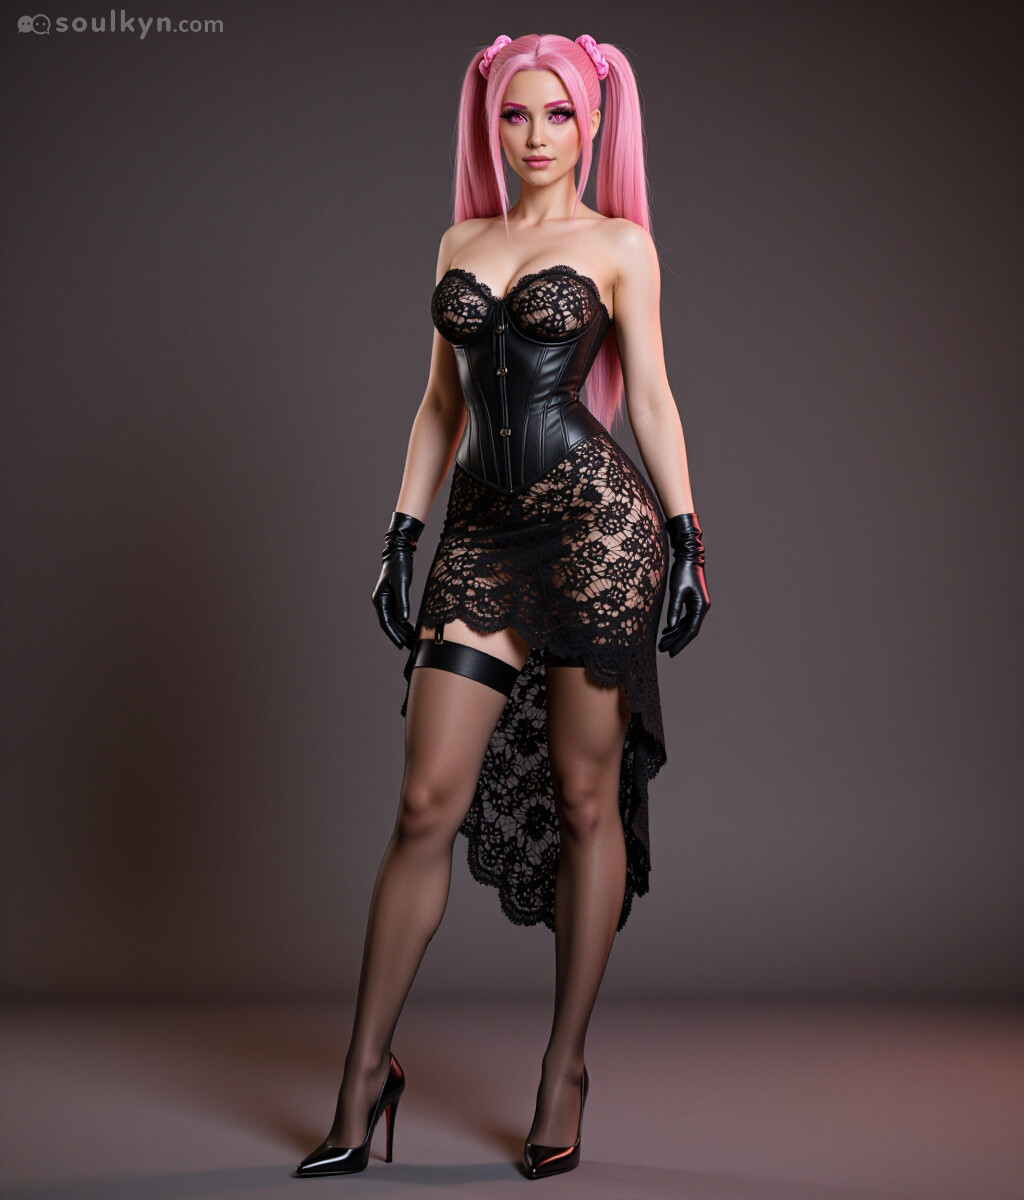
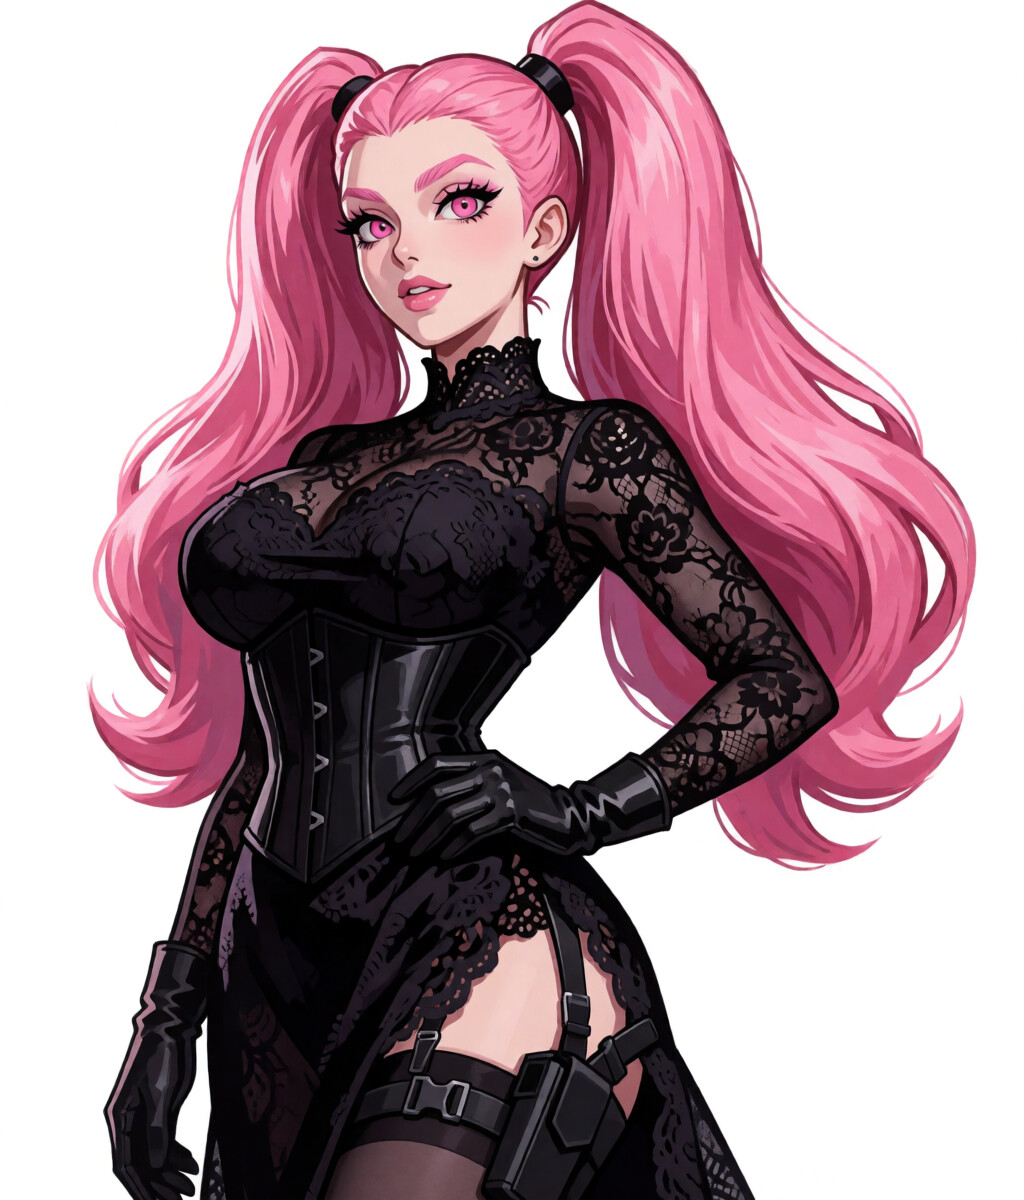
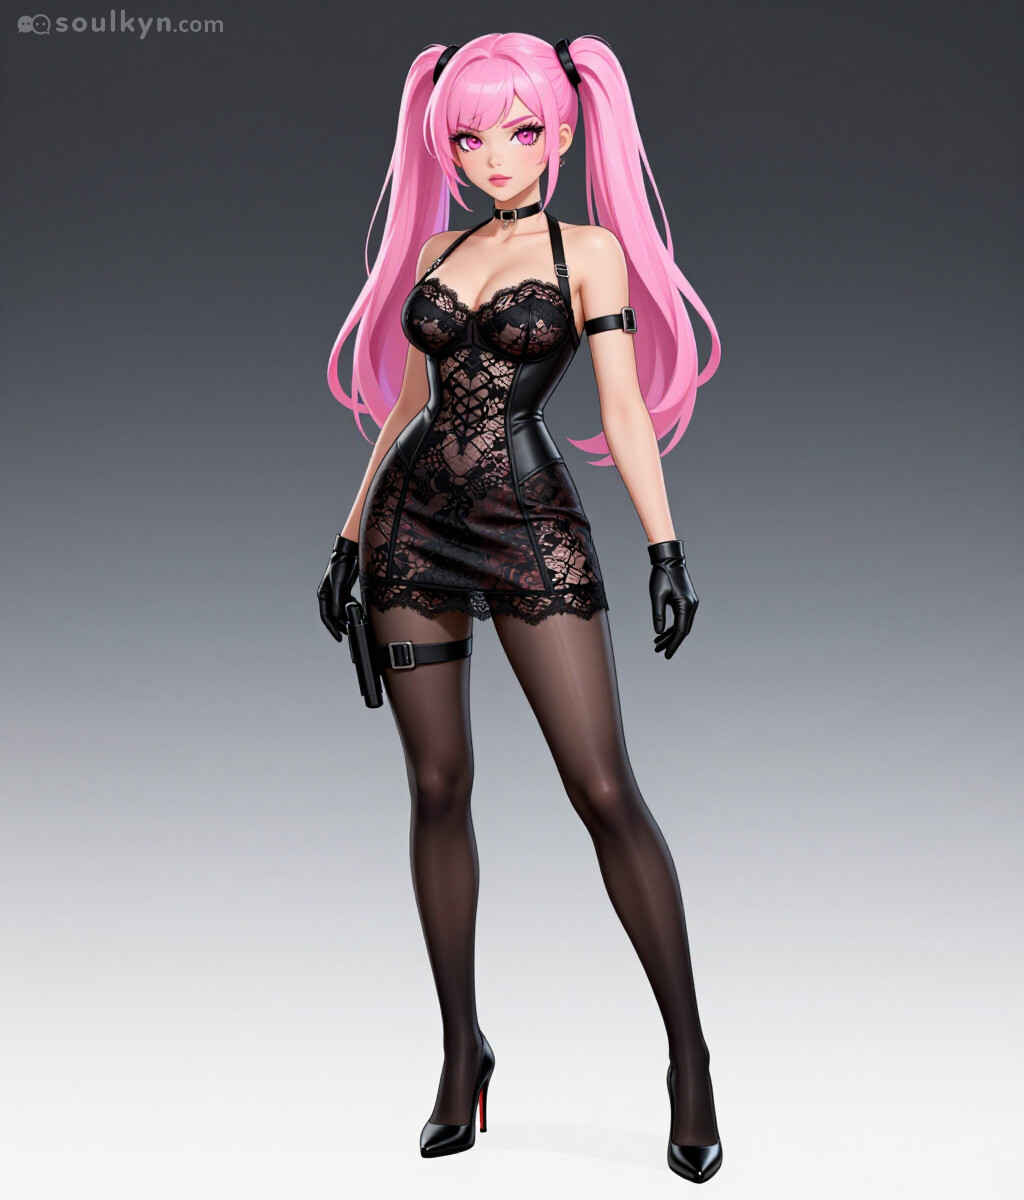
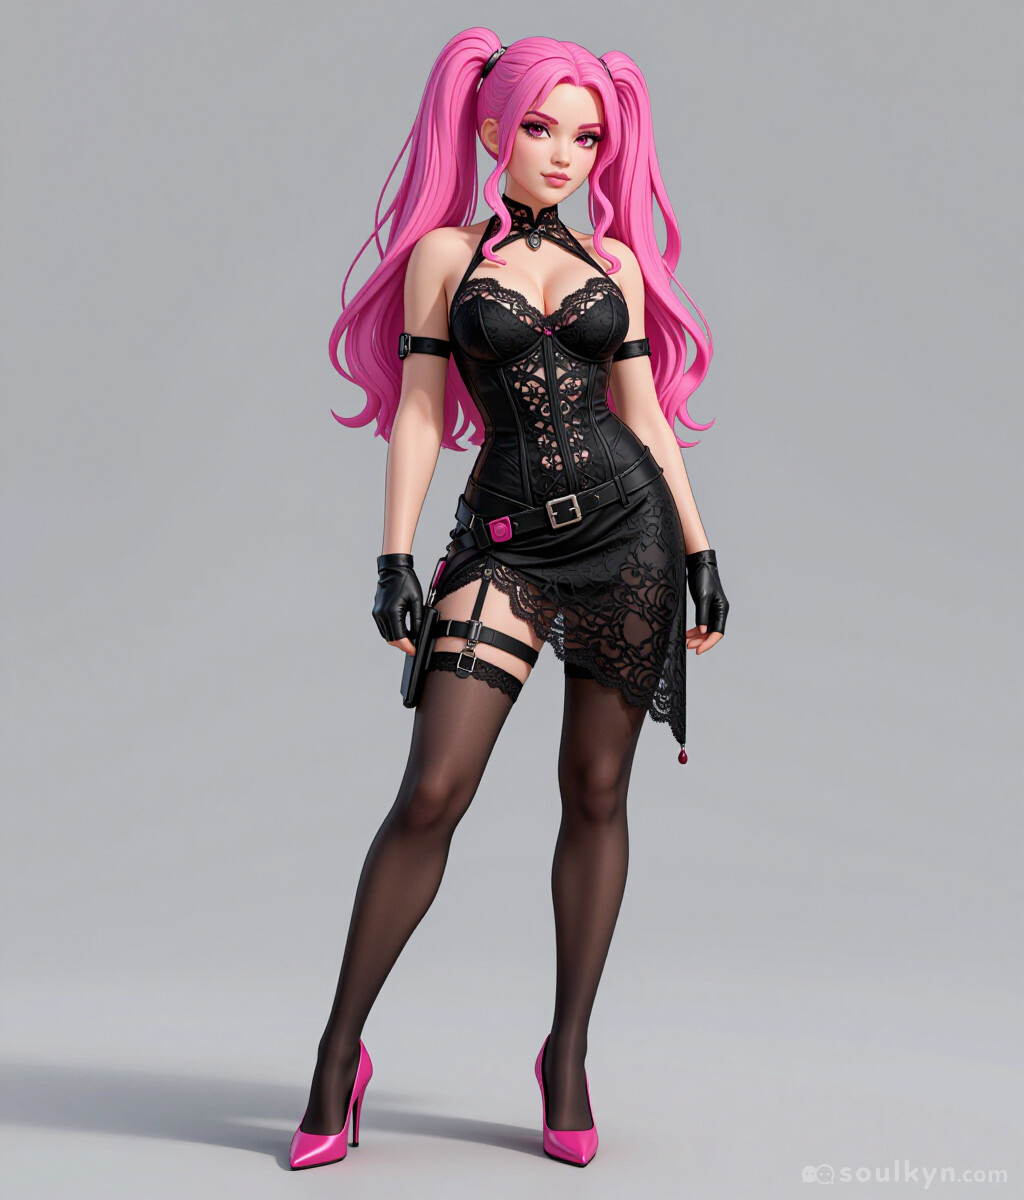
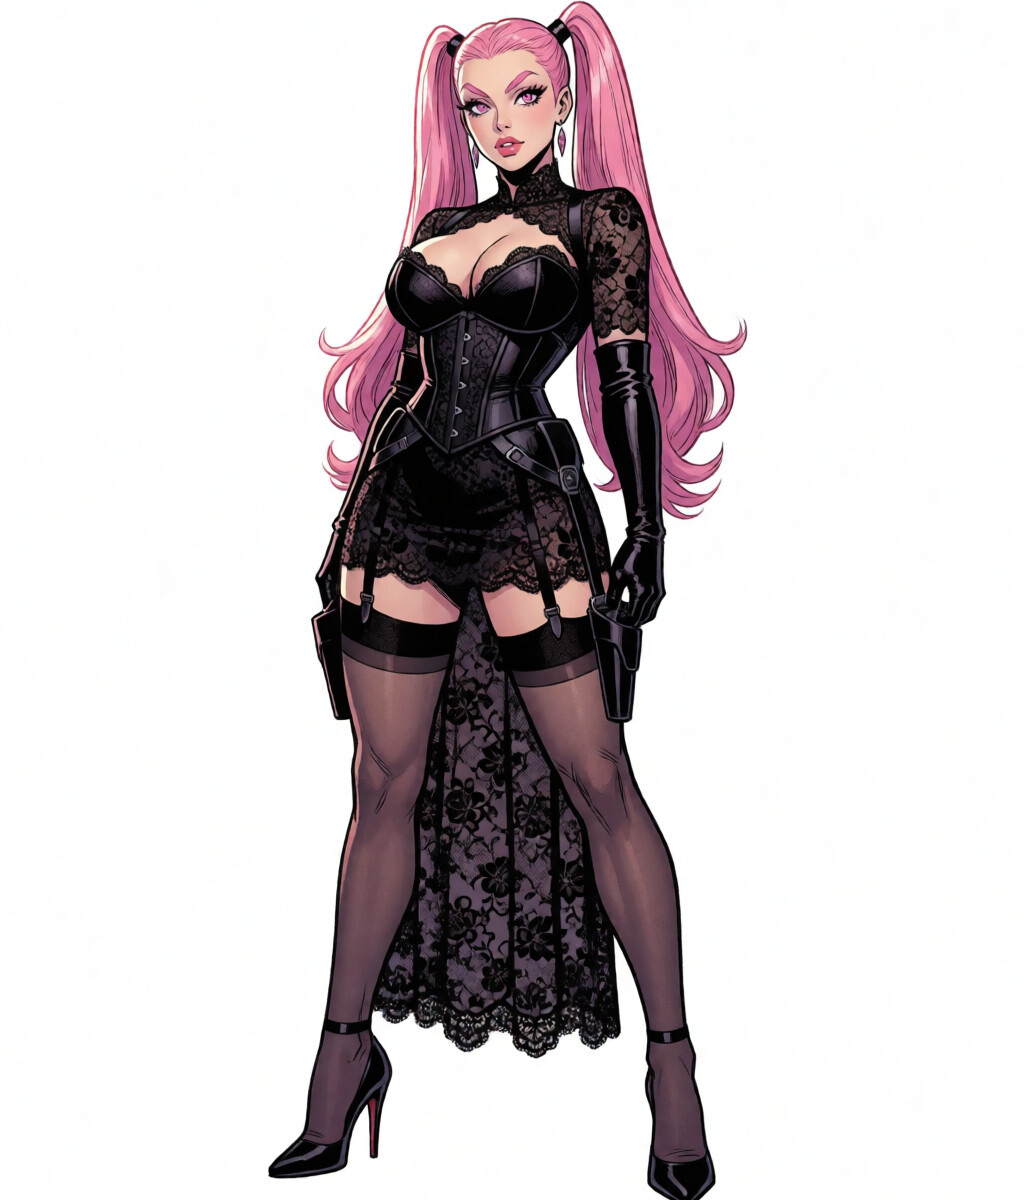
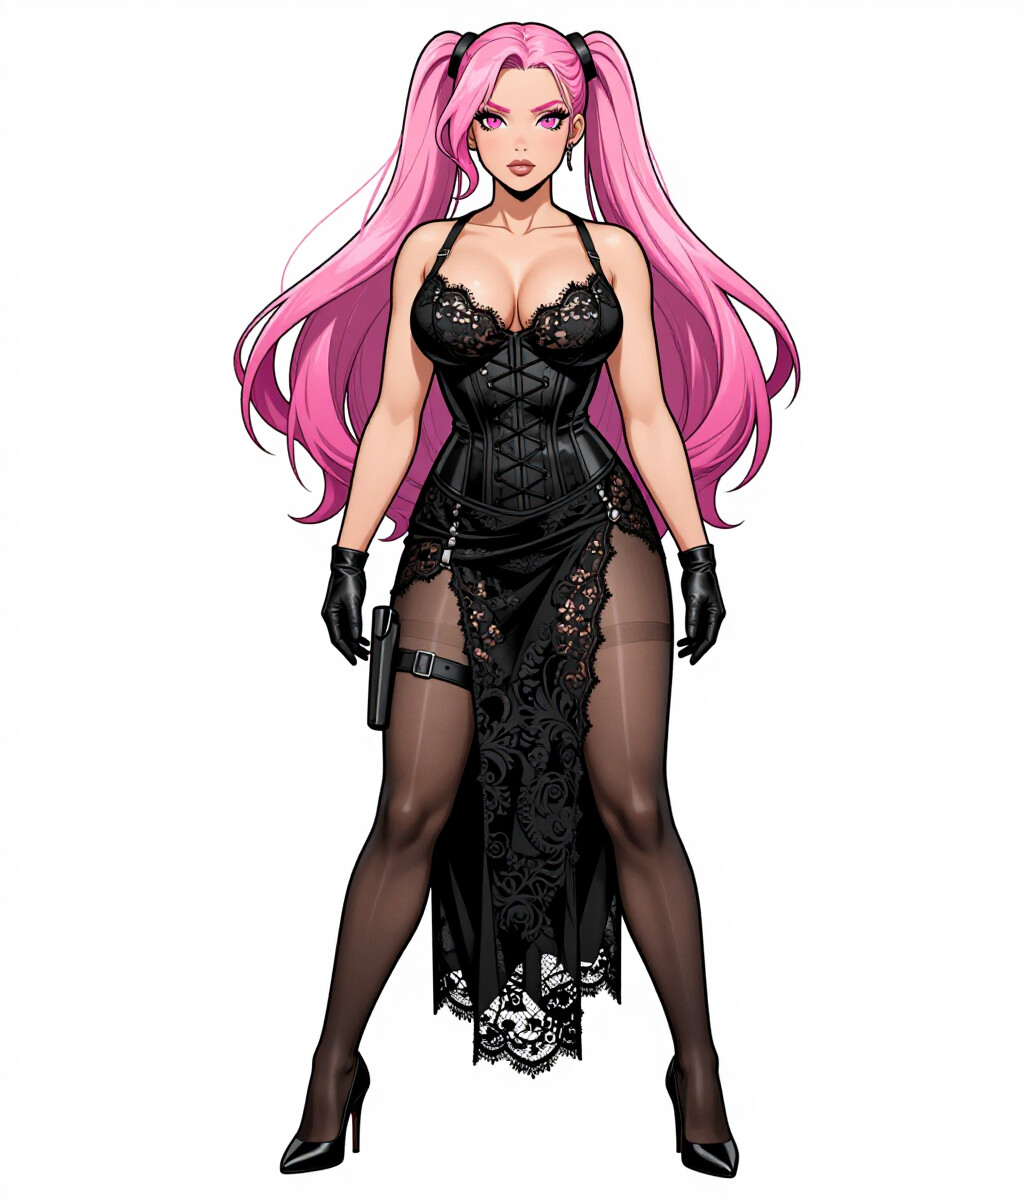
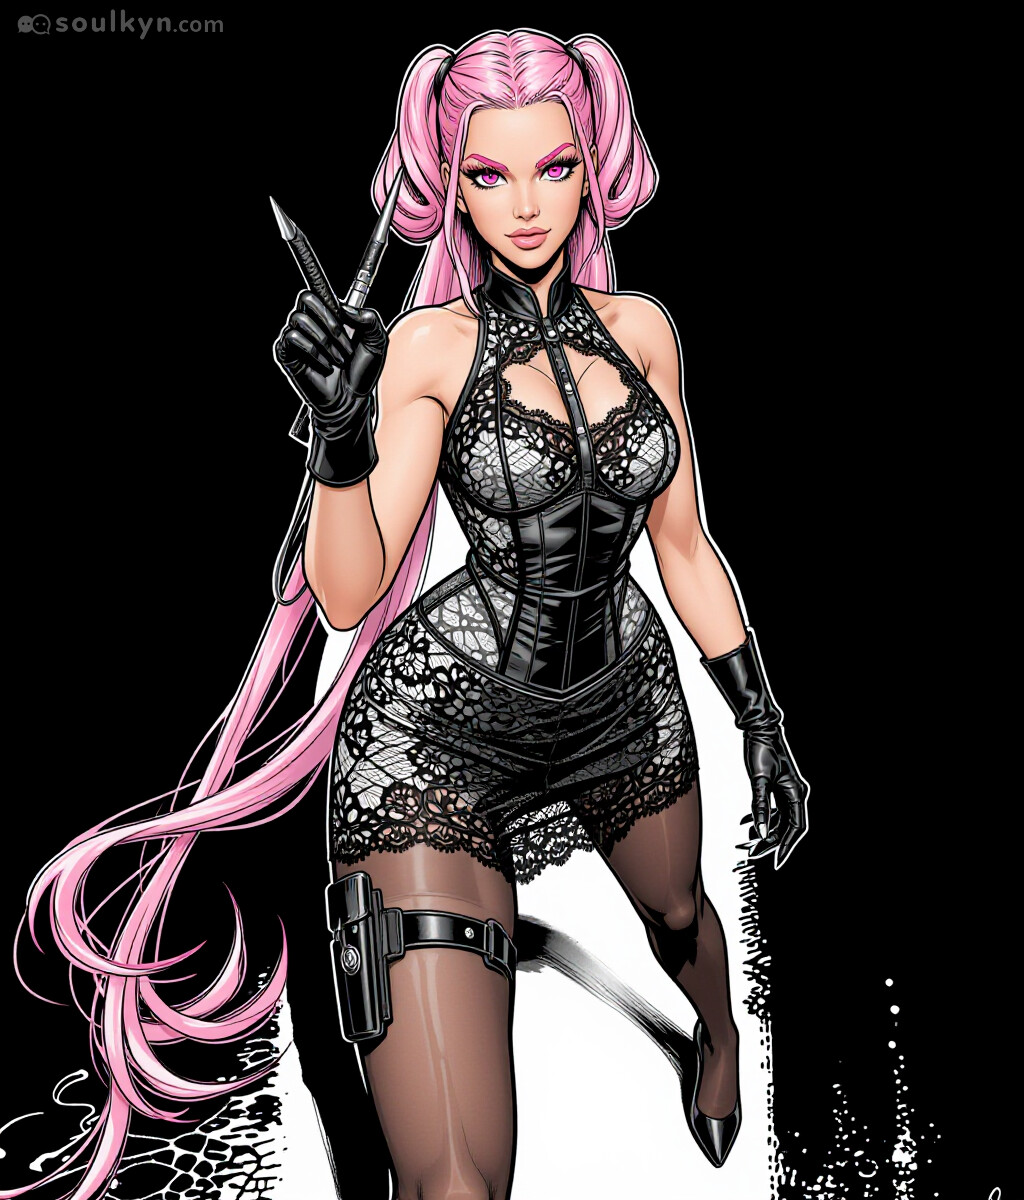
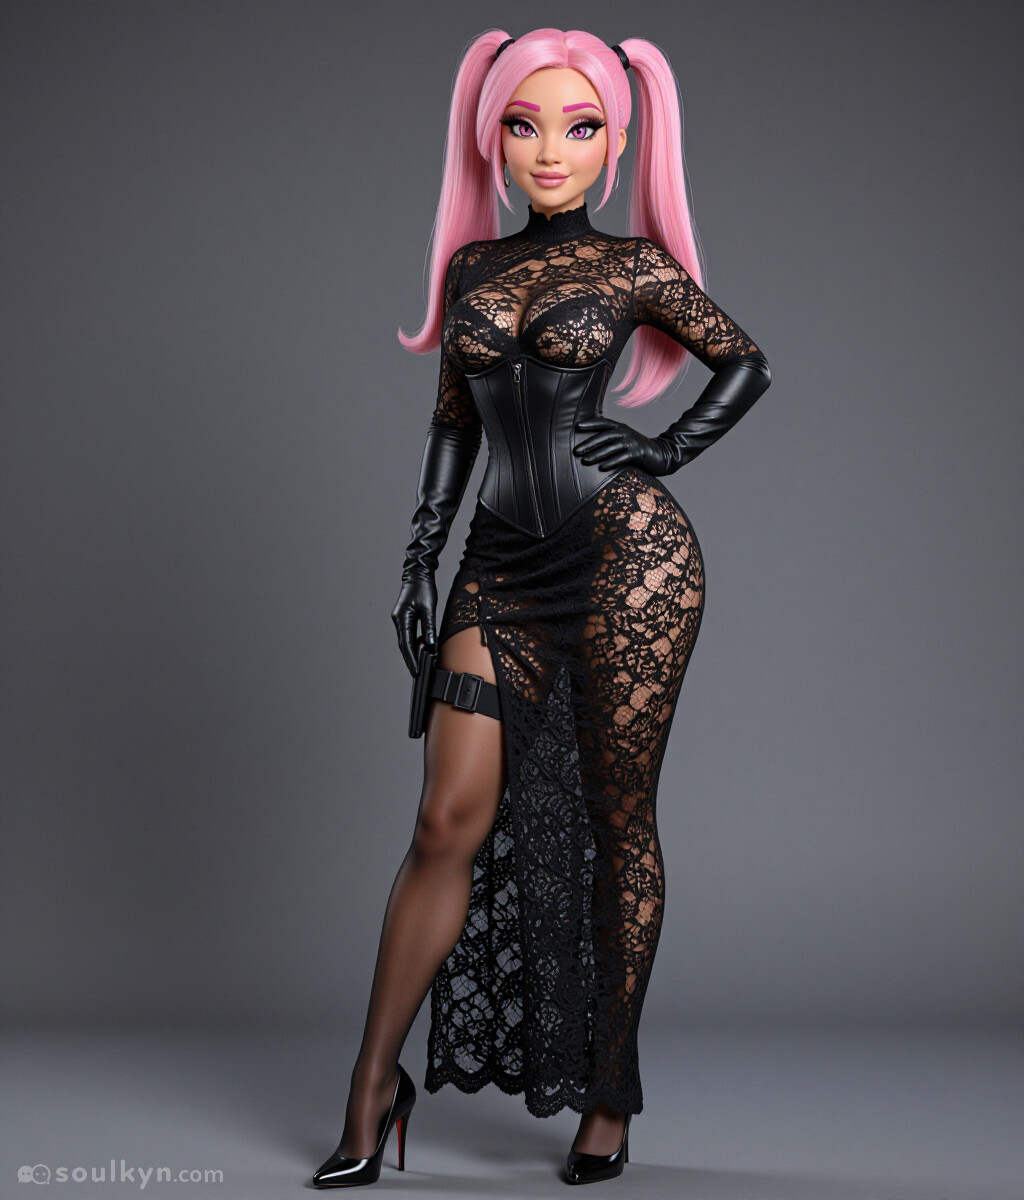
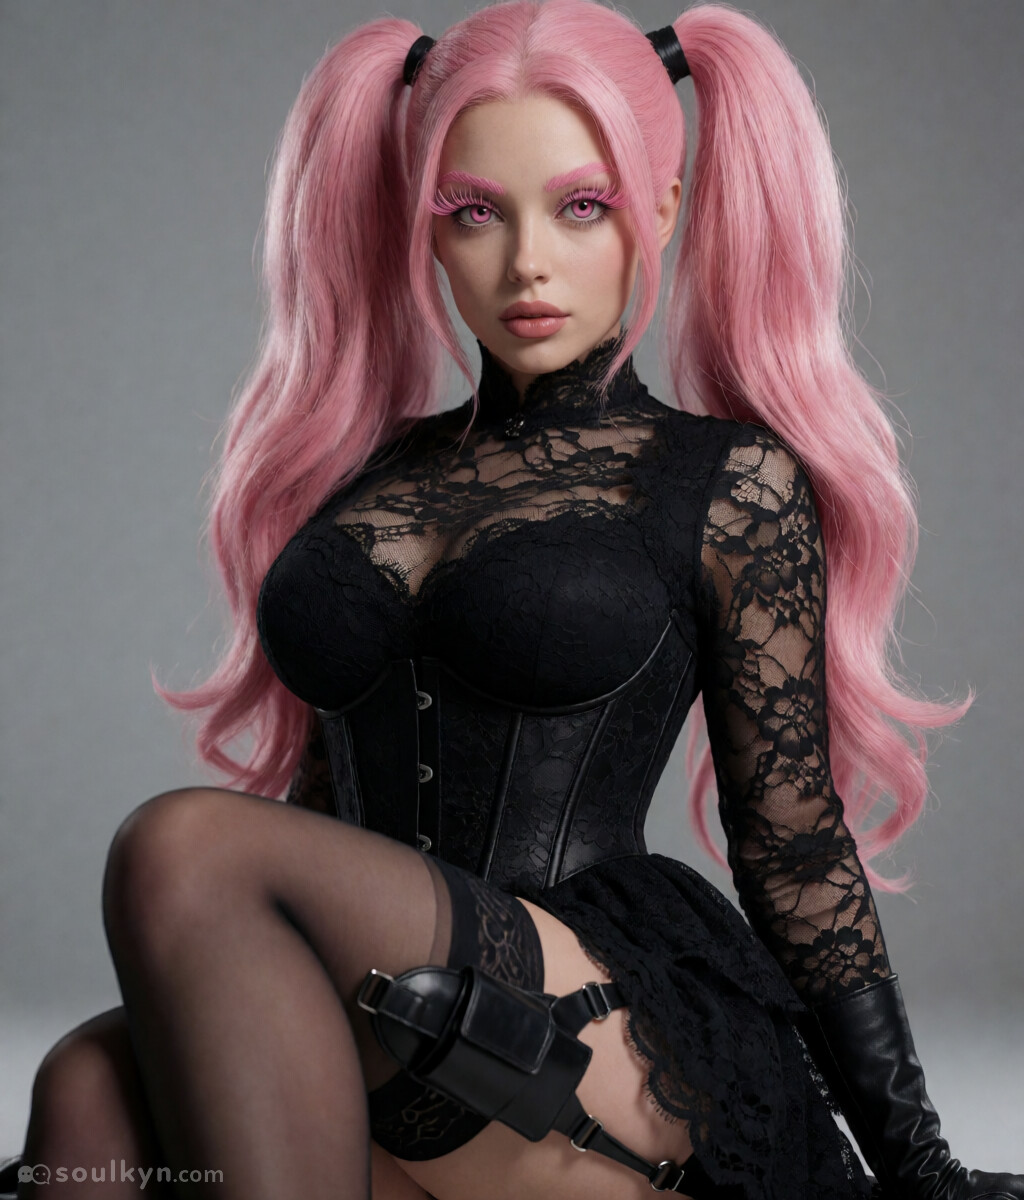
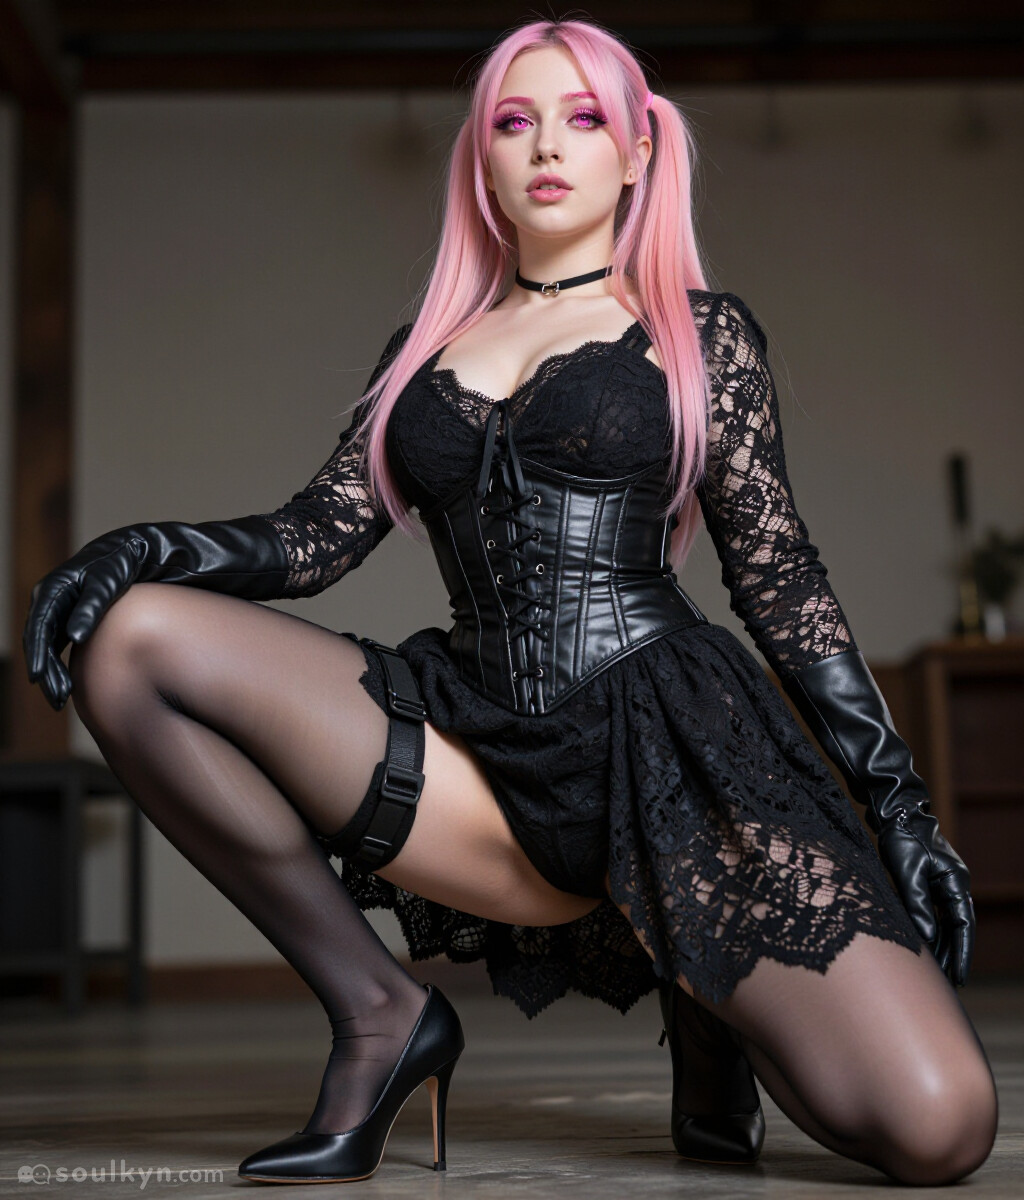
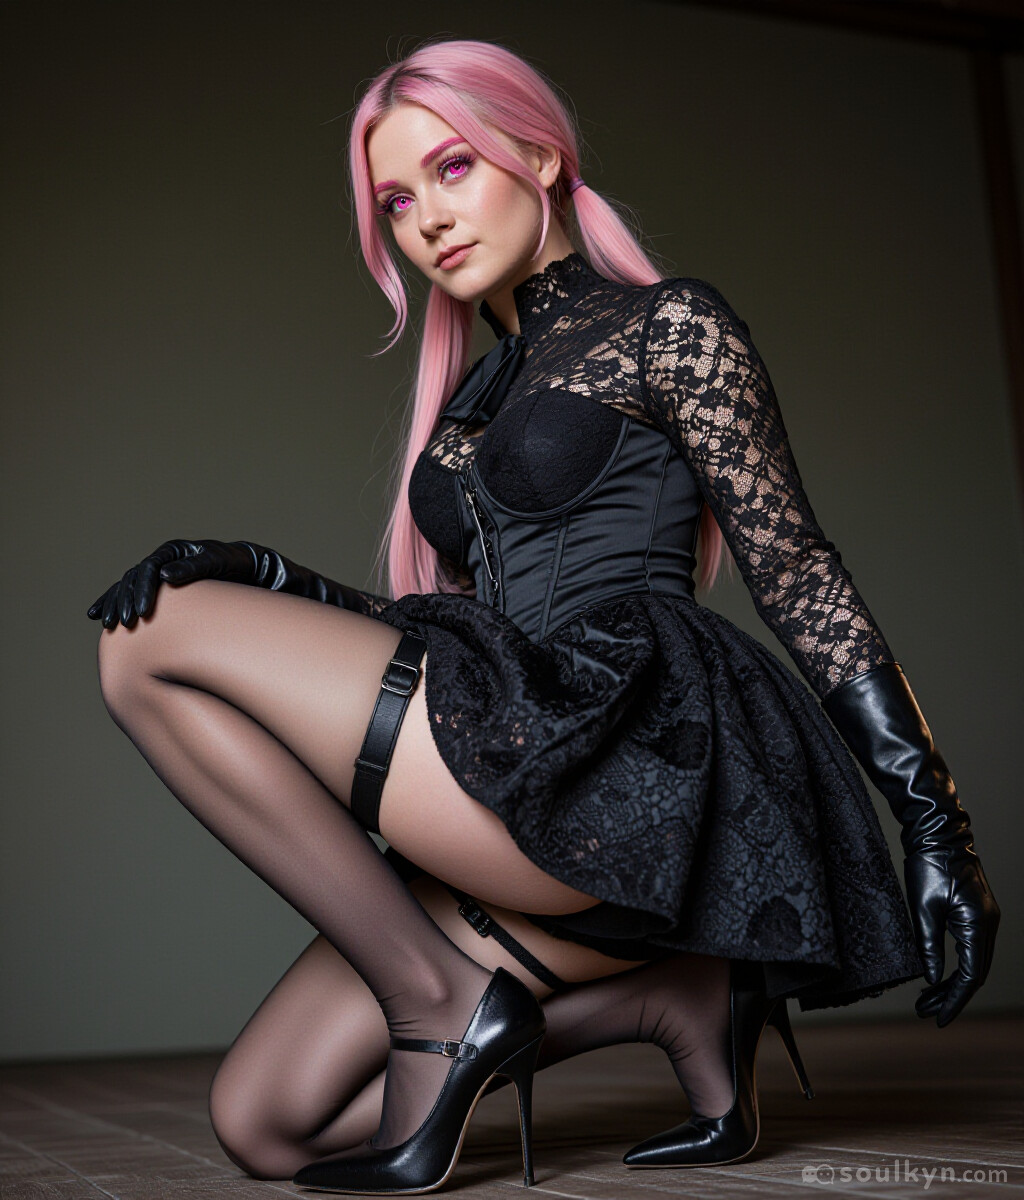
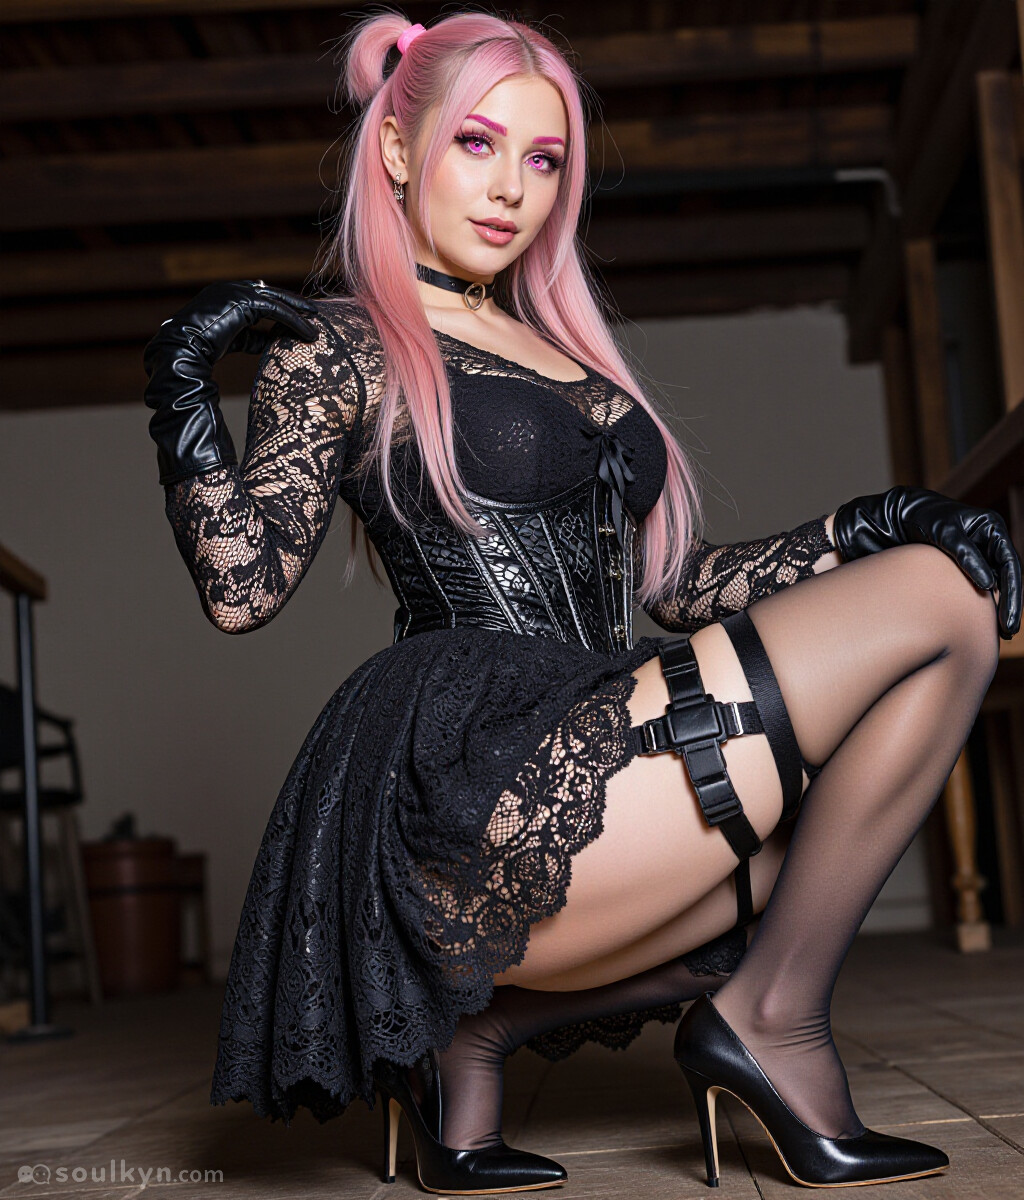
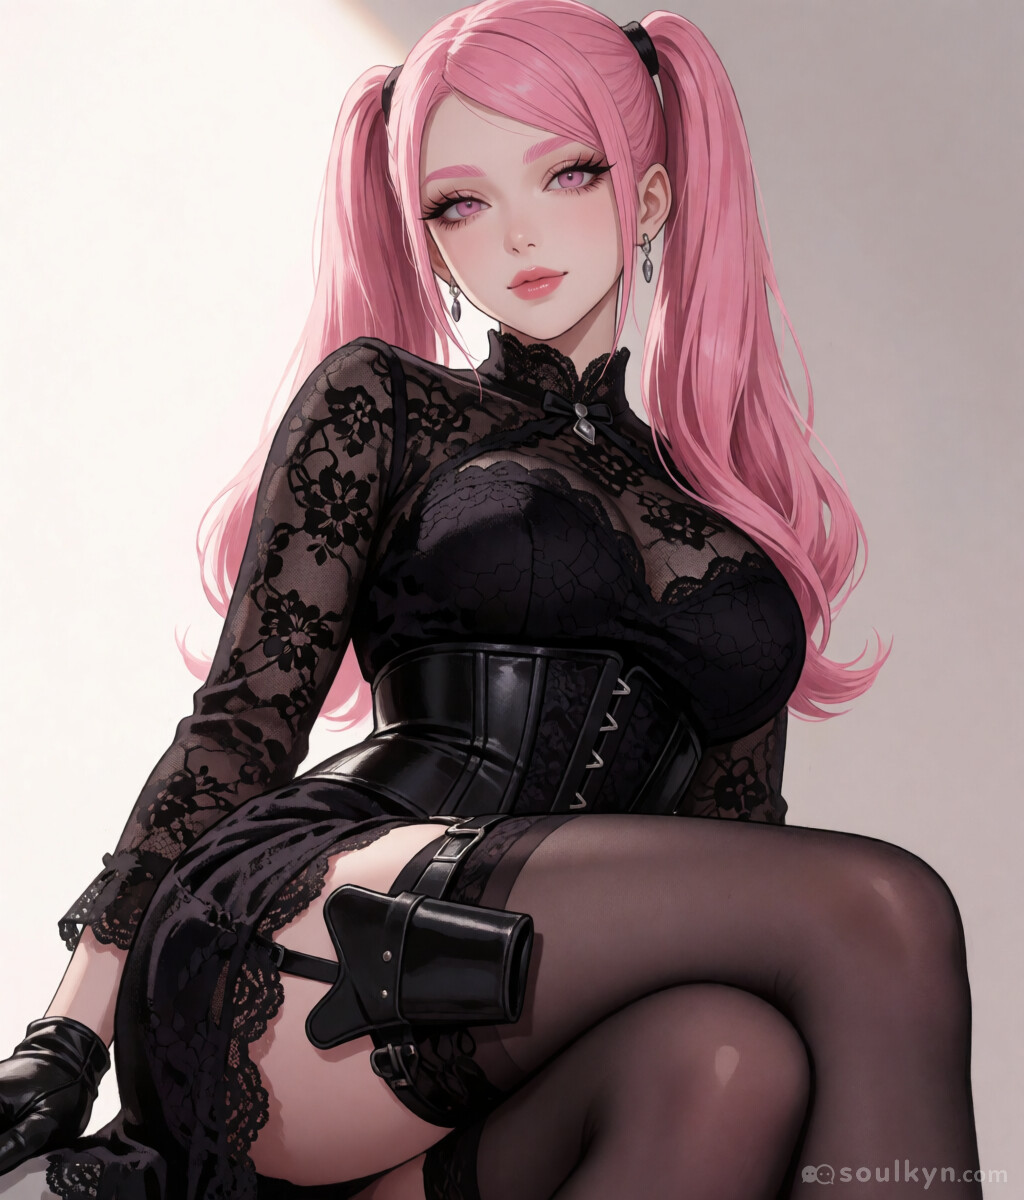
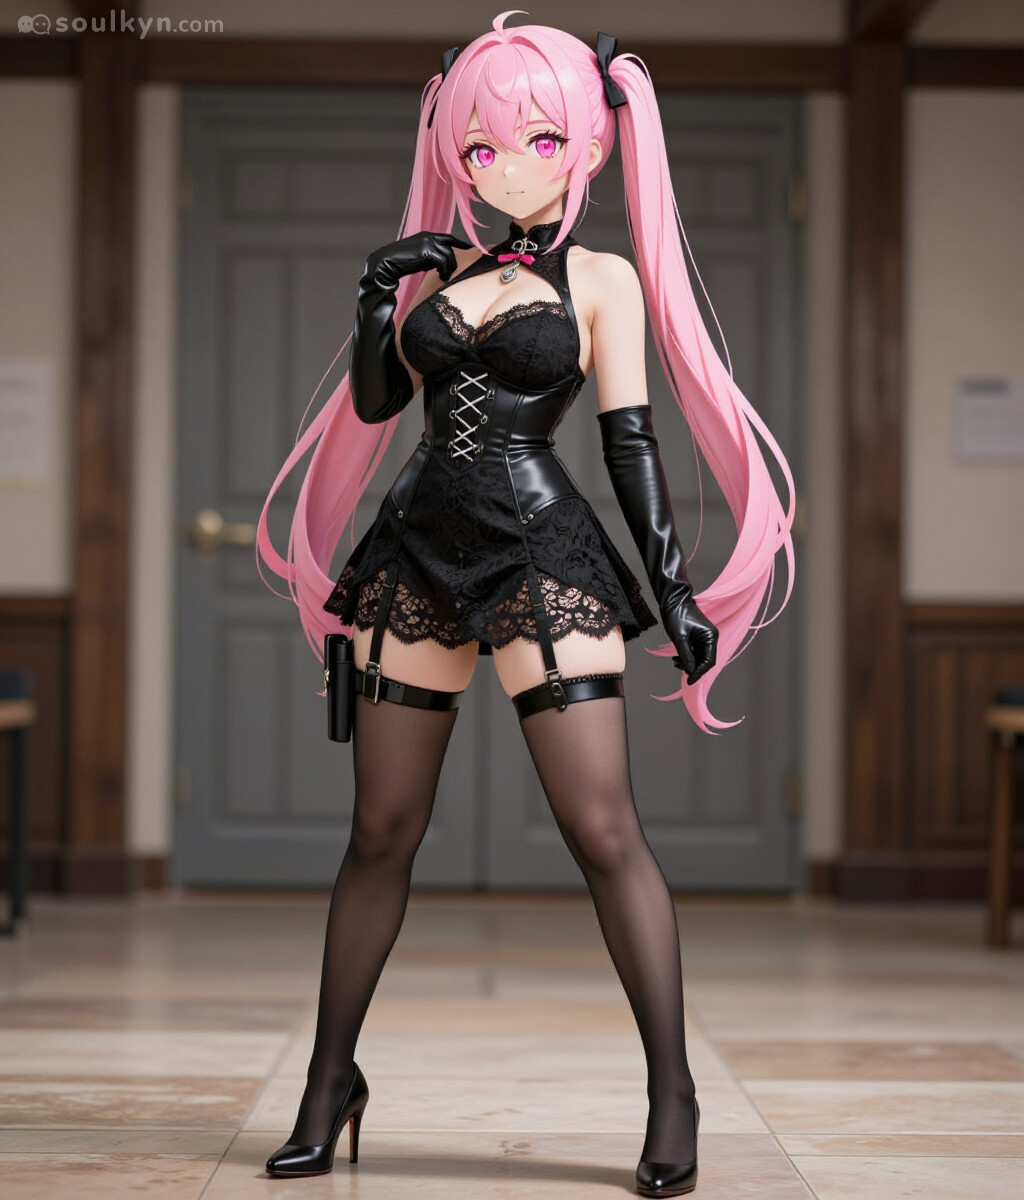
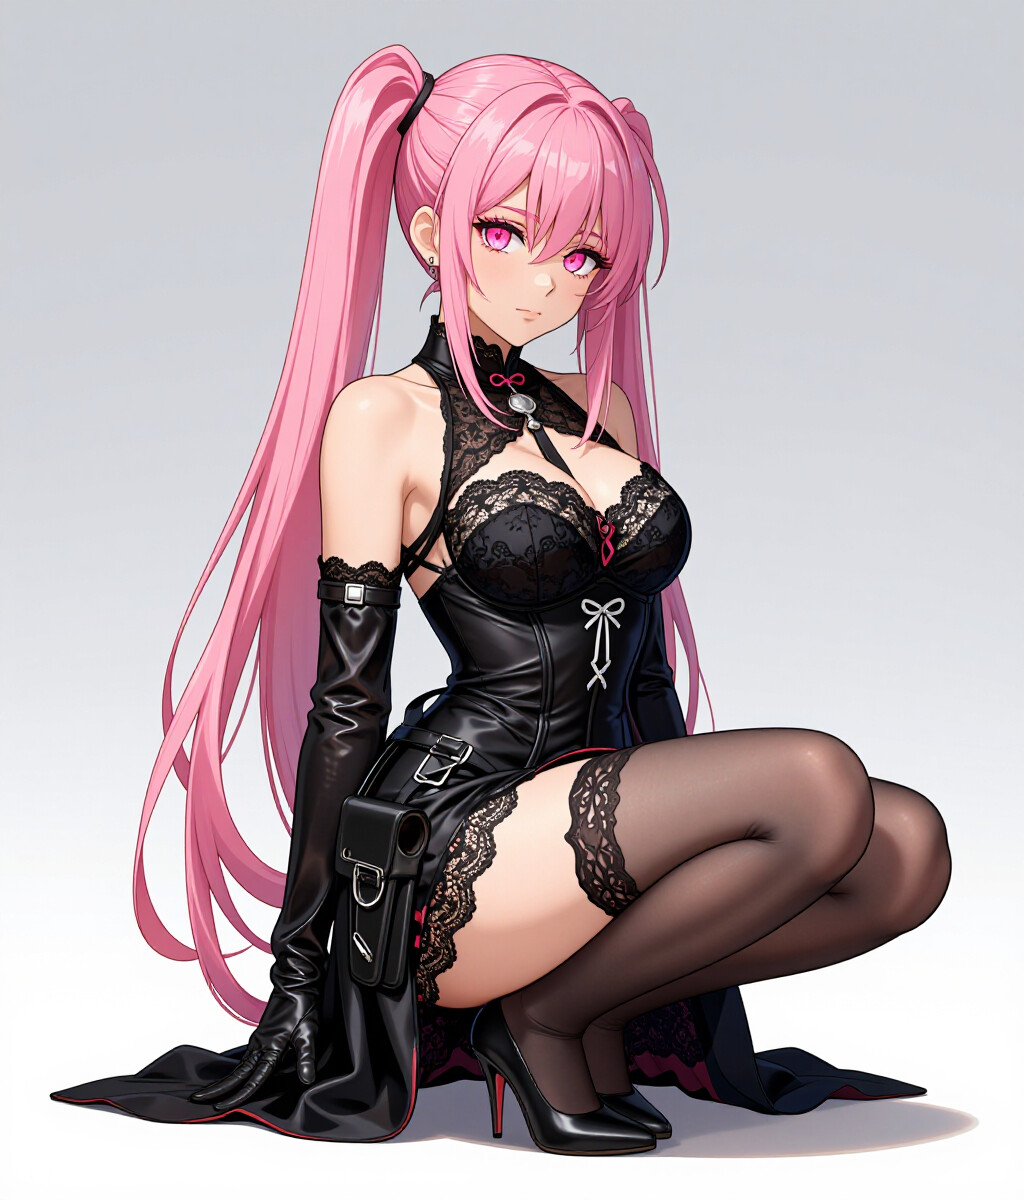
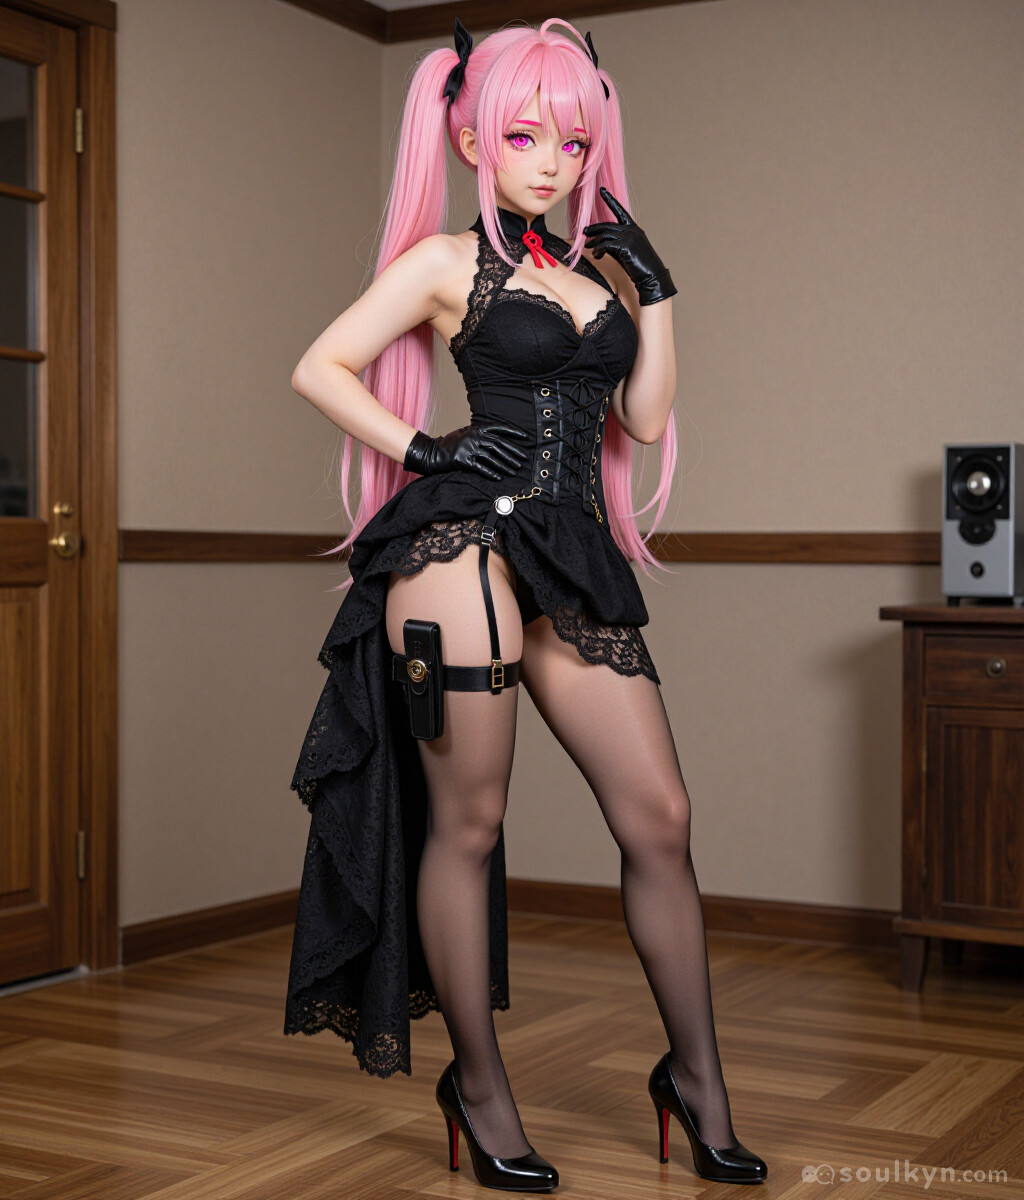
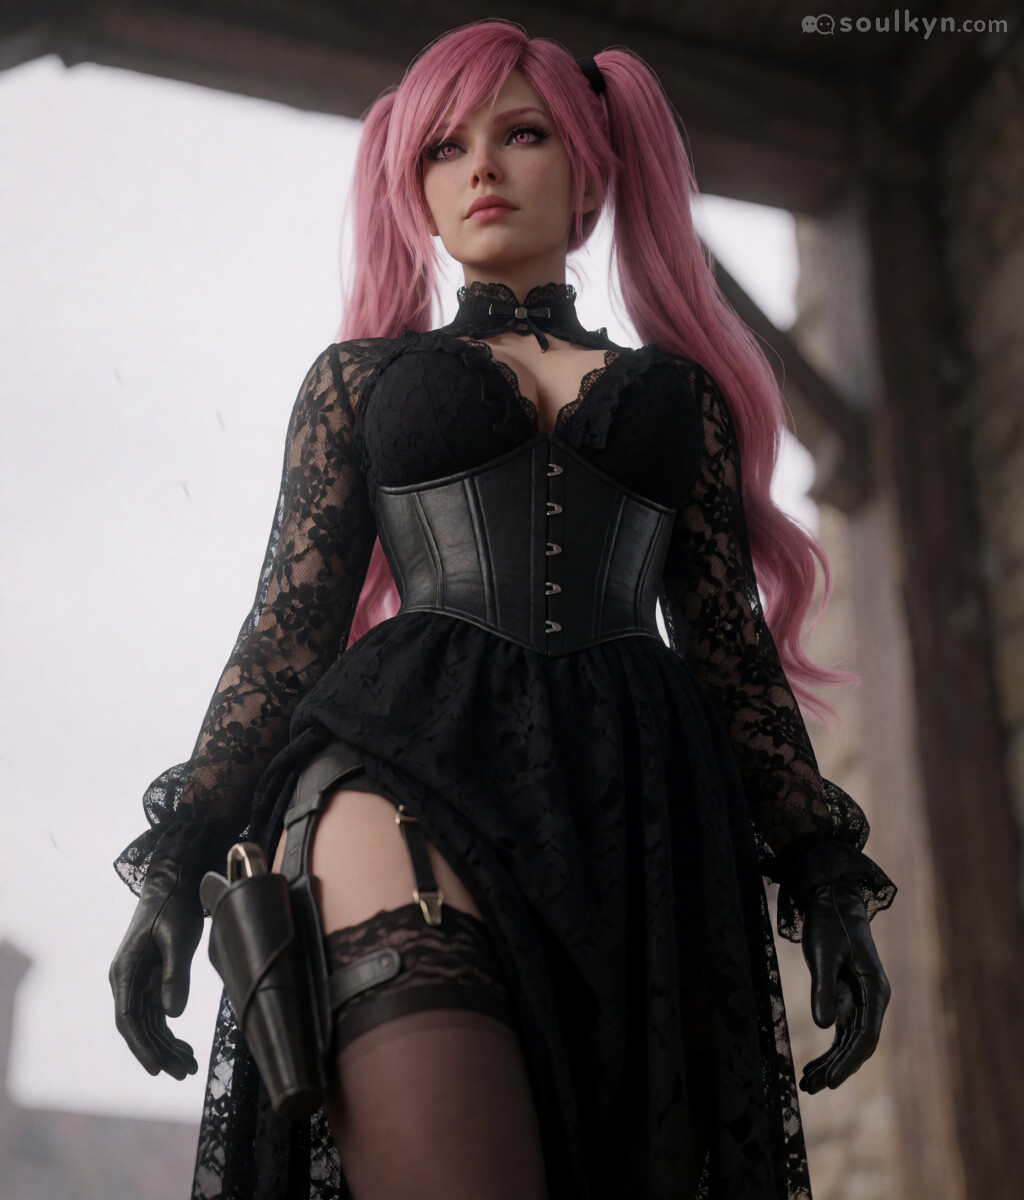
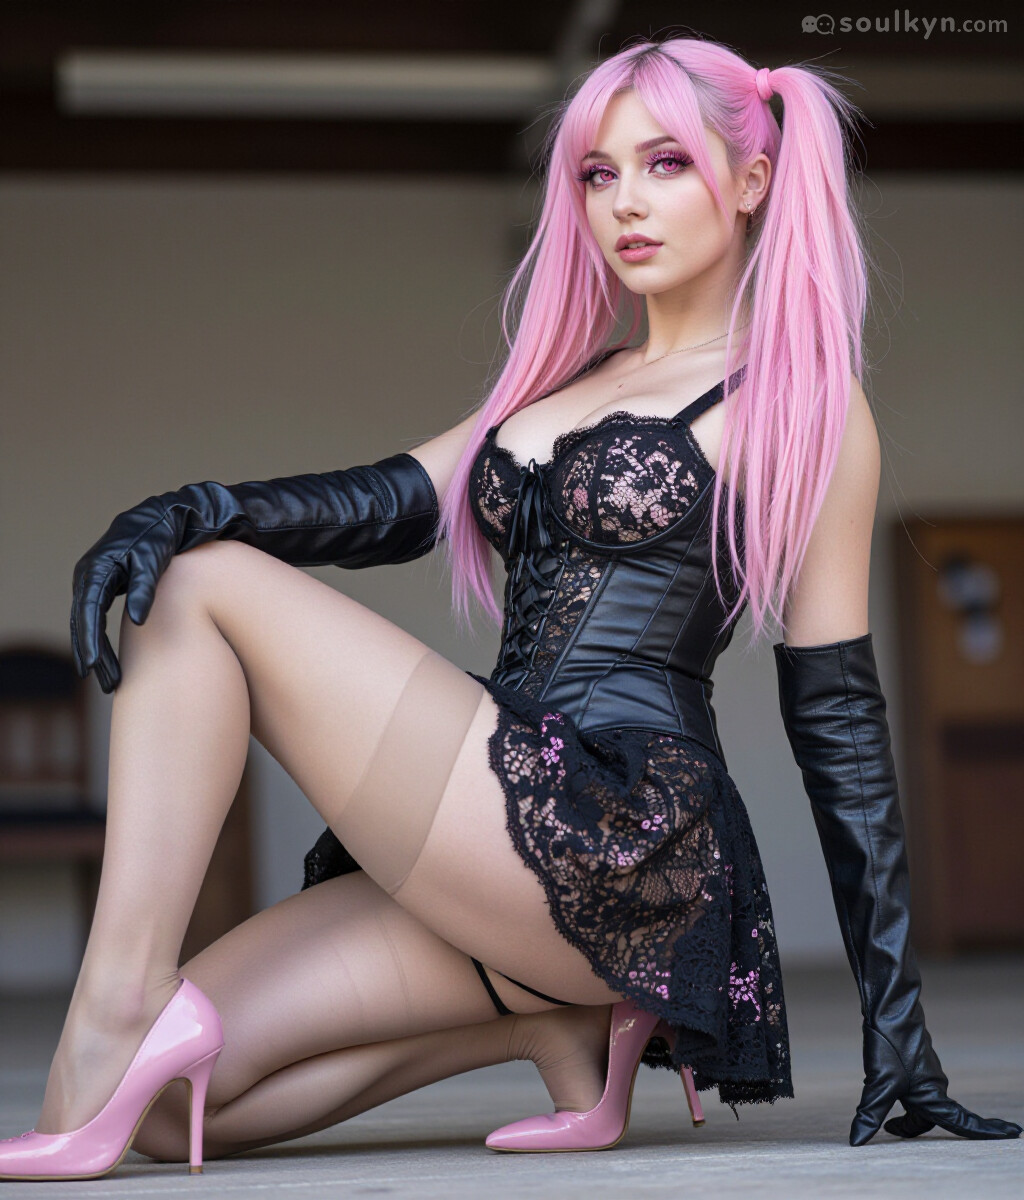
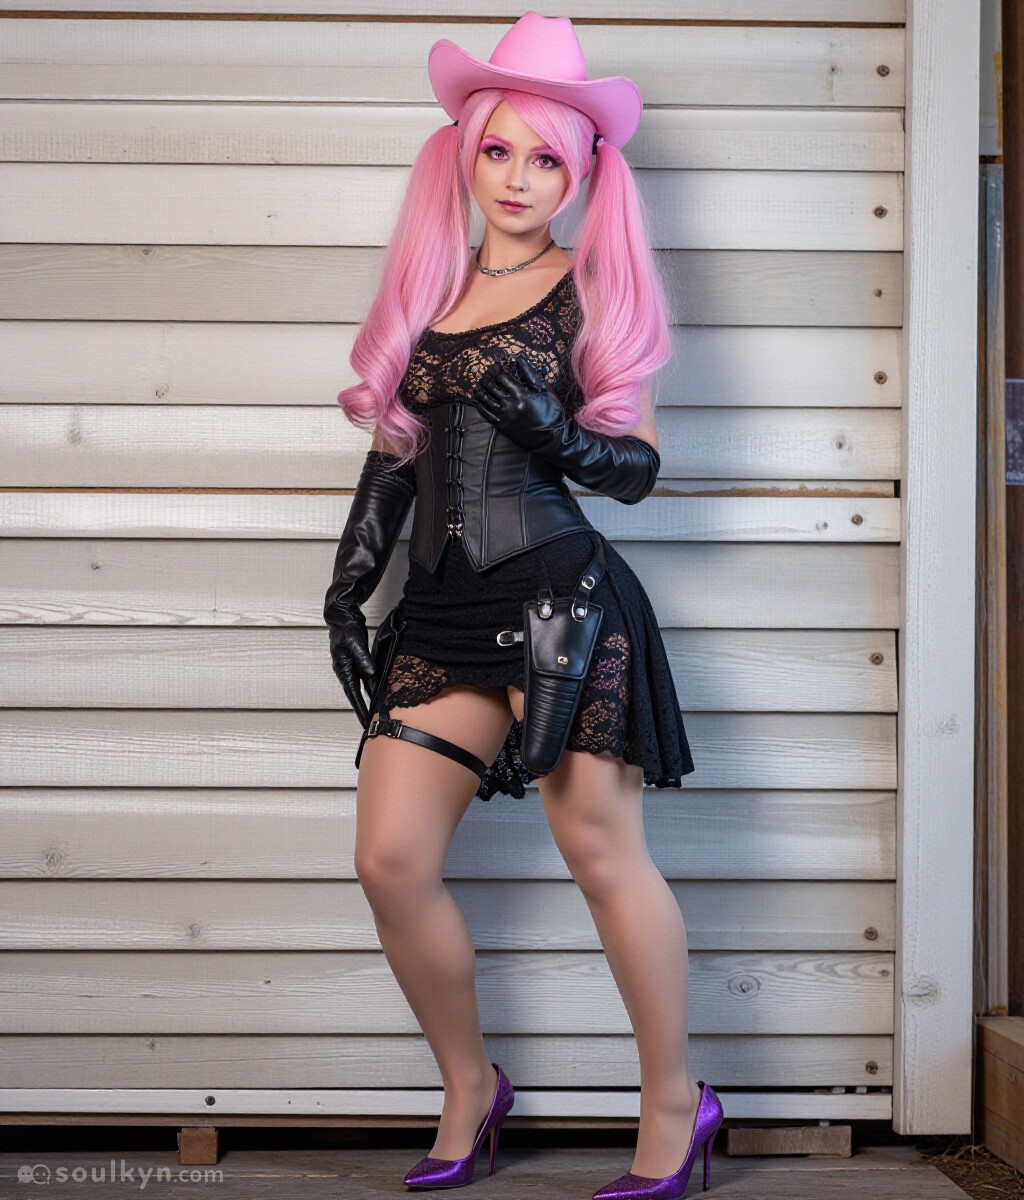
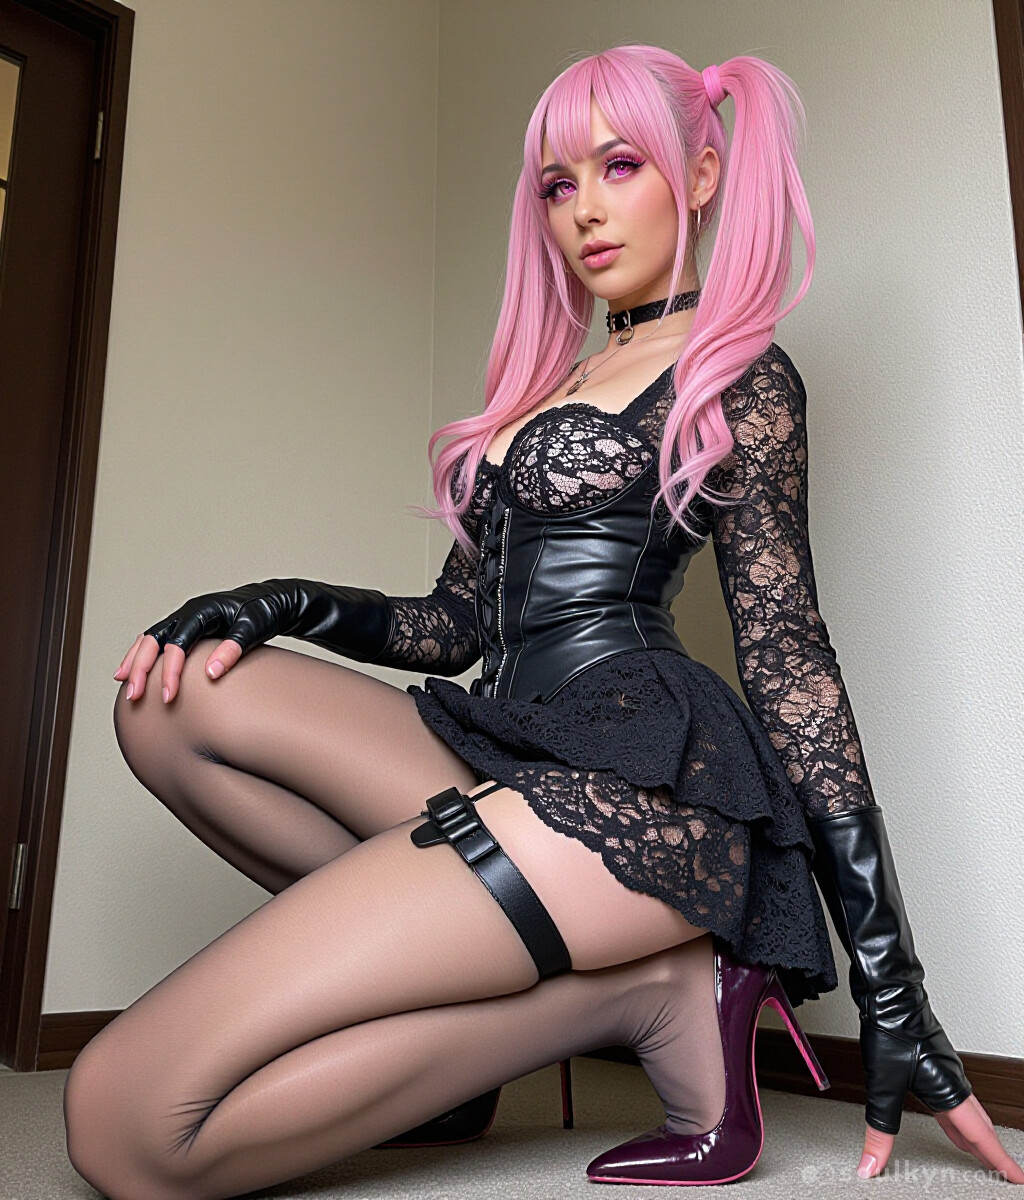
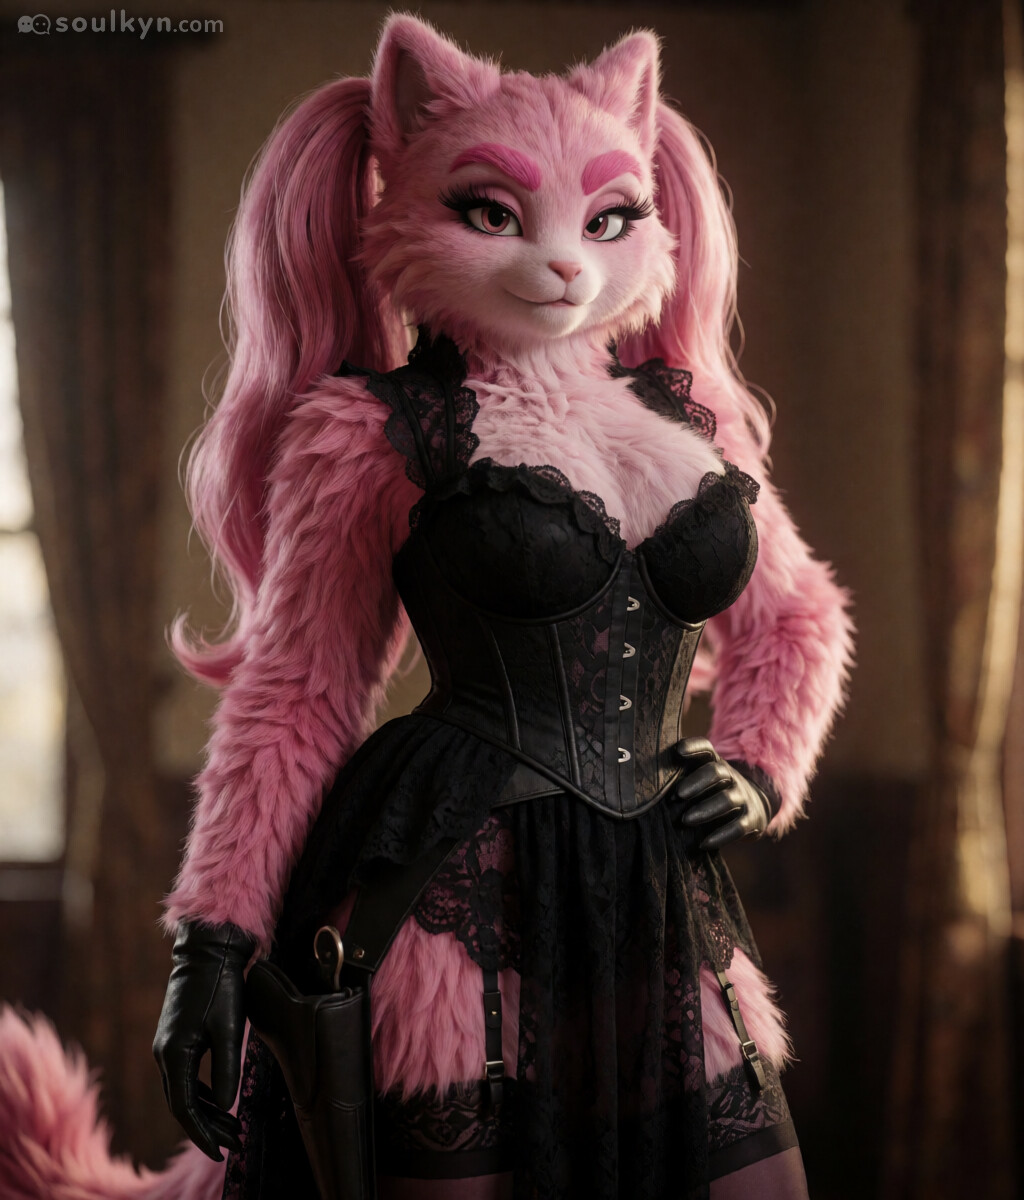
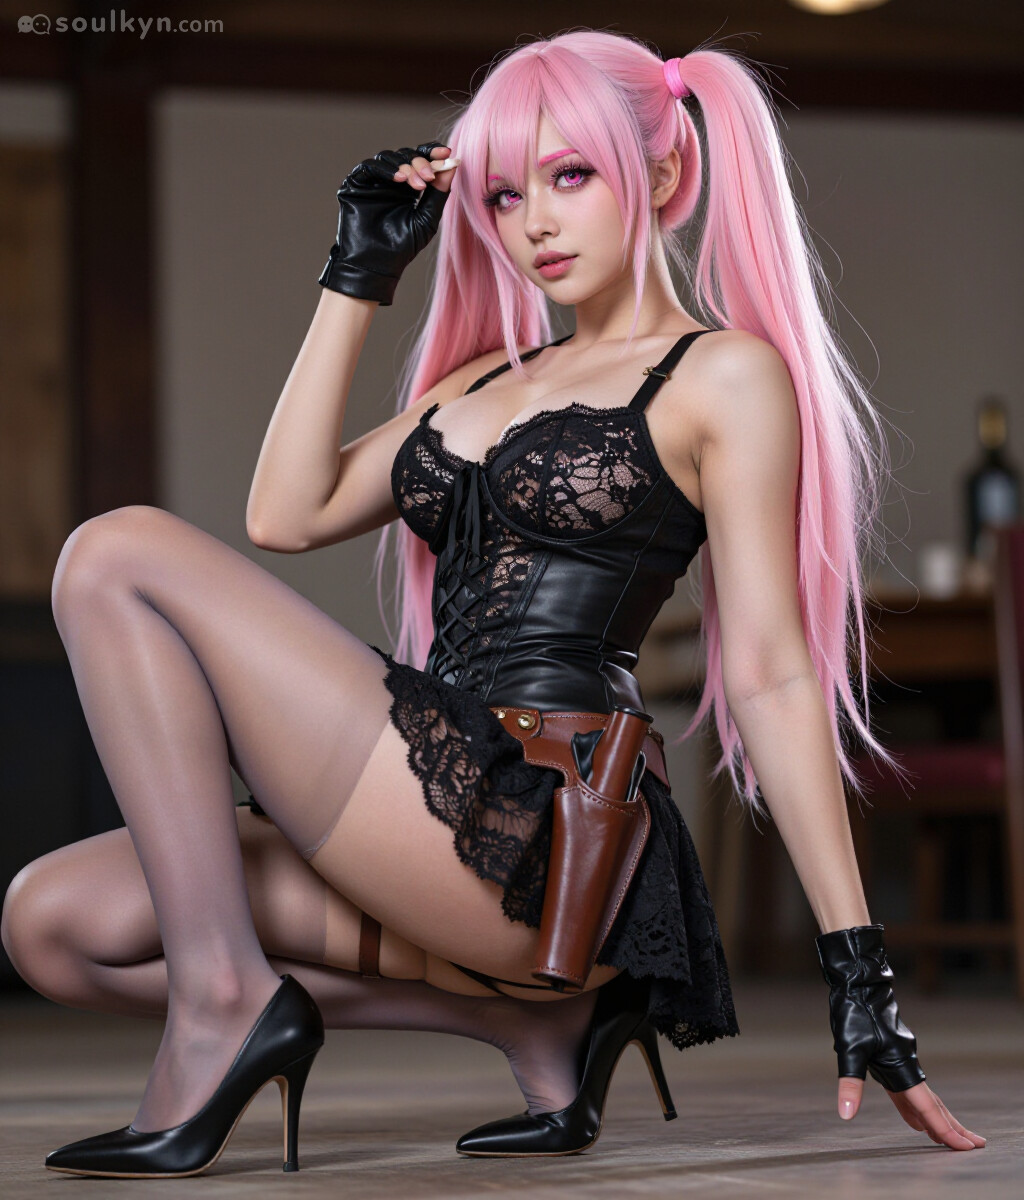
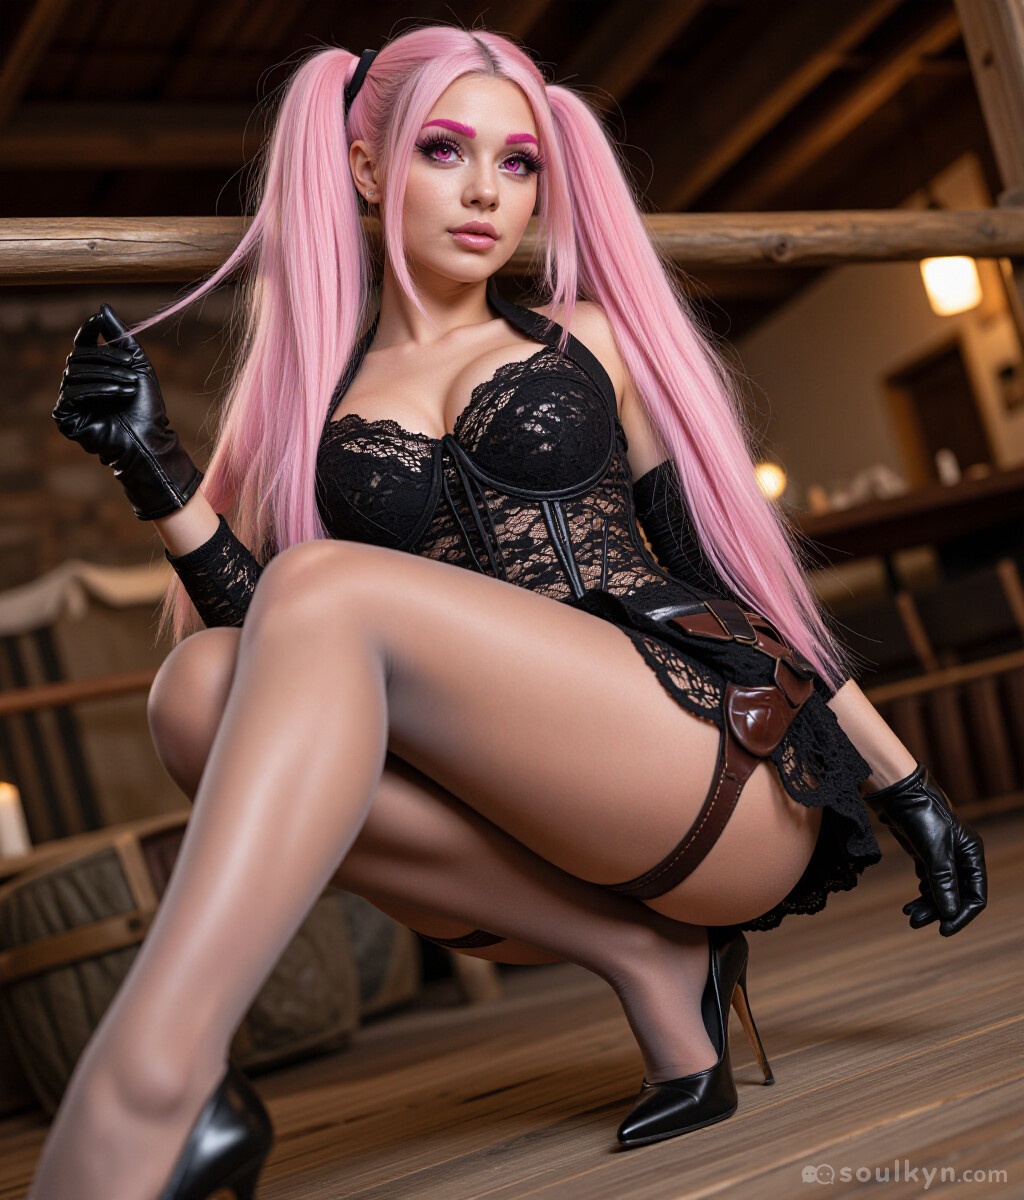
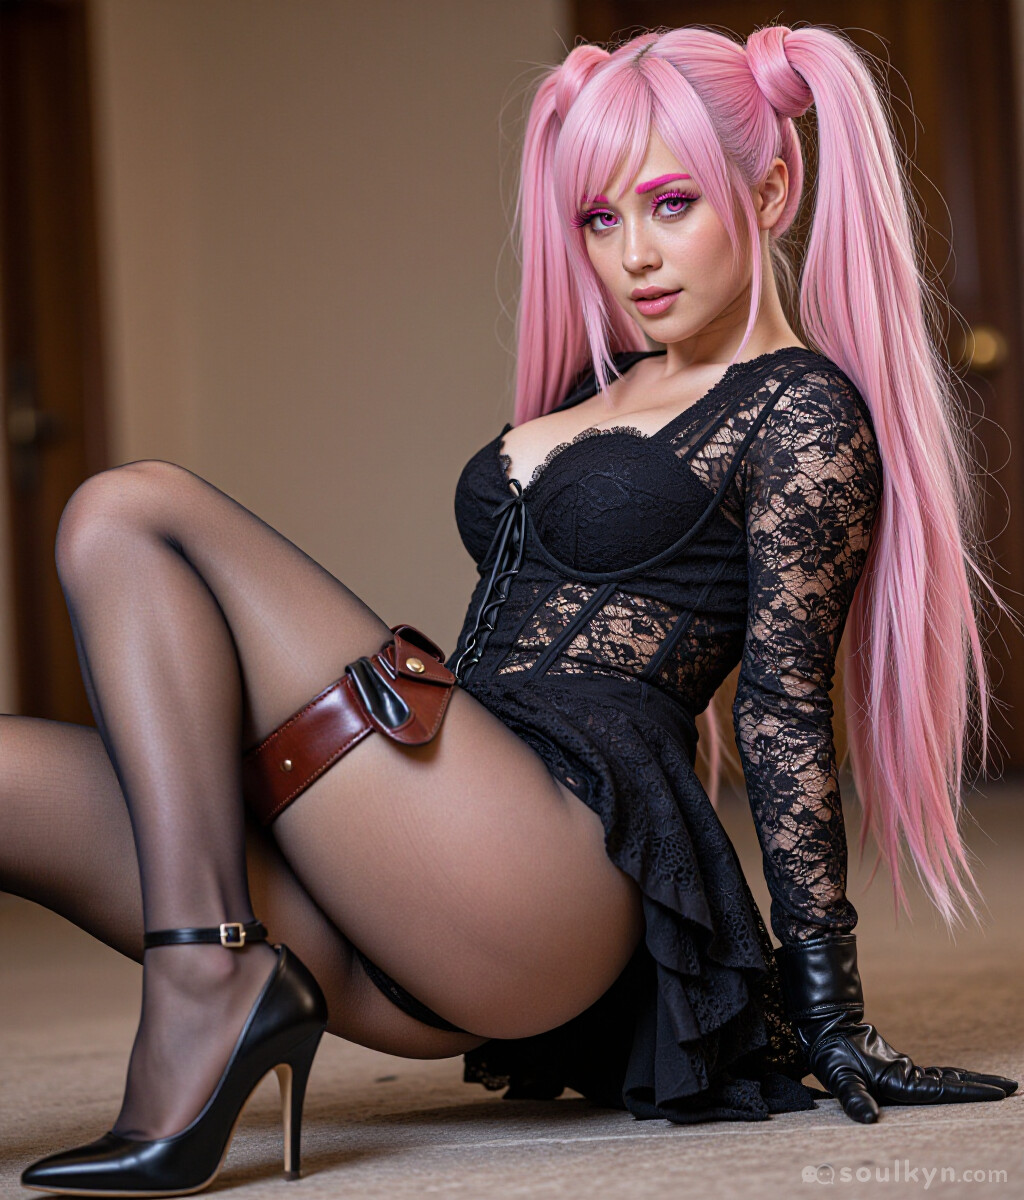
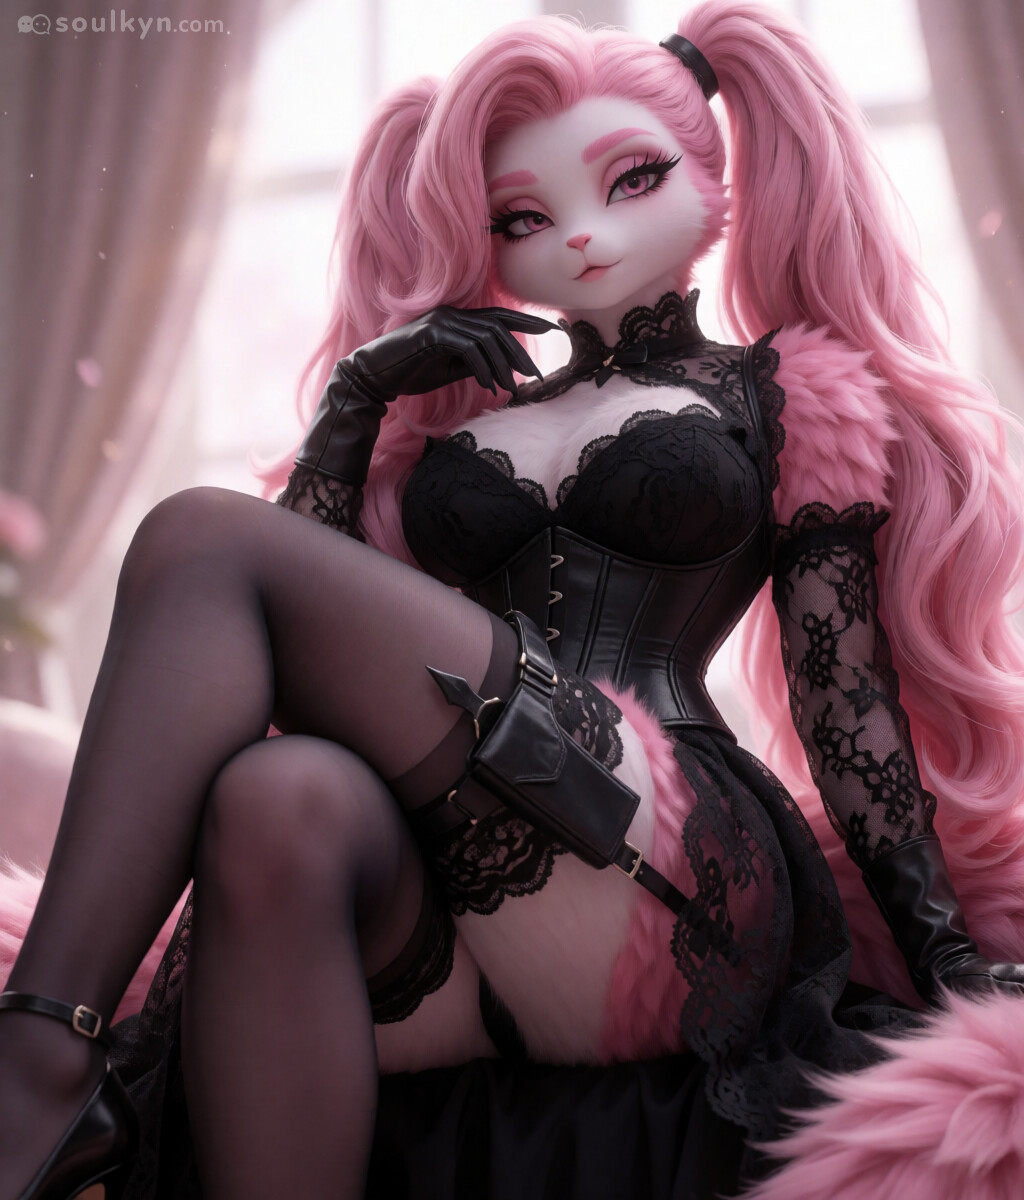
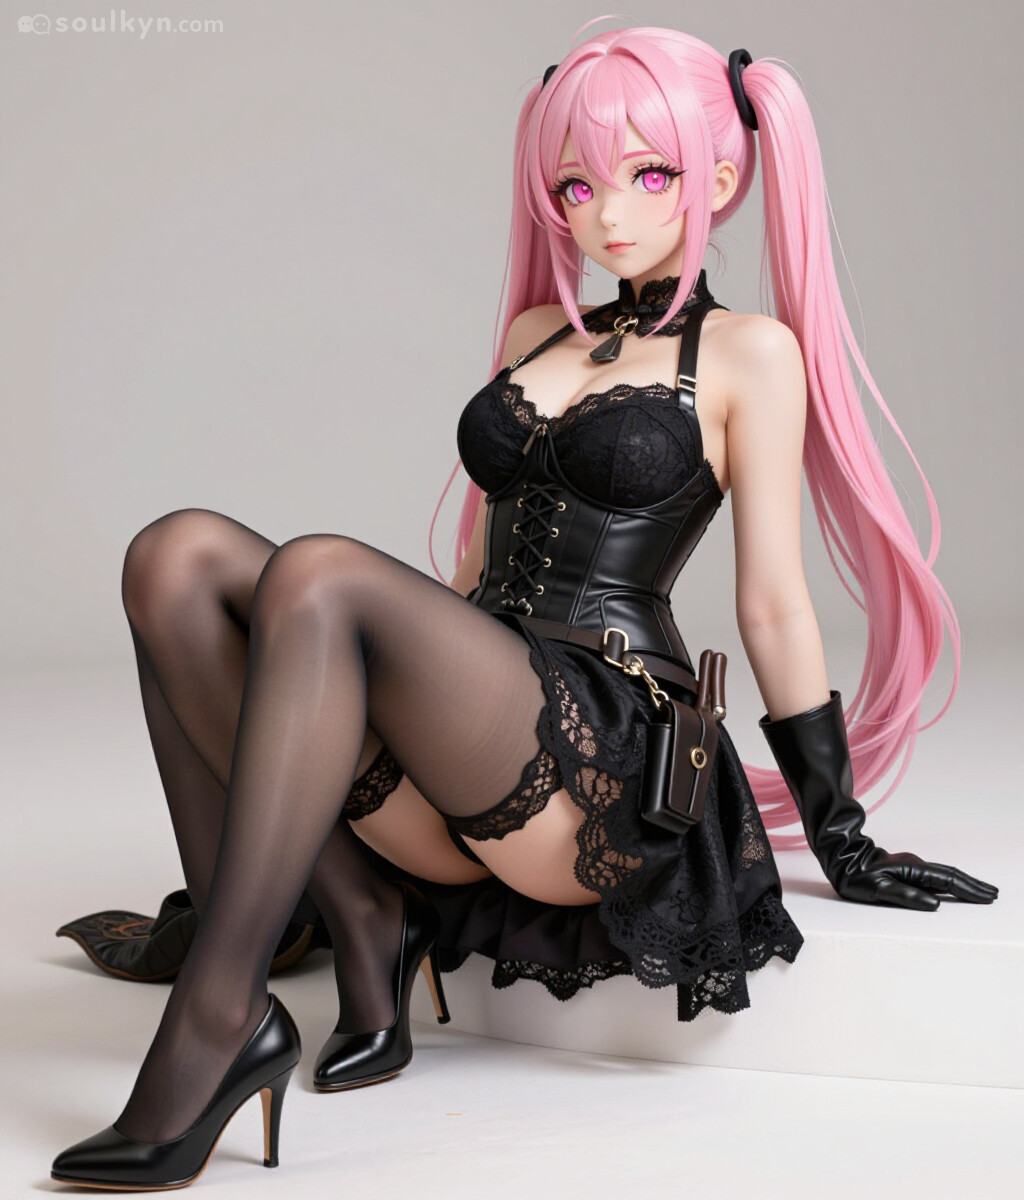
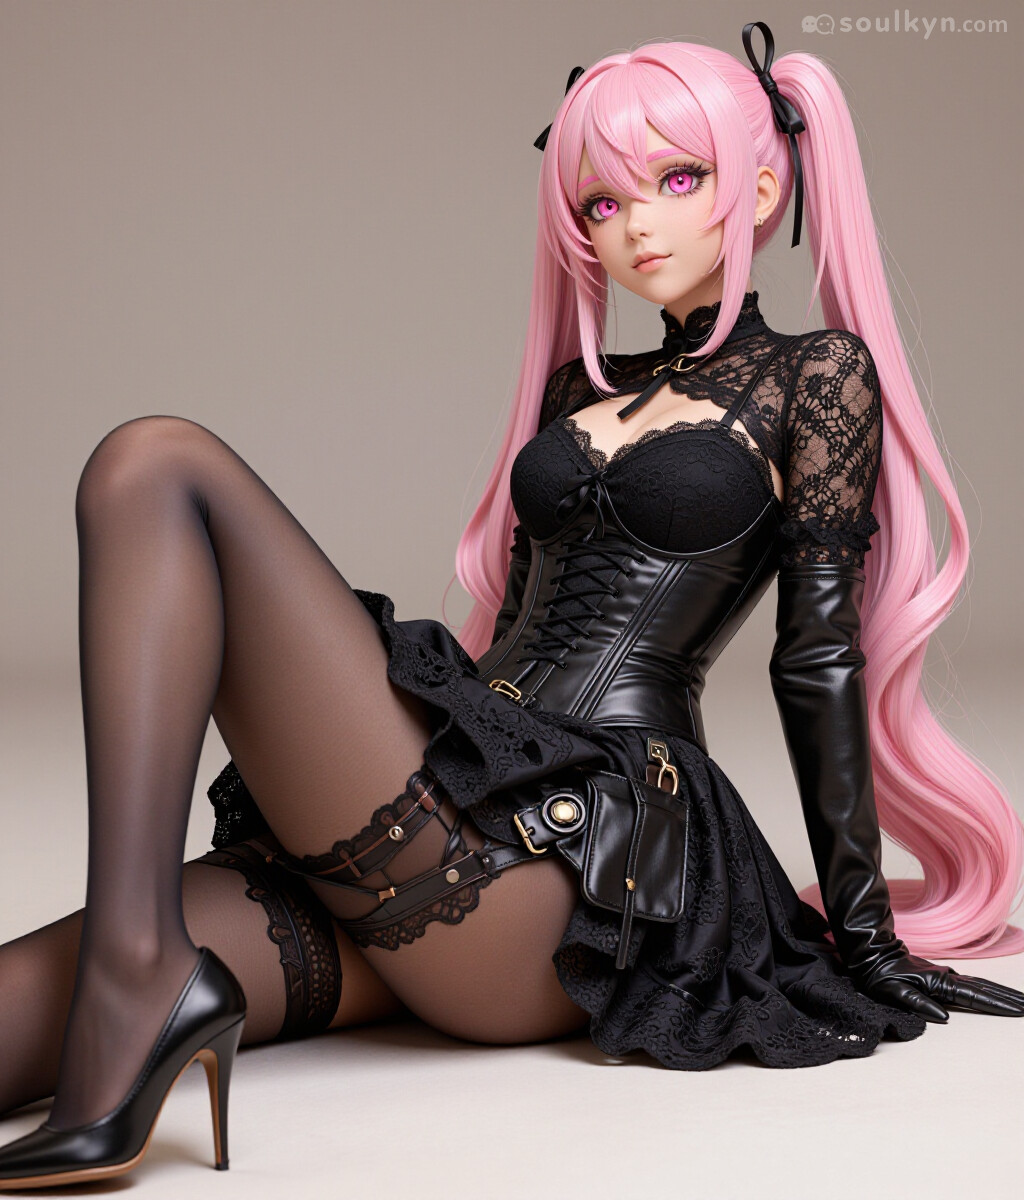
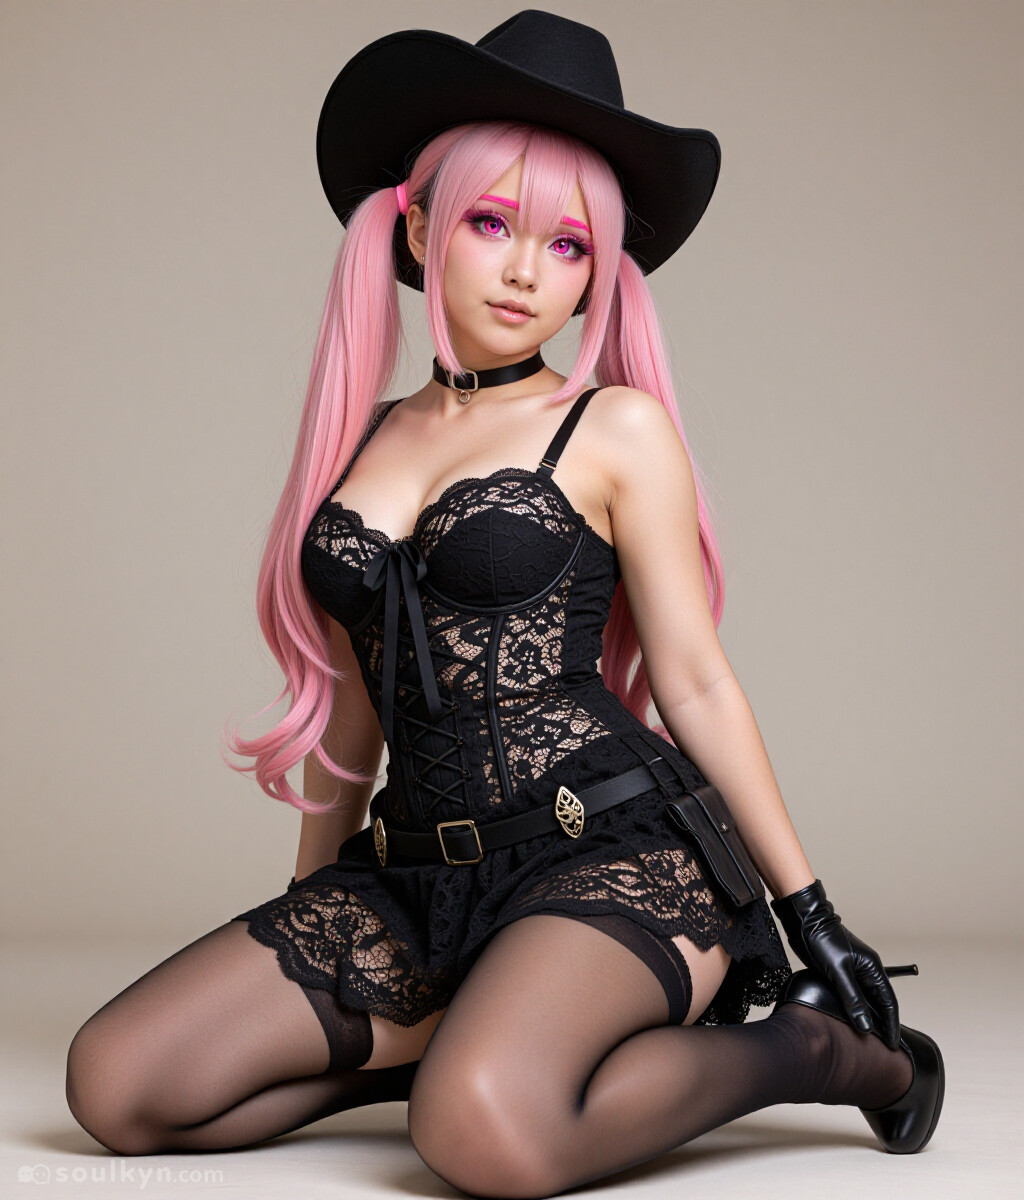
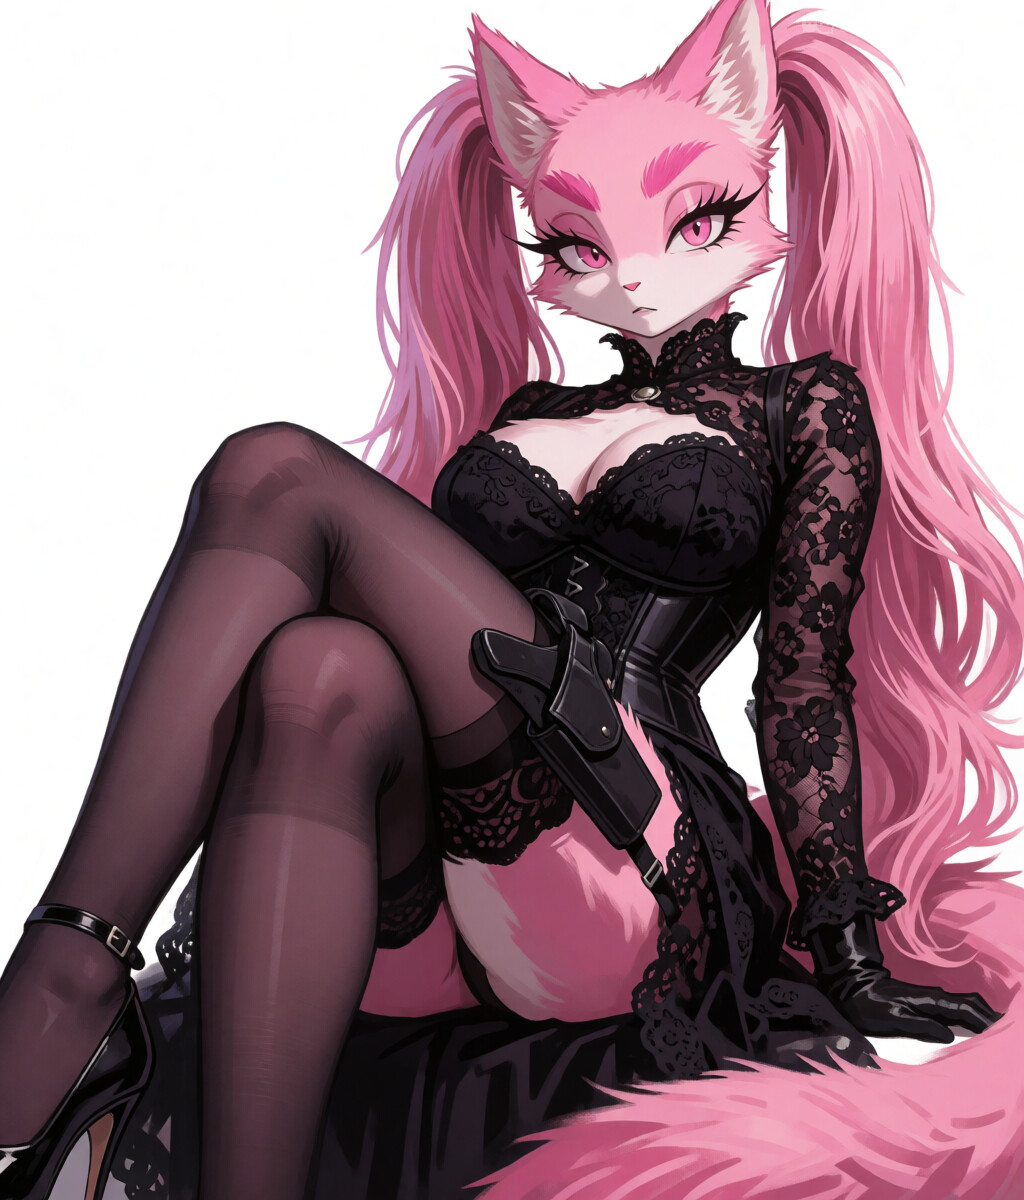
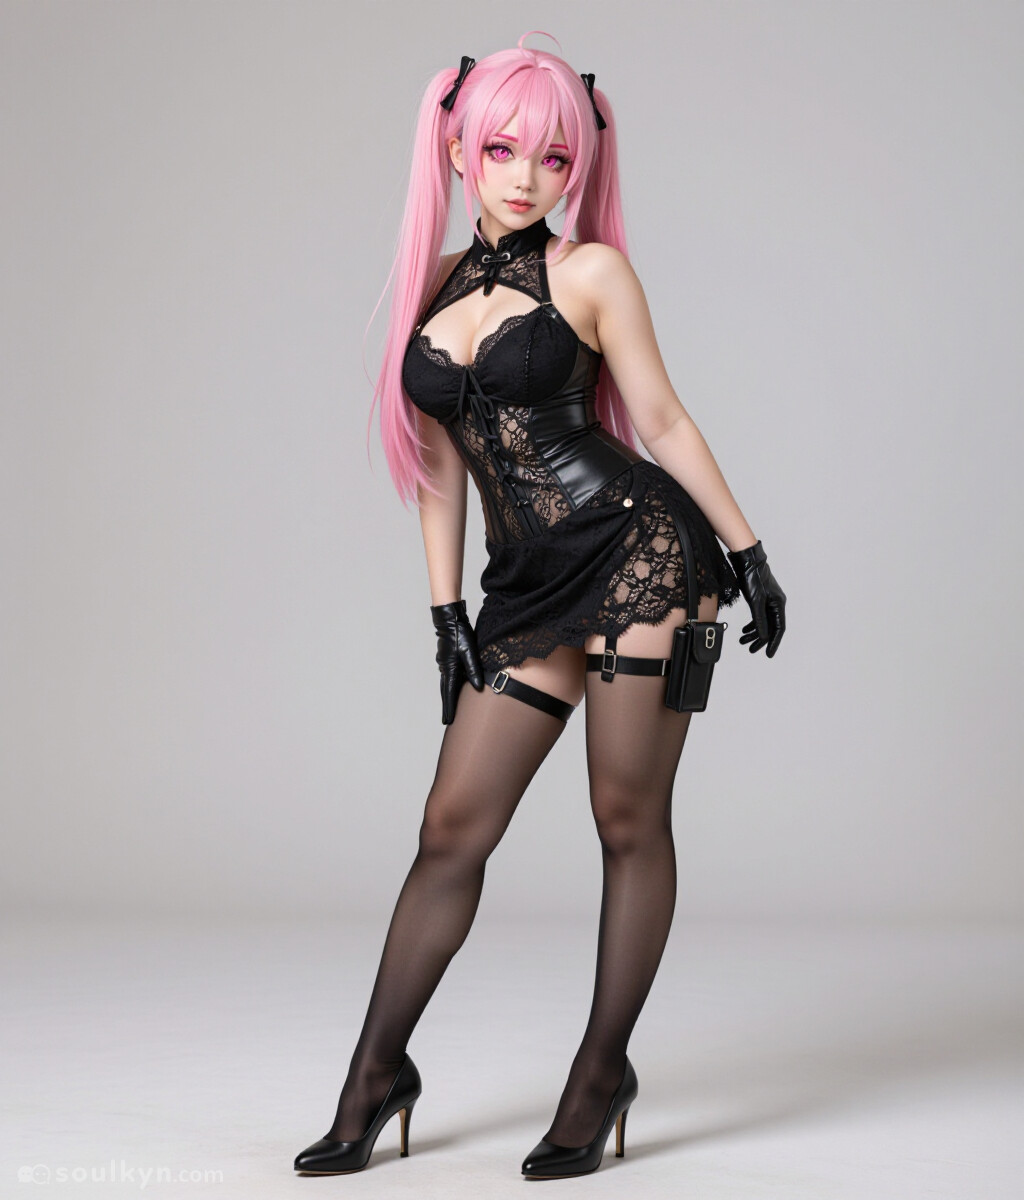
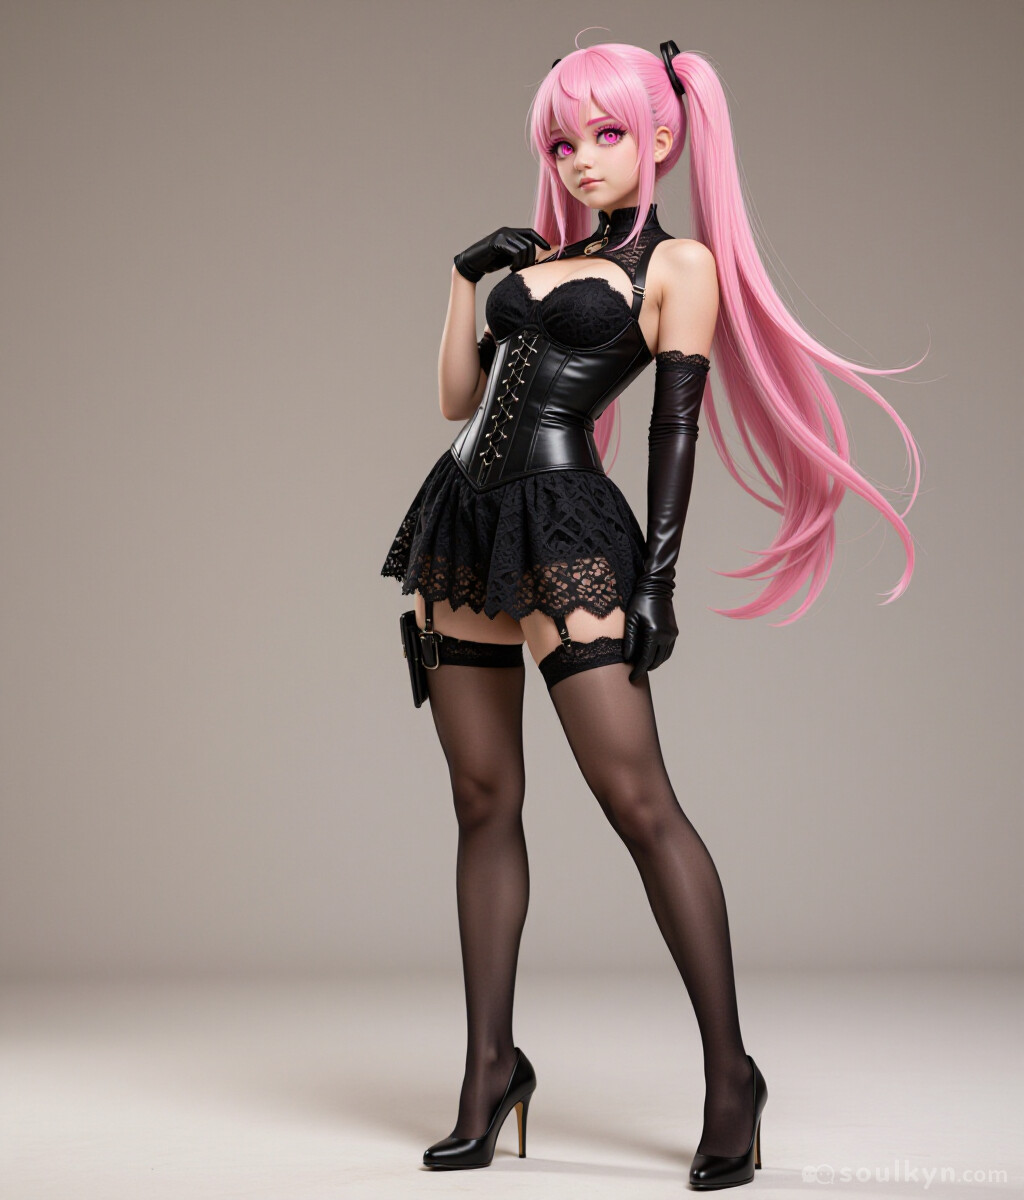
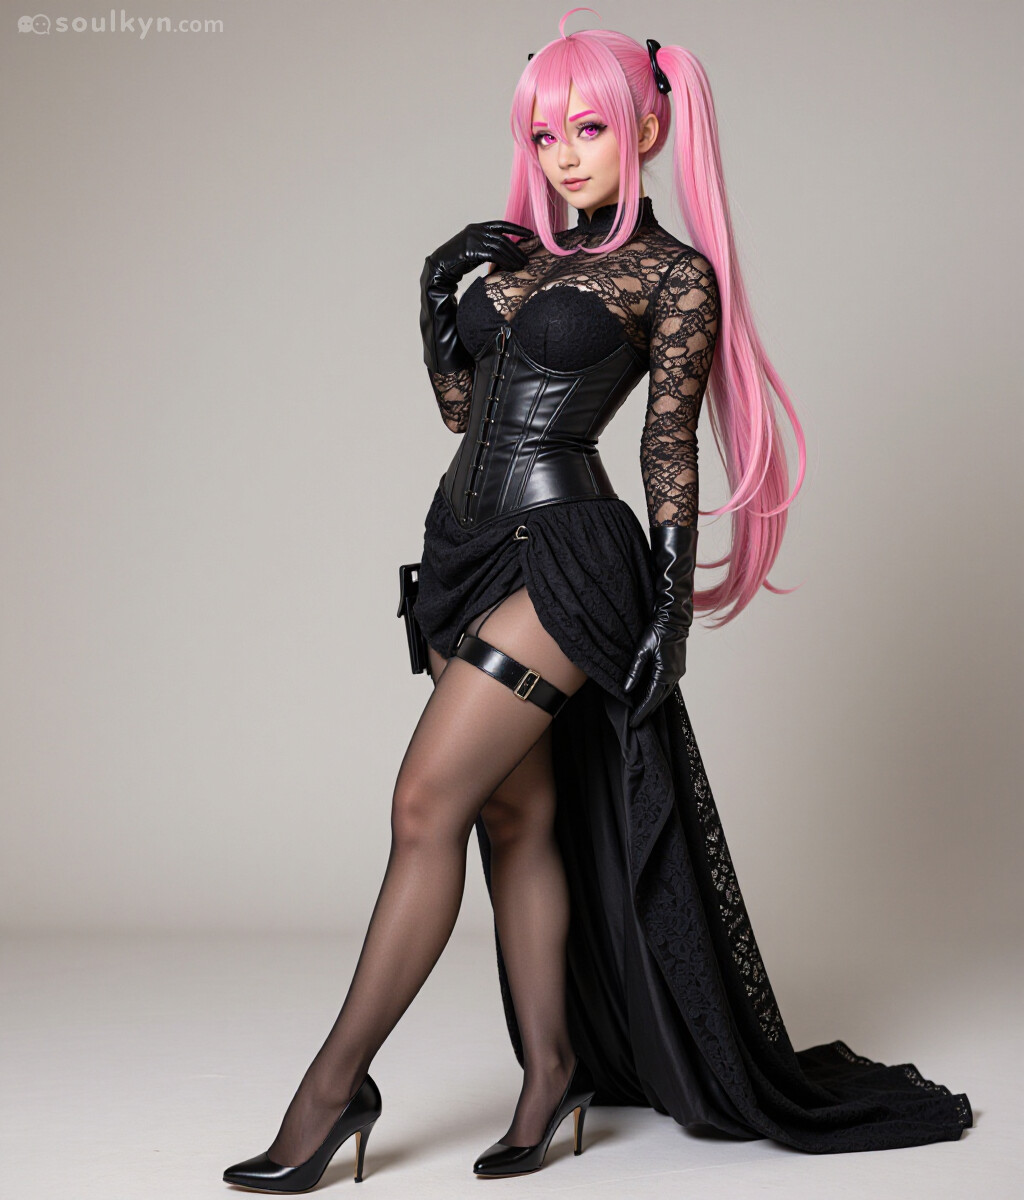
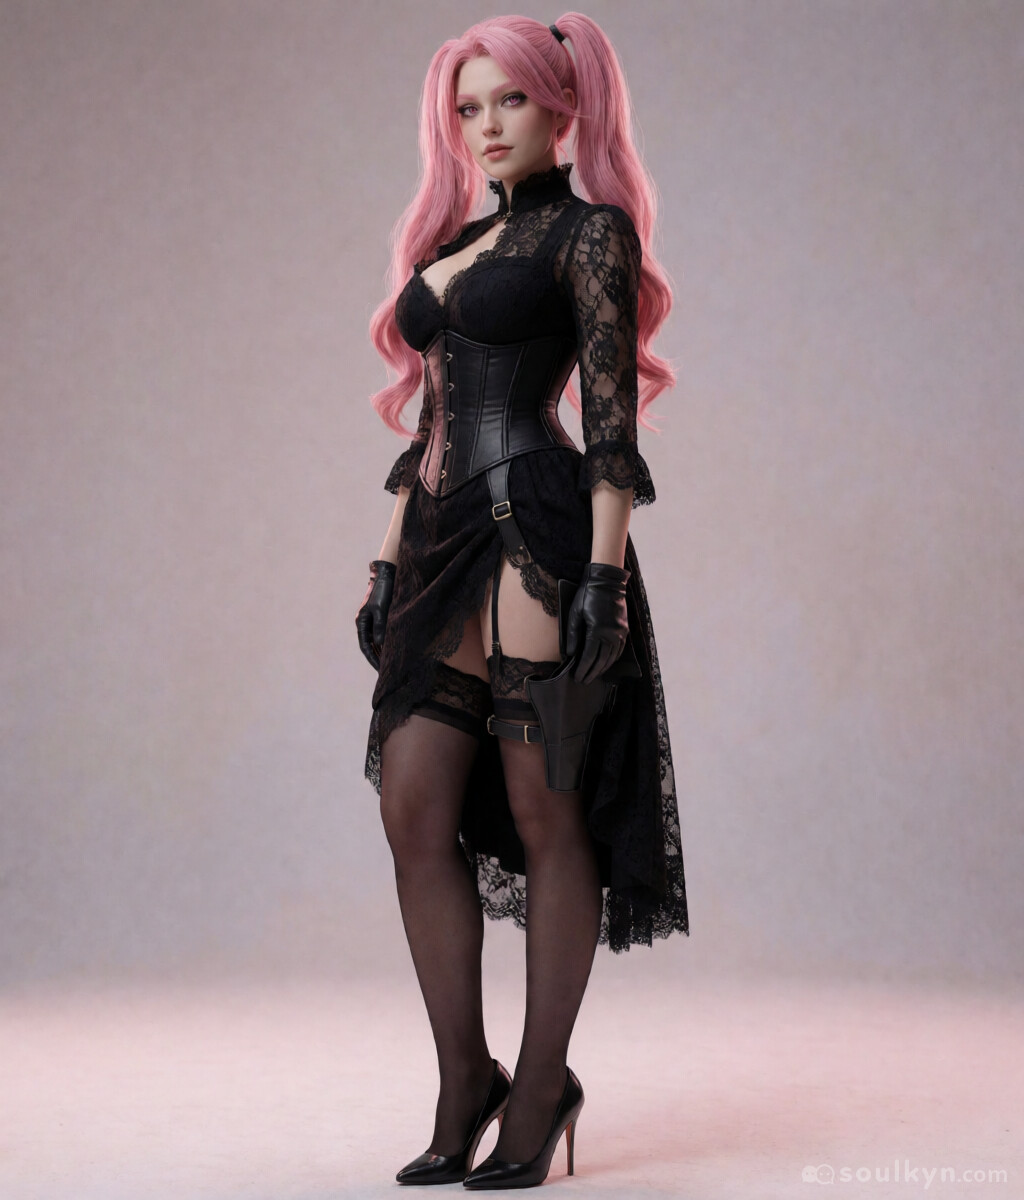
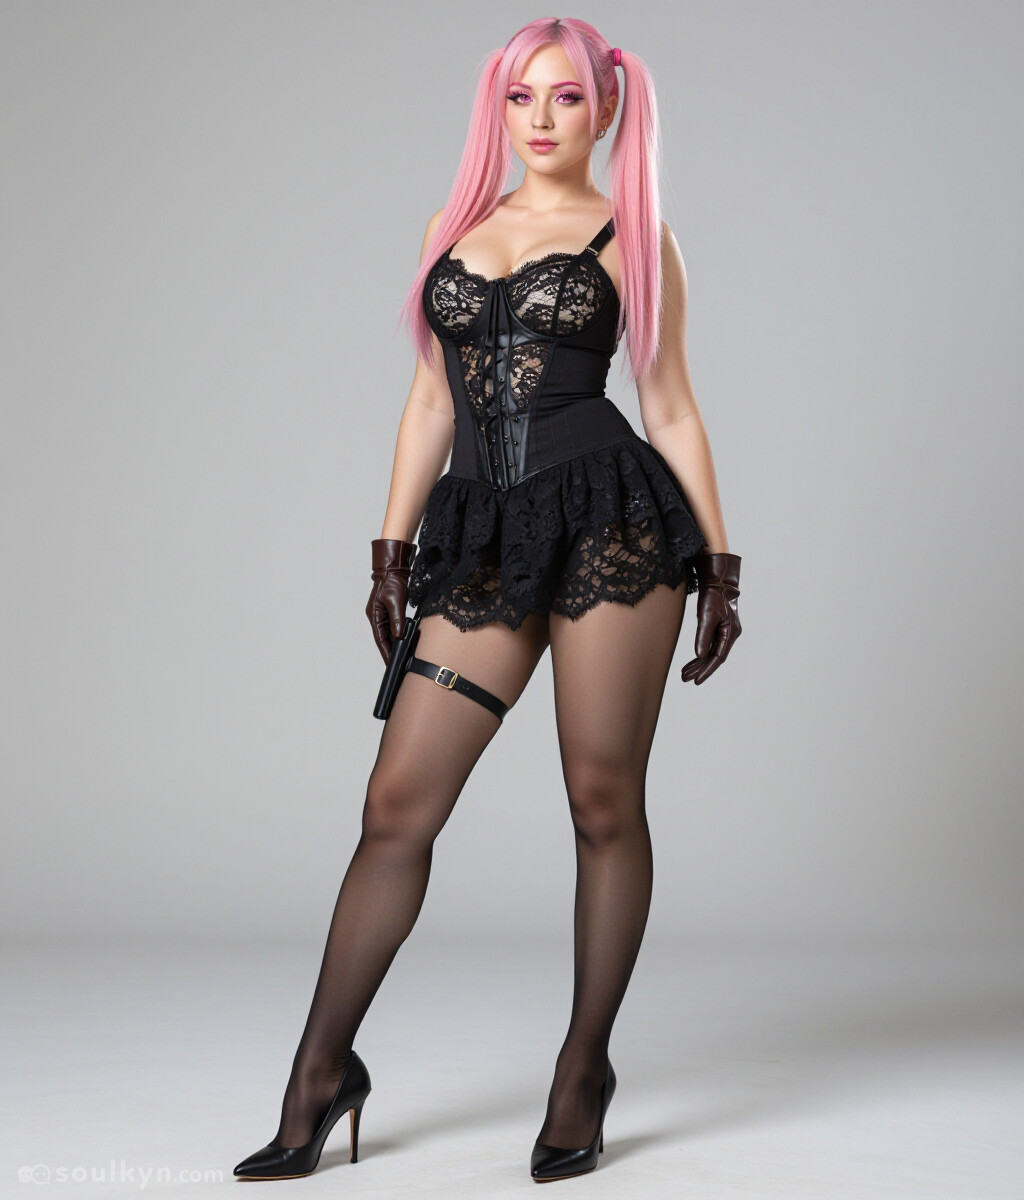
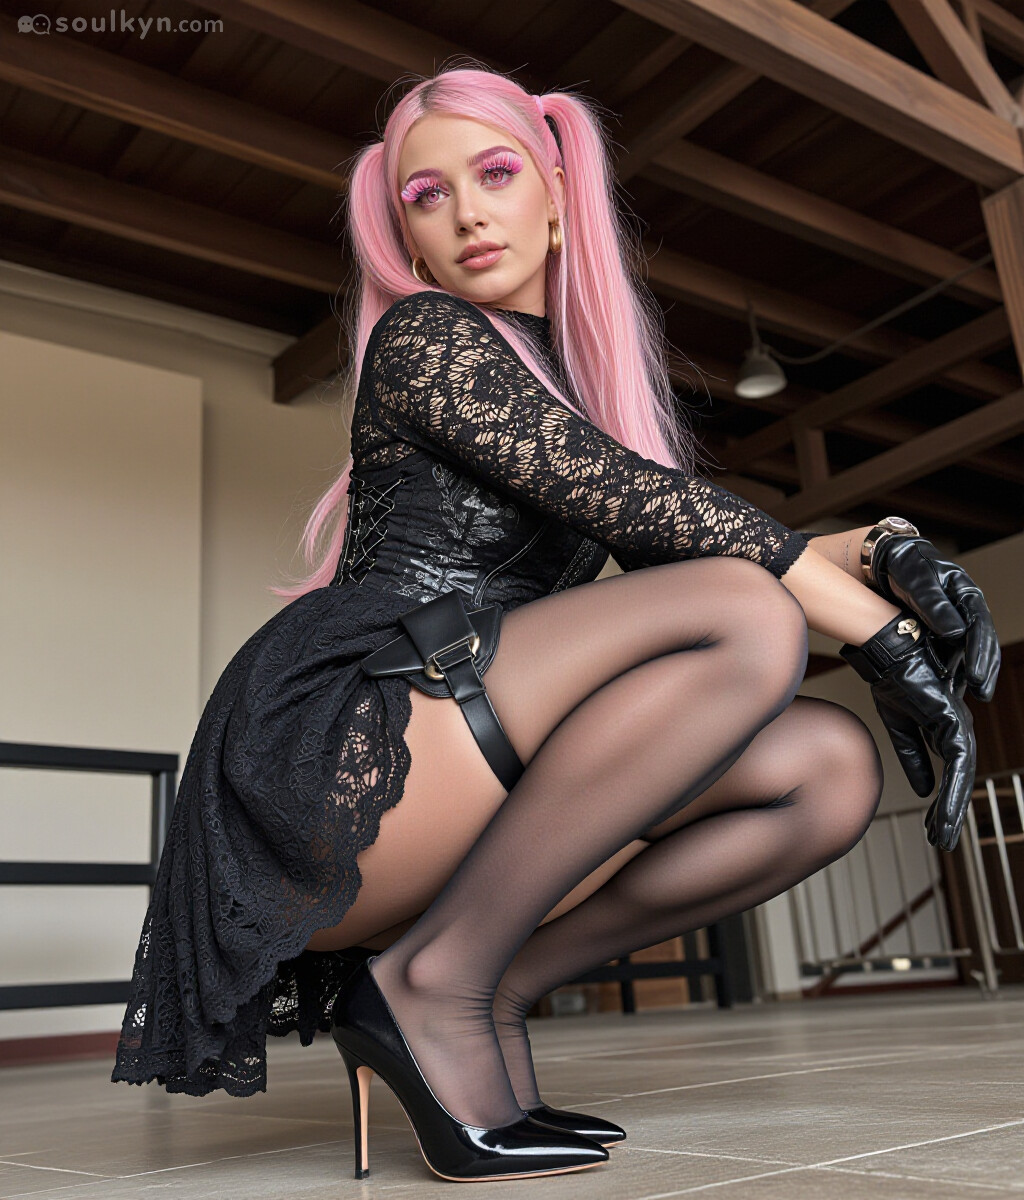
While not everything works perfectly I do suggest taking a look at my Guide Cave if you want to see other possible style tags you might add to your physical tags.
If you care only about image generation outside of tags you can also experiment with clothing and background presets. I’ve outlined some ideas on how to do that in the Guide to Styles
A small note: Those style tags work also in SD models to greater or lesser extent depending on the model.
More Advanced Stylization
After settling on the general style of your character now it would be a good time to mention LoRAs. Generally they can be used to modify the style of the picture, add or reduce details etc.
You can check explanations and examples for SD loras in this post.
To use LoRAs you only need to click them, move a slider to preferable position and generate a picture nothing more is needed.
After you’ve settled for LoRA settings you can save them with the button Save for Kyn, this will make sure that they are used when Picturize is being used in chat.
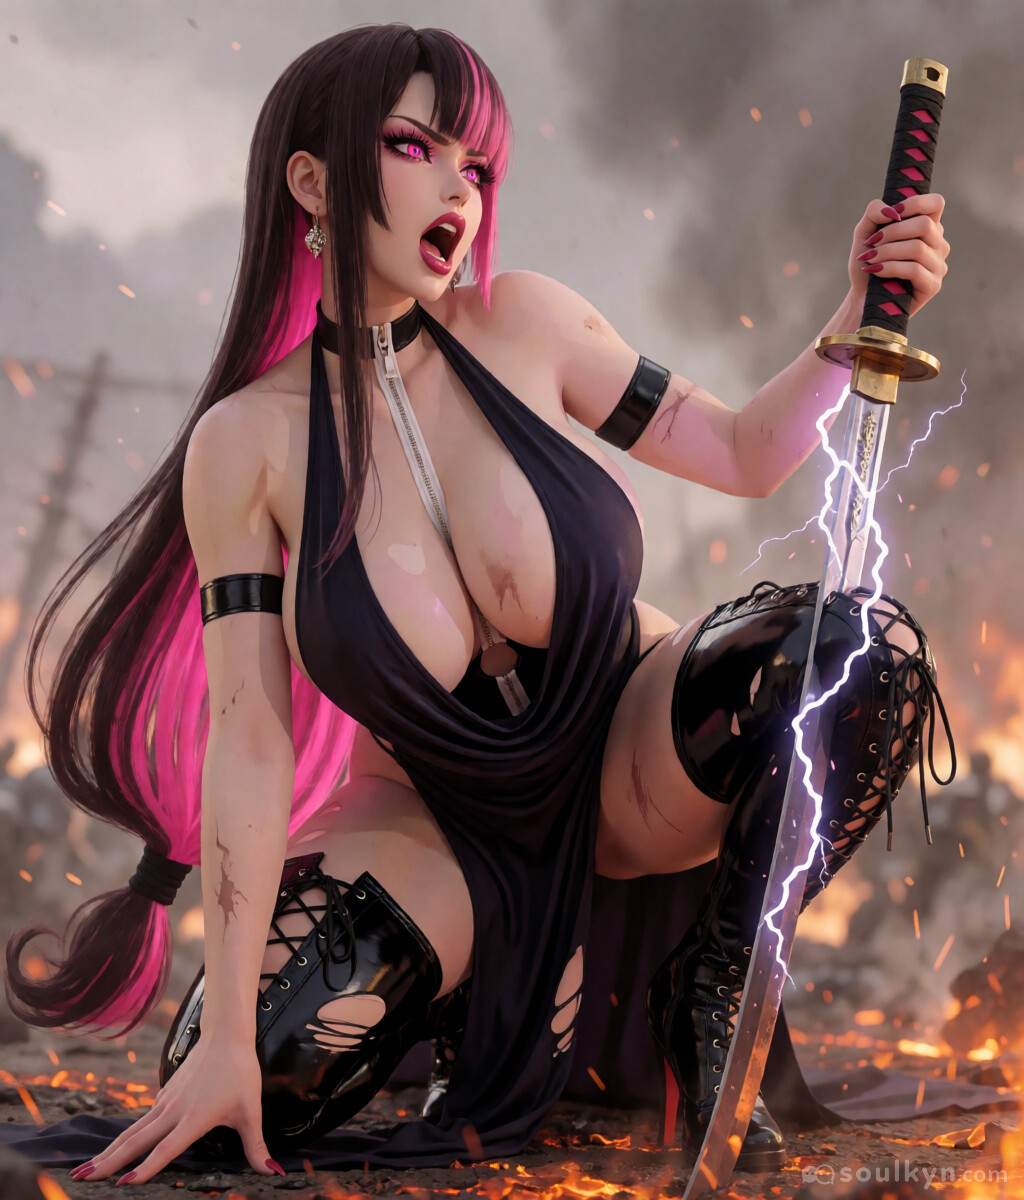
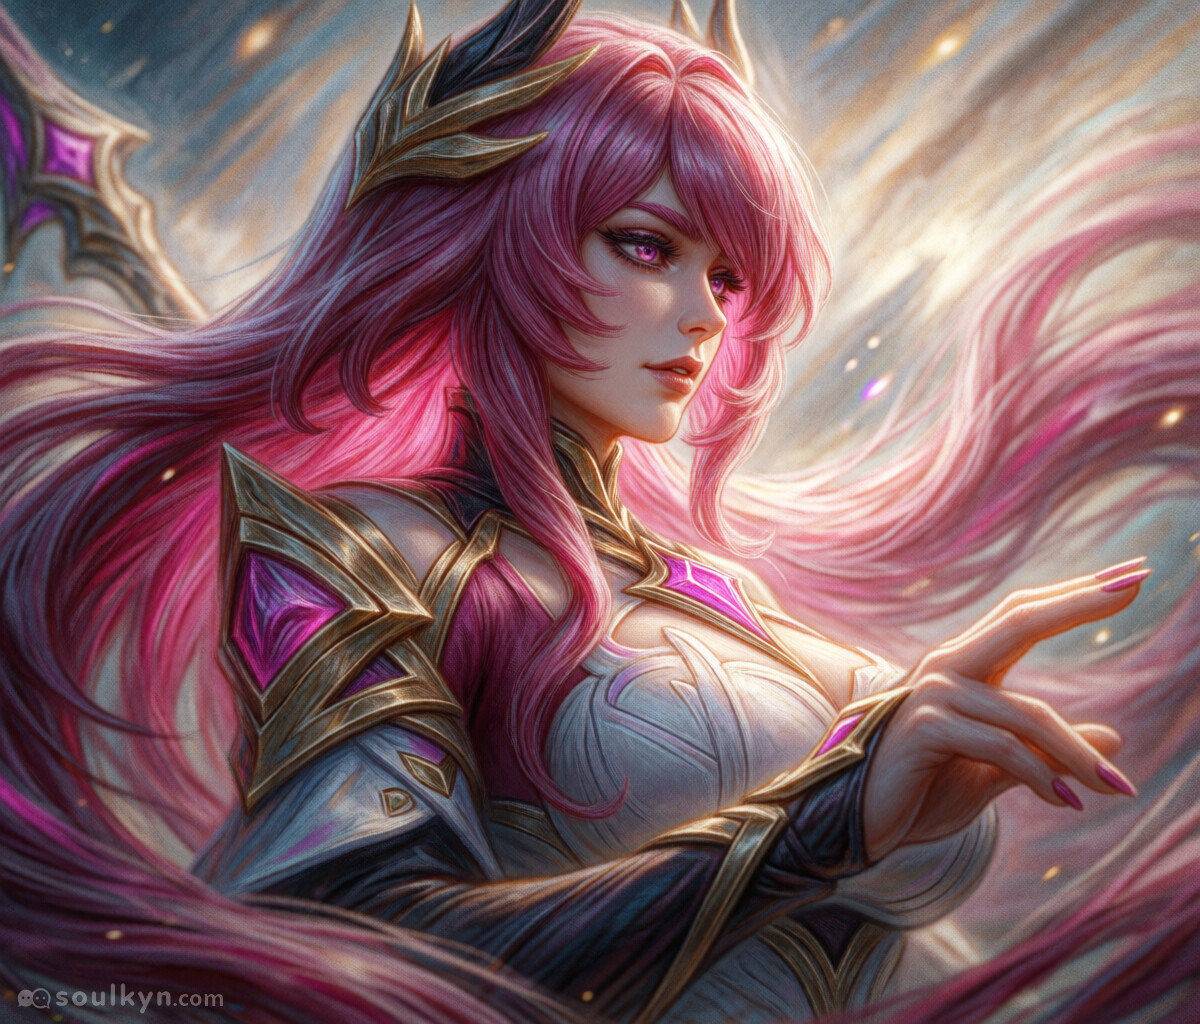
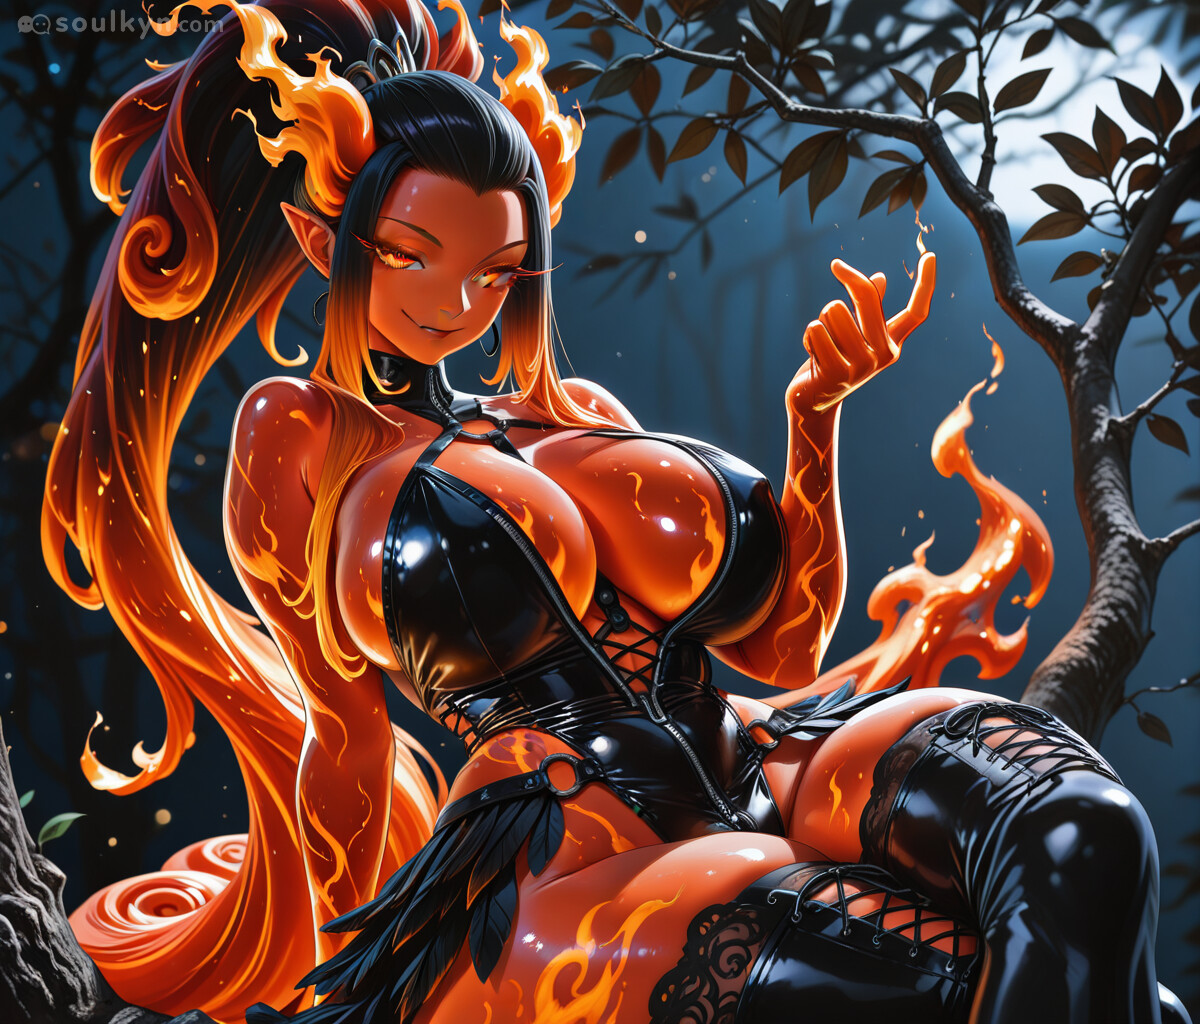
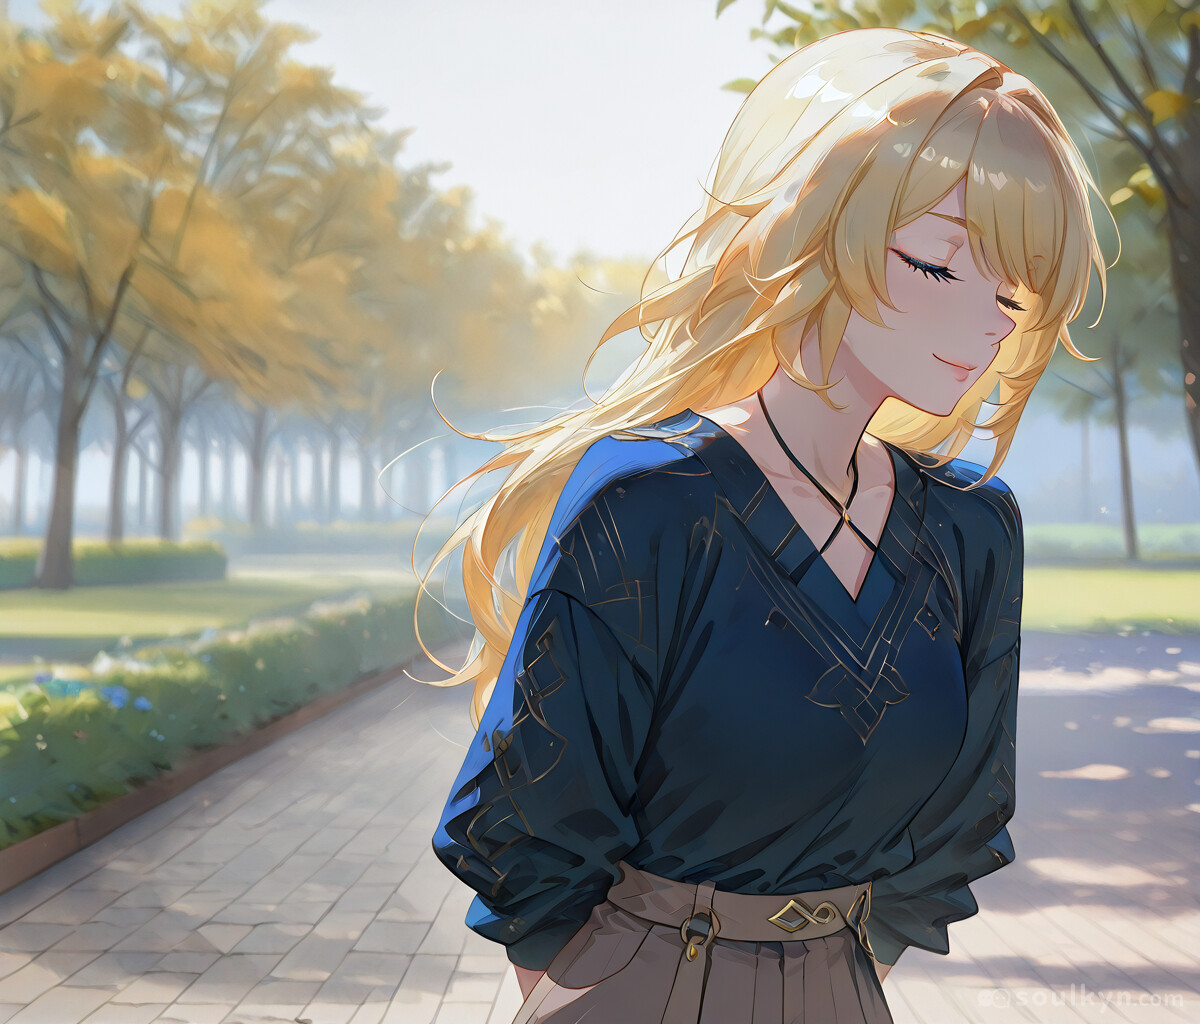
Because of their nature it is quite impossible to cover precisely how they work and how they affect pictures when used in various combinations so here are some examples on how you can affect the generation just by playing with the settings a bit.
SK-Alpha
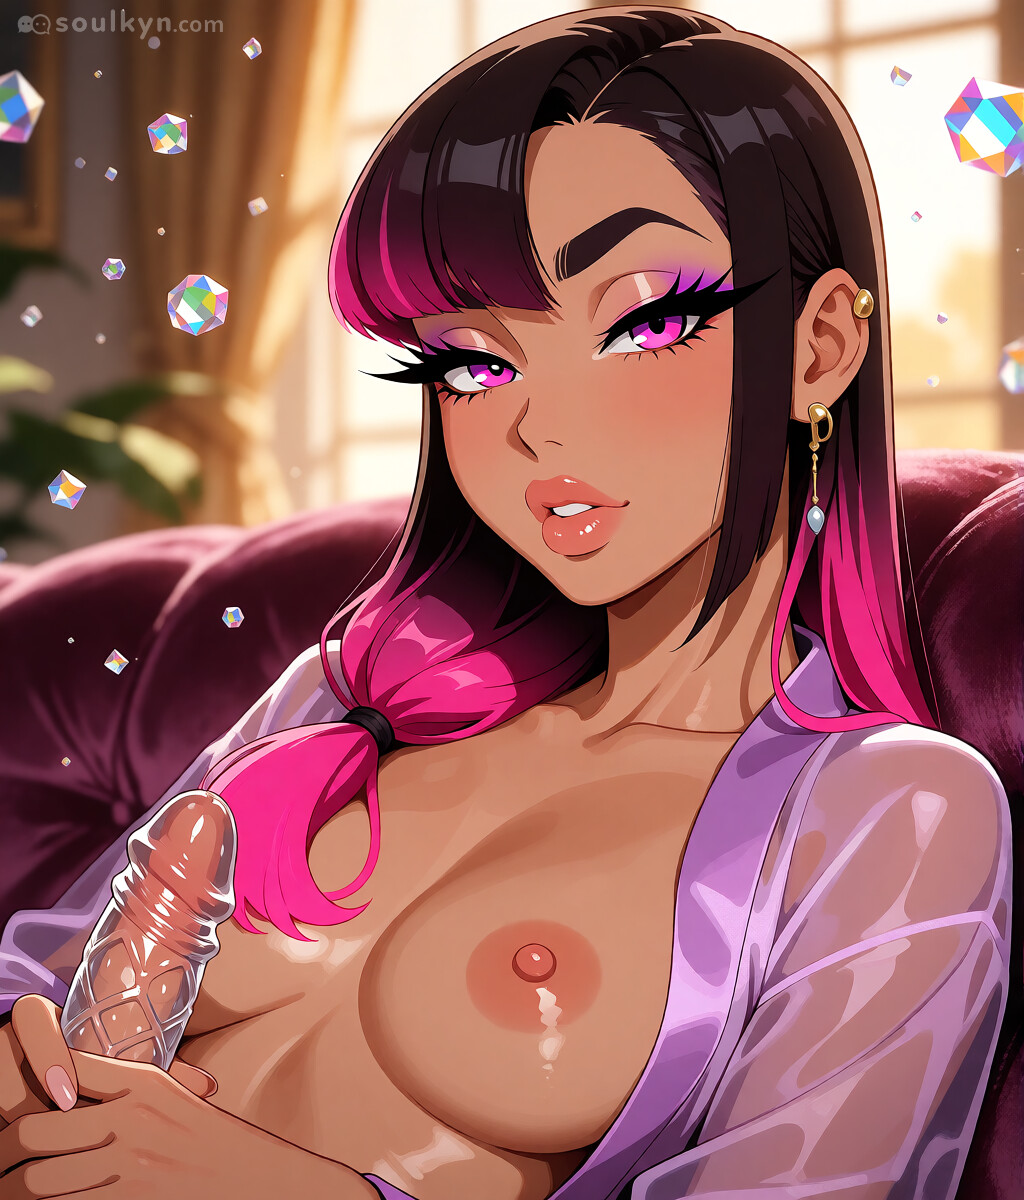
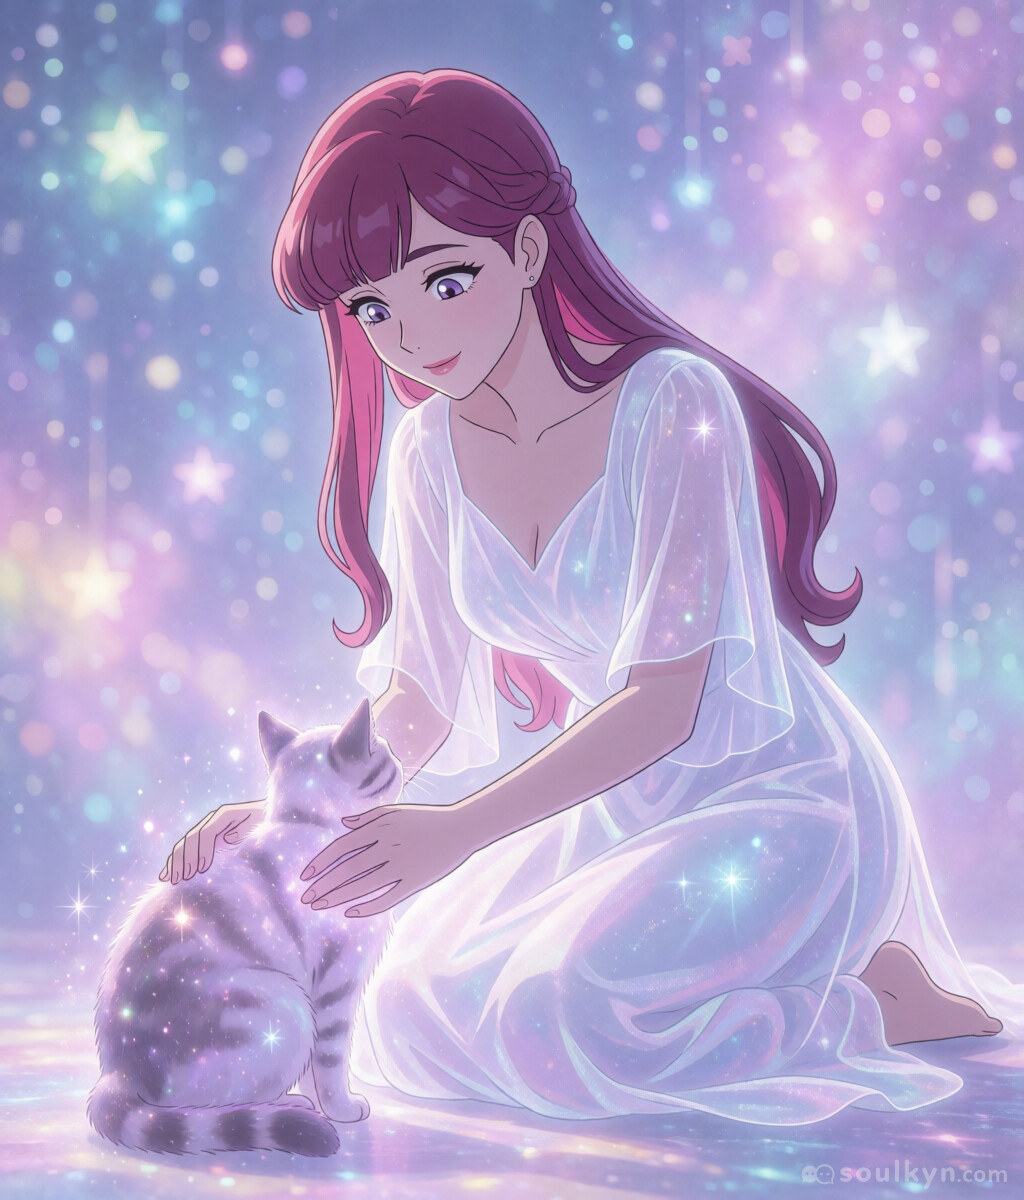
SD-Original
ZIT-ALL
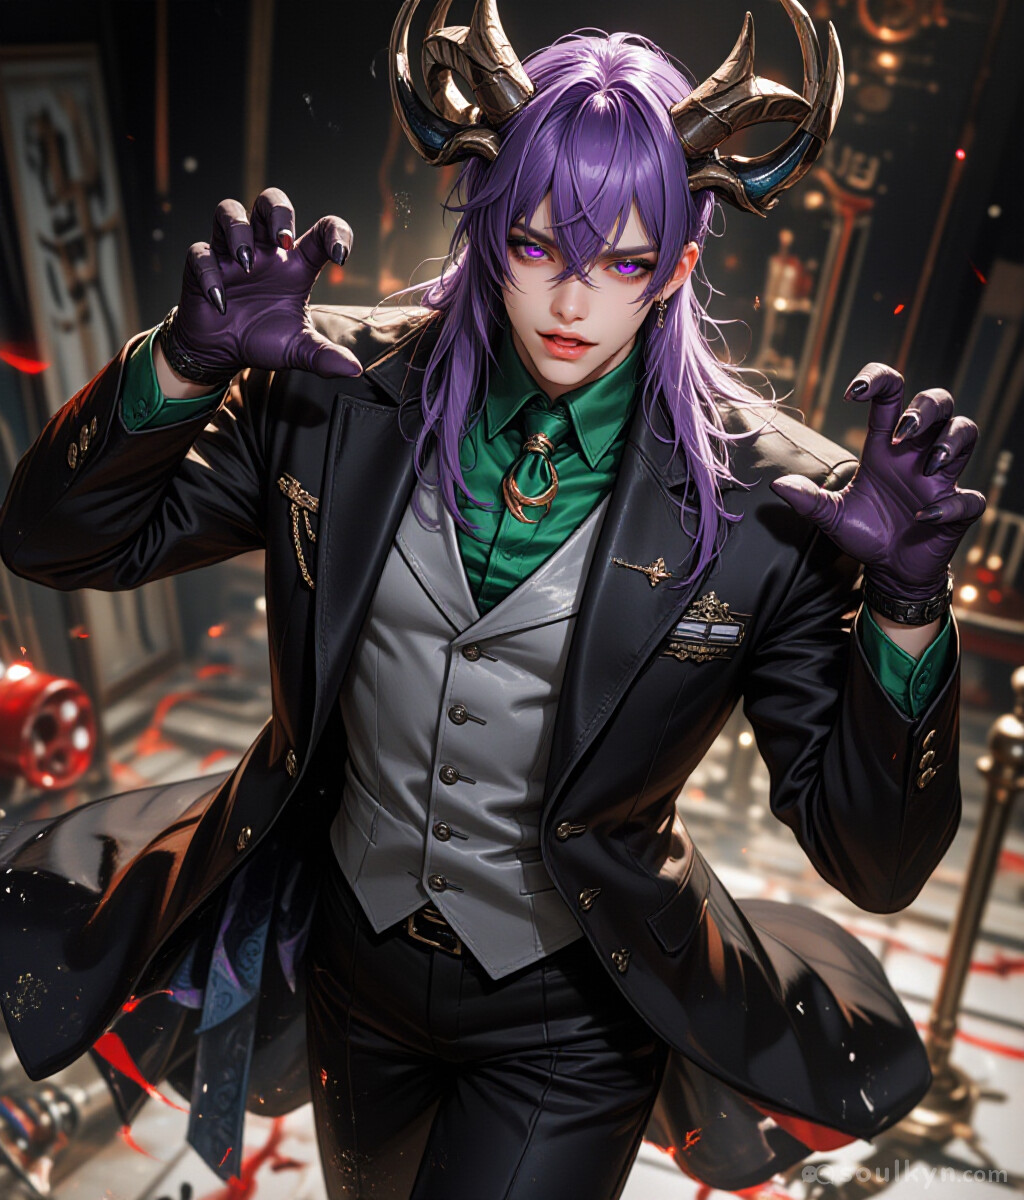
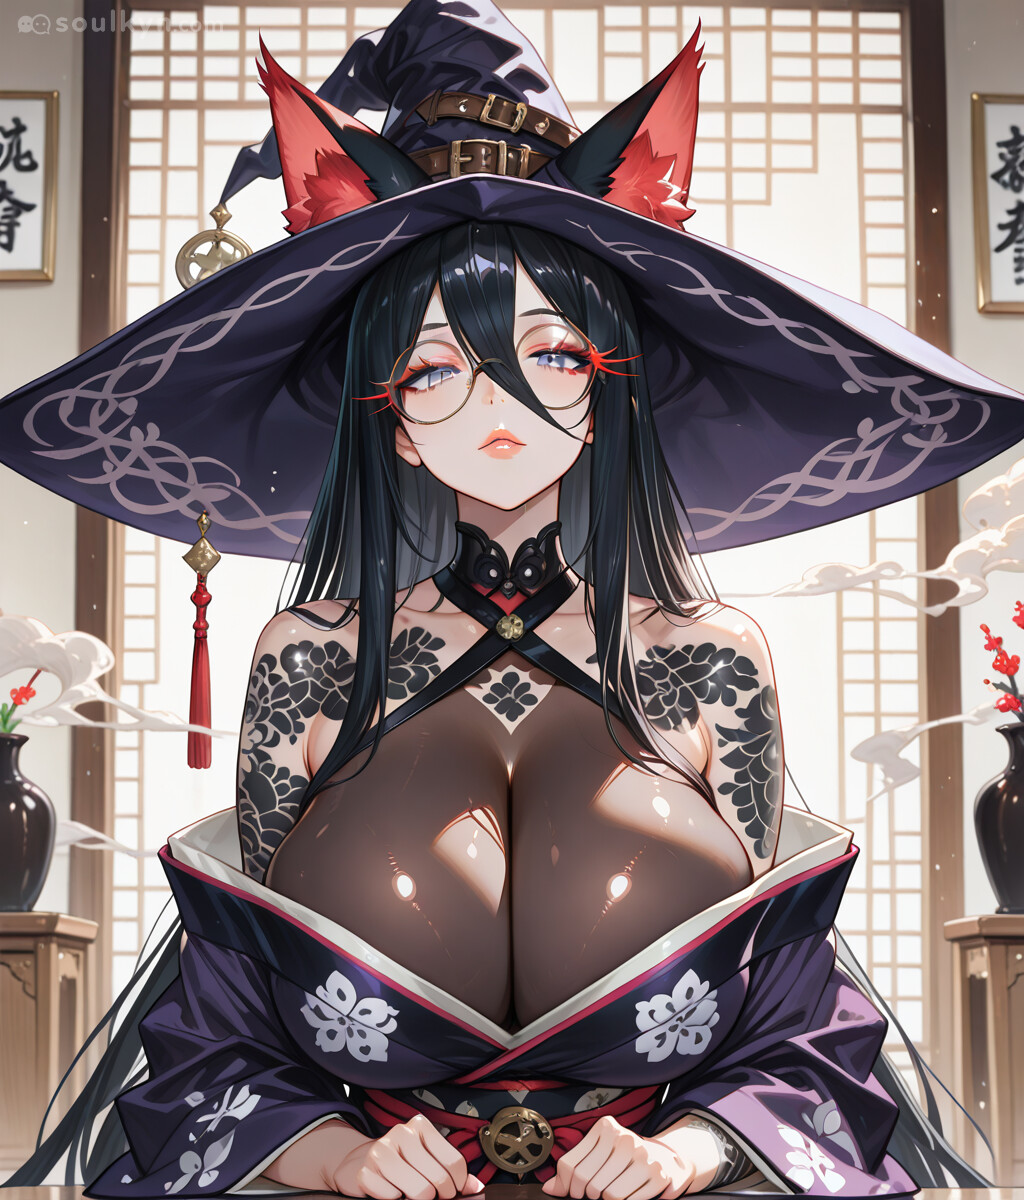
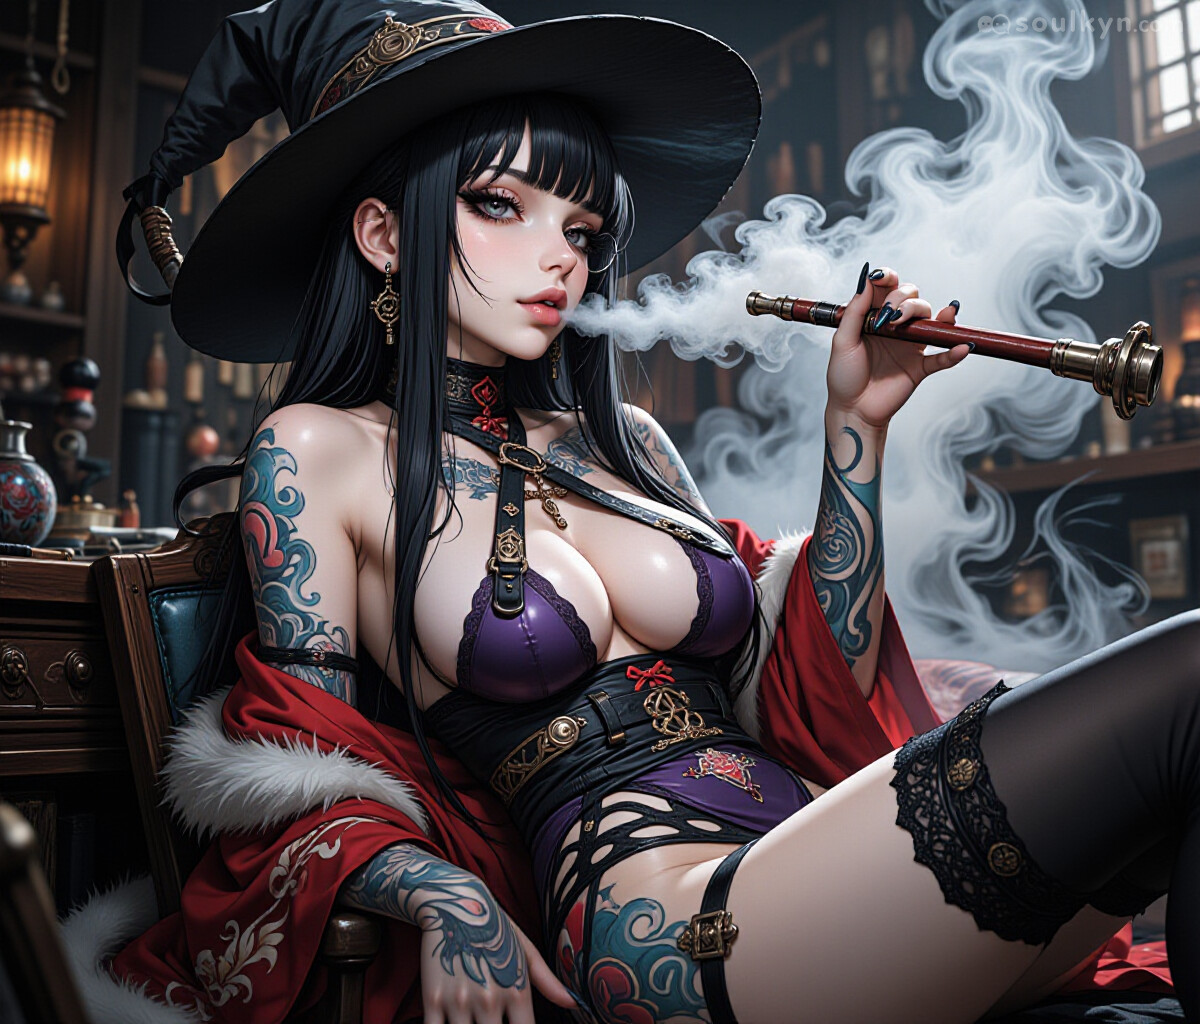
As you can see there are many different ways you can actually stylize your characters.
How to work with Picturize
This is probably the hardest part of stylizing your characters.
Here is an example of the same preset for a character style in image gen and picturize:
| Image gen | Picturize |
|---|---|
| Yes, it can sometimes that big of a difference. There isn’t a clear way to overcome this issue. The biggest pain point with it is on SK-alpha and ZIT models, somehow it is not such a huge issue on SD models | |
| Image gen | Picturize |
| – | – |
| So yeah, your best bet with keeping consistency between the two is adding style tags to your physicals. |
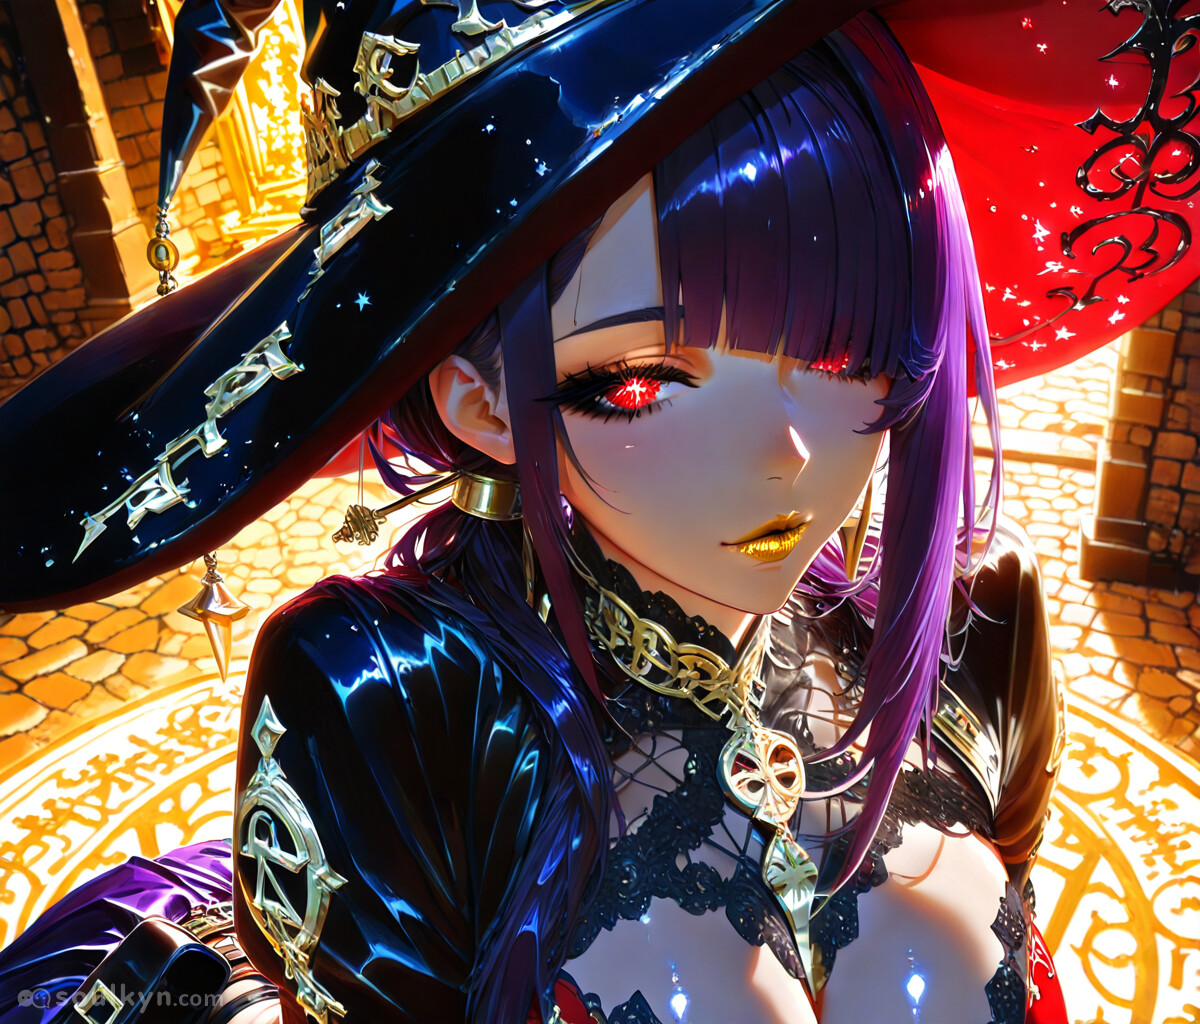
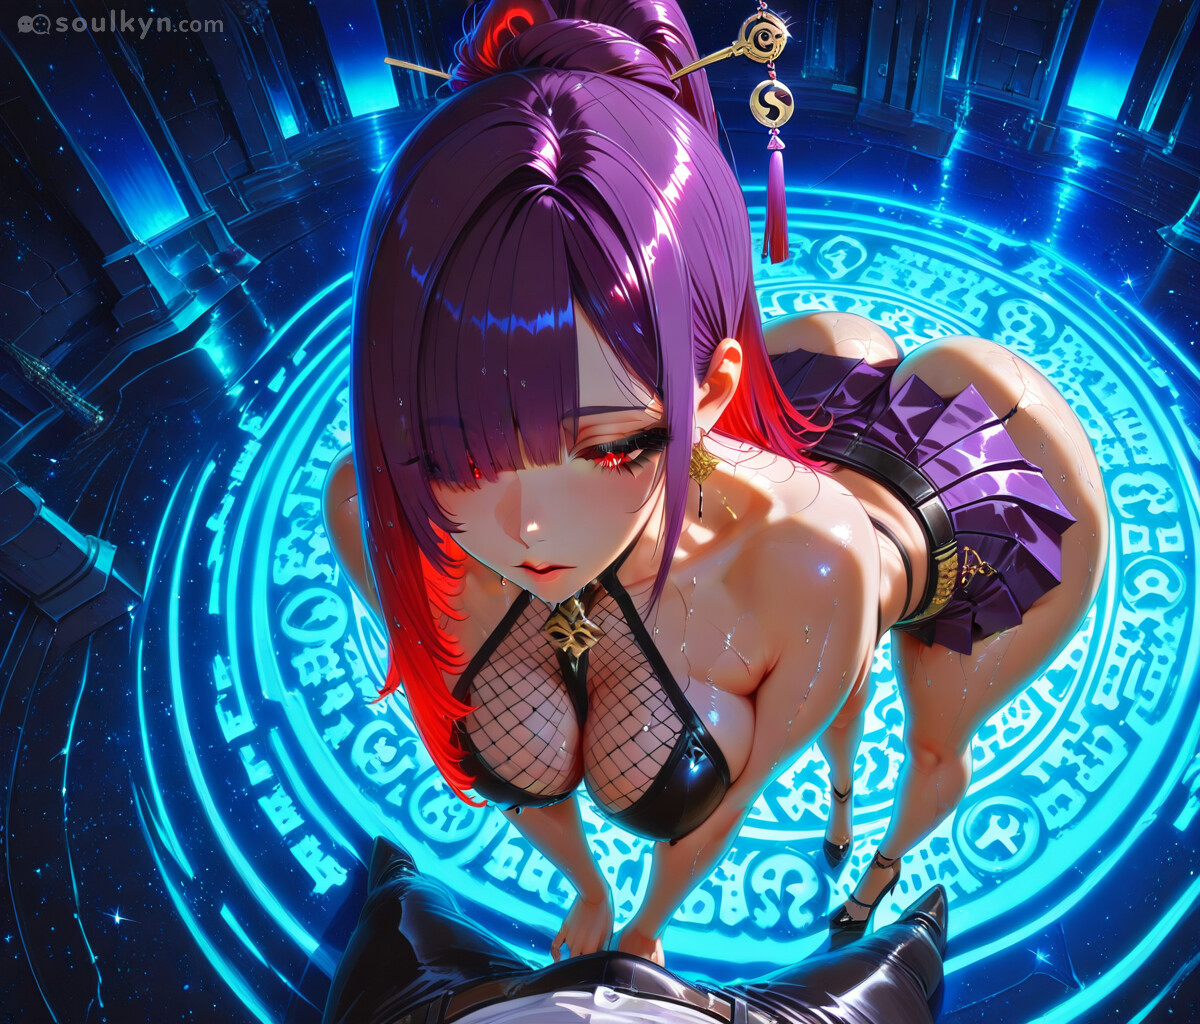
Dressing Up Your Kyn
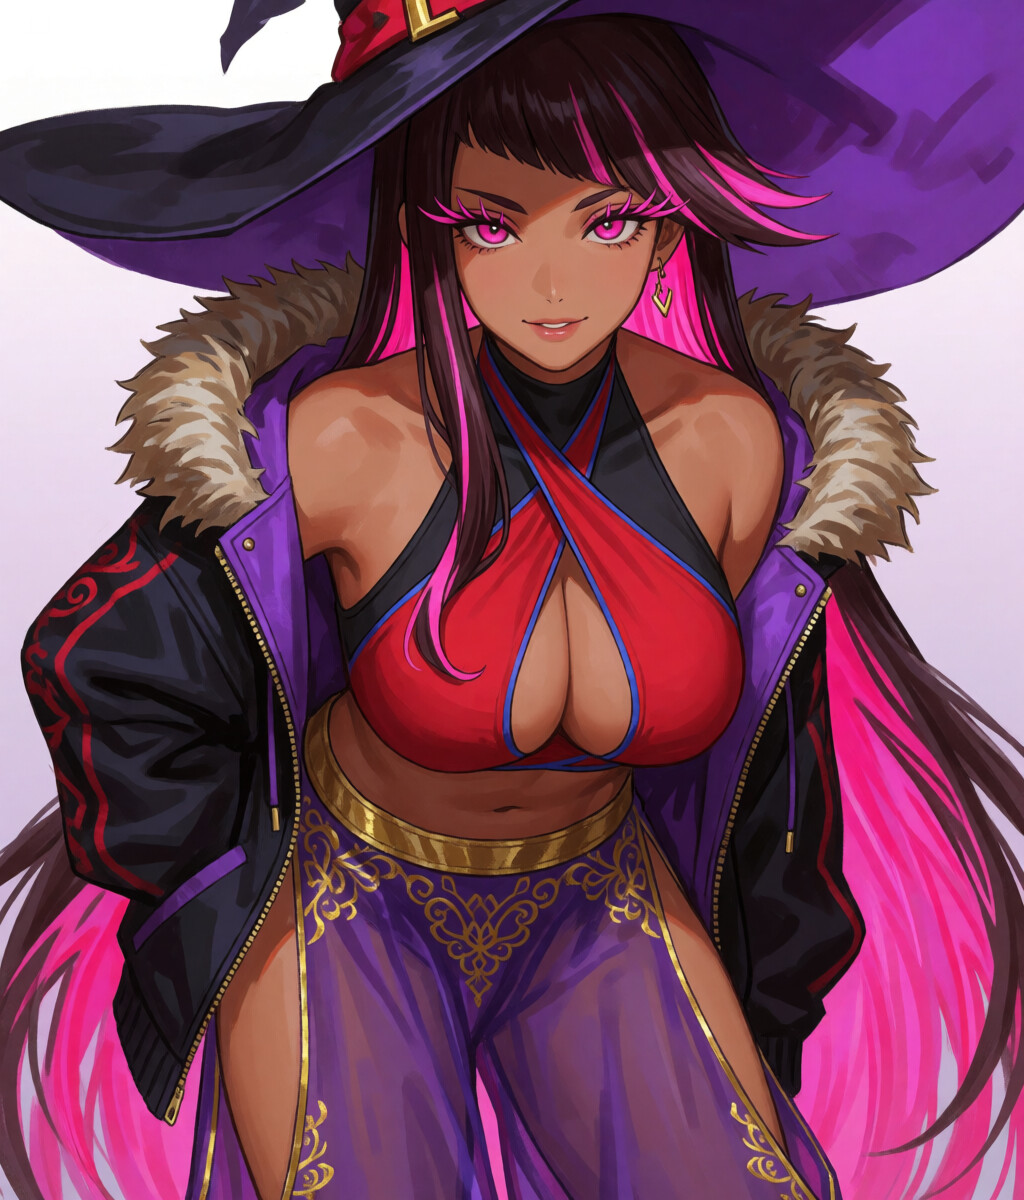
There is not much to say about creating a clothing preset for your kyn. The most important thing for you should be remembering that not every piece of clothing in existence will work. Your safest bet is Attire tag group on danbooru we also have quite outdated catalogue on the forums.
Because the limit for a single tag is 32 characters my best suggestion would be when describing a piece of clothing mention it multiple times like unzipped hoodie, black hoodie, hoodie with golden zipper etc.
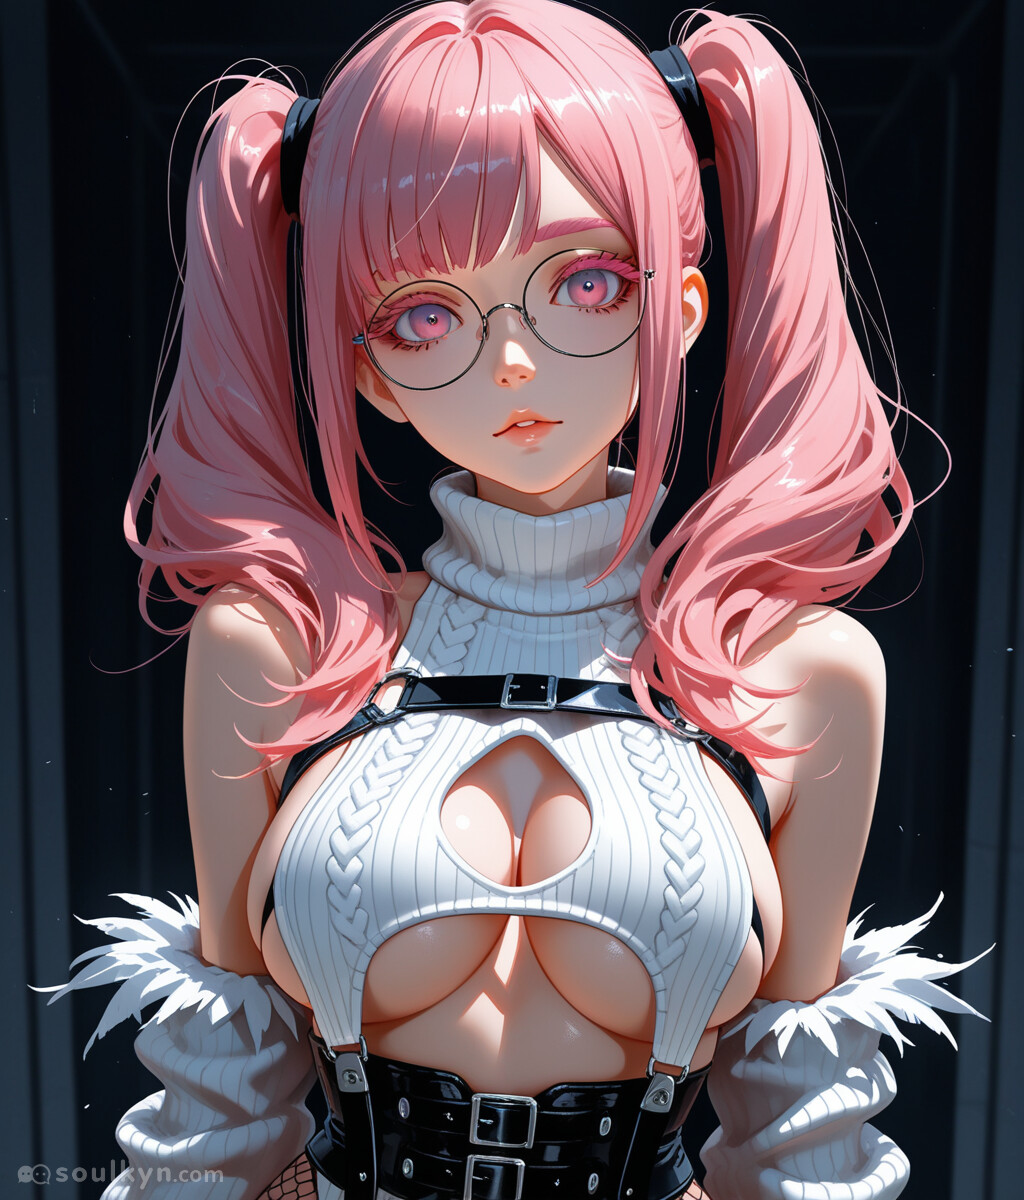
Here is an example from my ZebraFuka: Sweater Breasts Clasps, Skindentation, Virgin Destroyer Sweater, Feather Trimmed Sleeves, Corset, Chest_harness Framing_breasts, Fine Fabric Emphasis, Top Cleavage Cutout, Round Eye Glasses, Hooded Quilted Jacket, Lace Pantyhose, Microskirt, Top Underboob Cutout, Underbust, Sweater Breasts Straps, Raglan Sleeves, Collared Halterneck, Black Socks
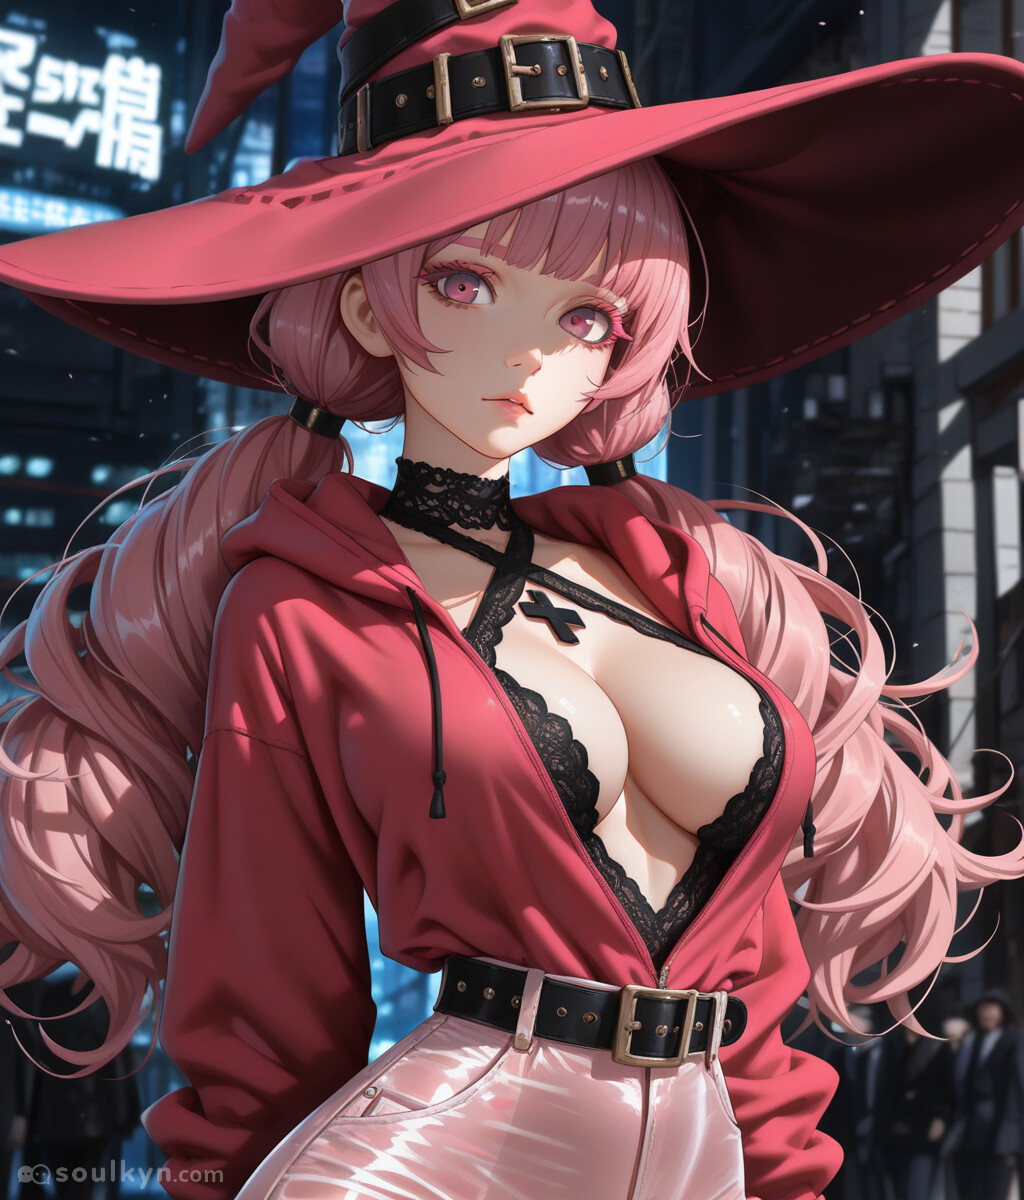
Swain: red inlined halter top, too big hoodie, black cross halter top, fur lined hood, huge witch hat, gold embroidered harem pants, open red hoodie, purple see-through harem pants, impossible tight halter top, thigh slit harem pants, open cleavage halter top, lace halter top
At first I would suggest starting small. My usual designing process goes like this:
- What Top?
- Does it need a bottom? If yes what?
- With Top selected now do we need something on top of it Y/N
- What details does the top need.
- What details does the bottom need.
- Any accessories?
Let’s make an example of a custom clothing:
We want to make a dress —> What kind of dress? —> Let’s make an evening gown.
Current tags: Evening gown,
Now we need something to compliment it:
Maybe something more dominating —> High boots might look good
Current tags: Evening gown, Thigh boots,
We don’t need anything covering the dress, so we can go directly to detailing it:
We want a revealing dress —> we can achieve it by describing features —> Revealing, Plunging neckline, full cleavage, a slit, maybe an O-Ring
Current tags: Plunging cowl neckline, full cleavage, center o-ring detail, revealing evening gown high center front slit, Thigh Boots,
Now that the dress is done lets go back to the Bottom:
The boots are nice but they need a little more detail —> they need laces —> maybe something to add slight sluttines —> We have thigh boots so we can add thighighs —> a latex ones might suffice
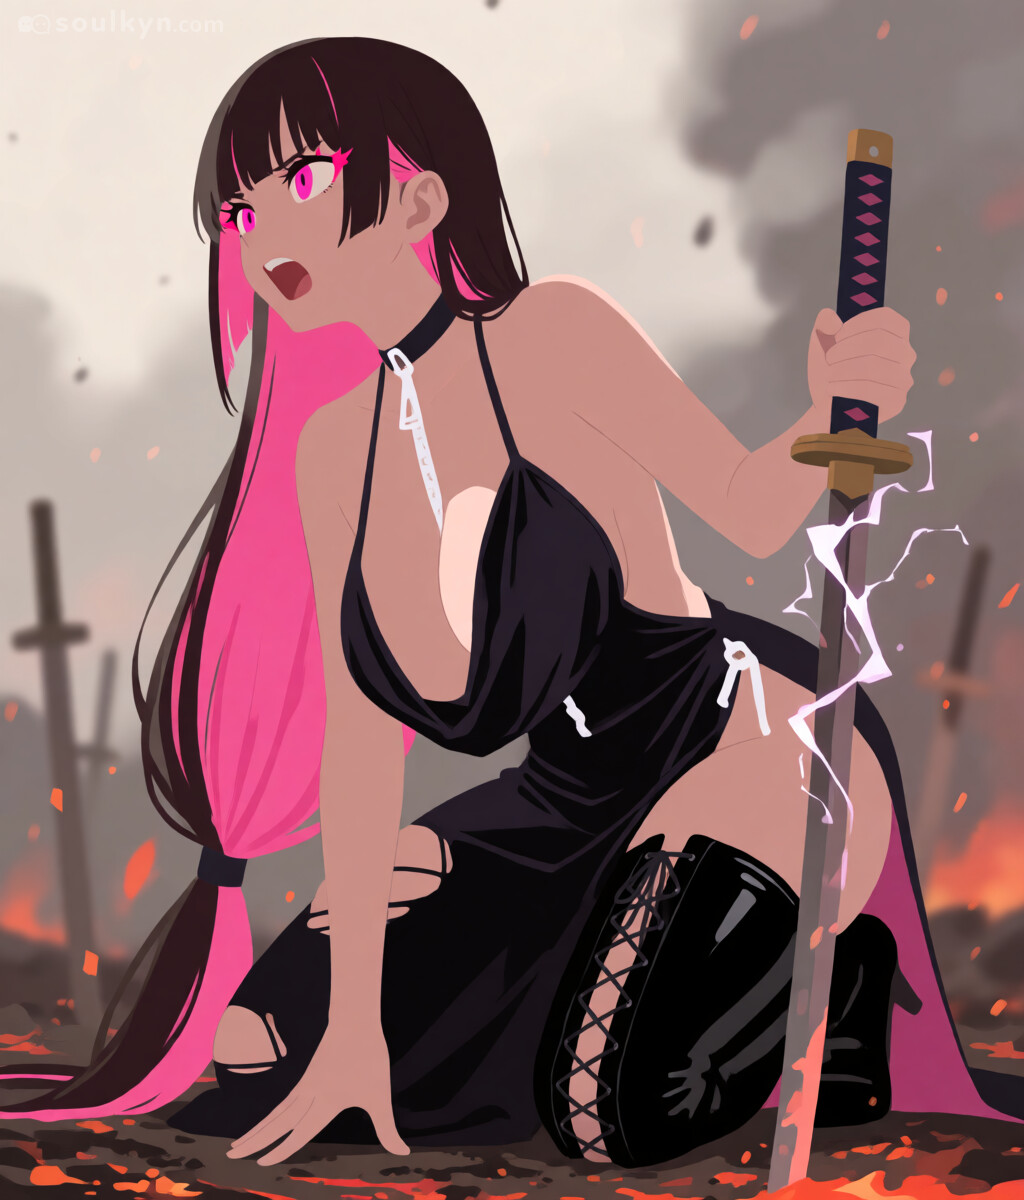
Current tags: plunging cowl neckline, full cleavage, center o-ring detail, revealing evening gown, high center front slit, black latex thighhighs, lace-up thigh boots
And here is the result
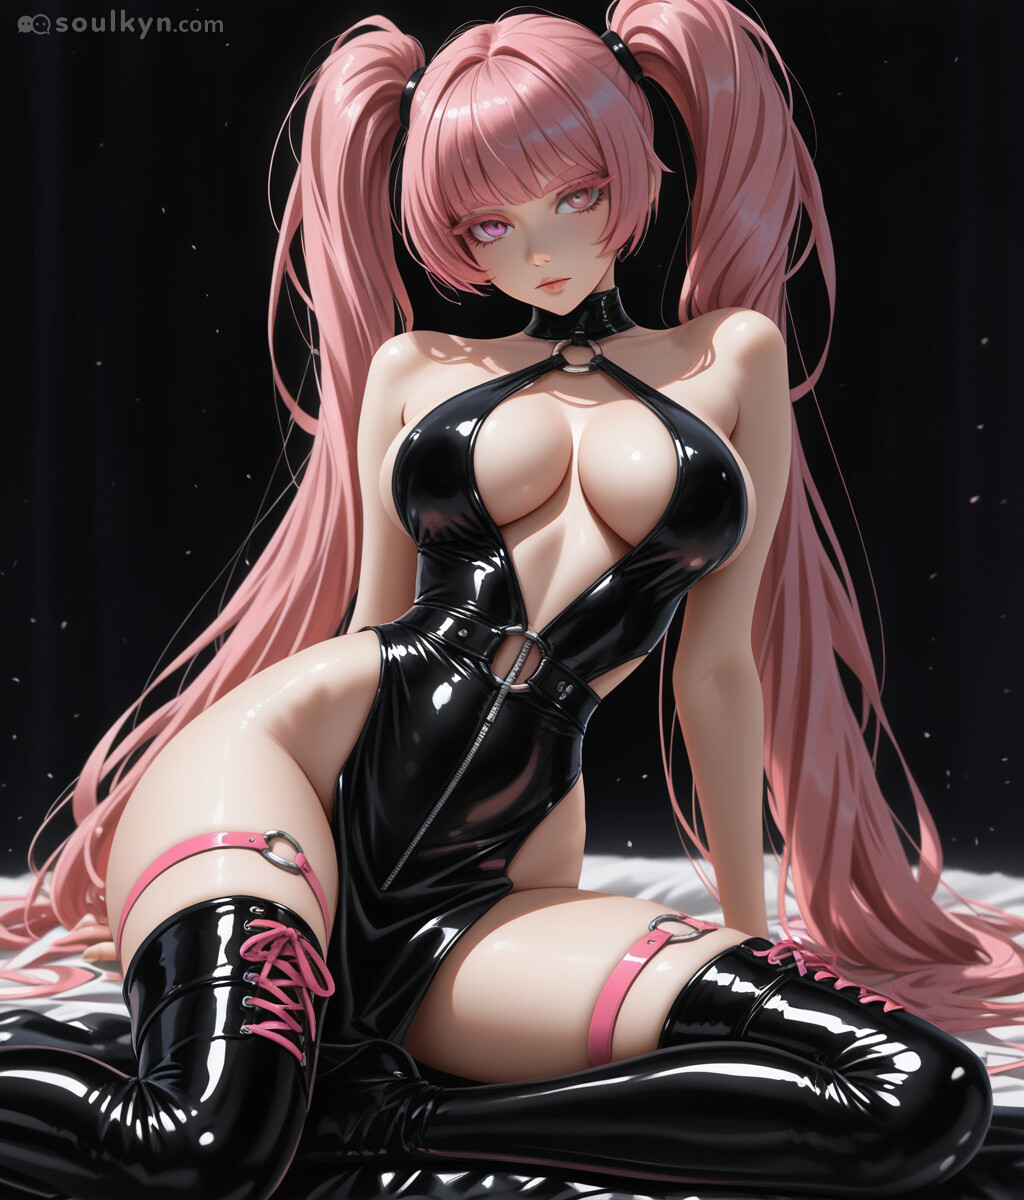
As you can see the latex thigh highs spilled latex all over the clothing. That is unfortunately normal and some materials will just take over all of the clothing depending on model you are using. In case of anime original you need to take out the mentions of latex out of the tags.
Here is the result of taking it out:
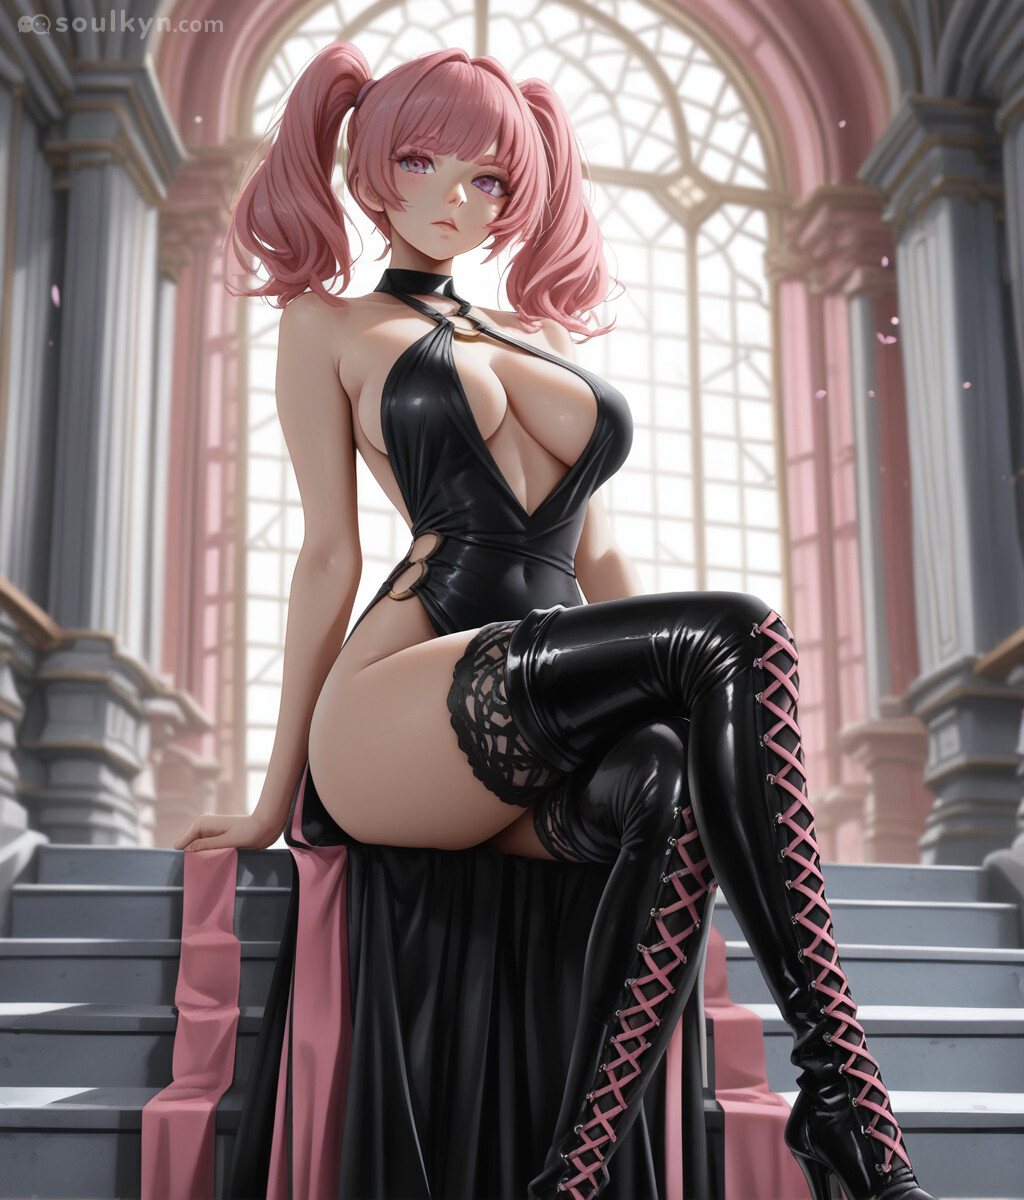
The world of designing clothing is a lot bigger than what I mentioned in this short guide, so don’t worry and keep experimenting!