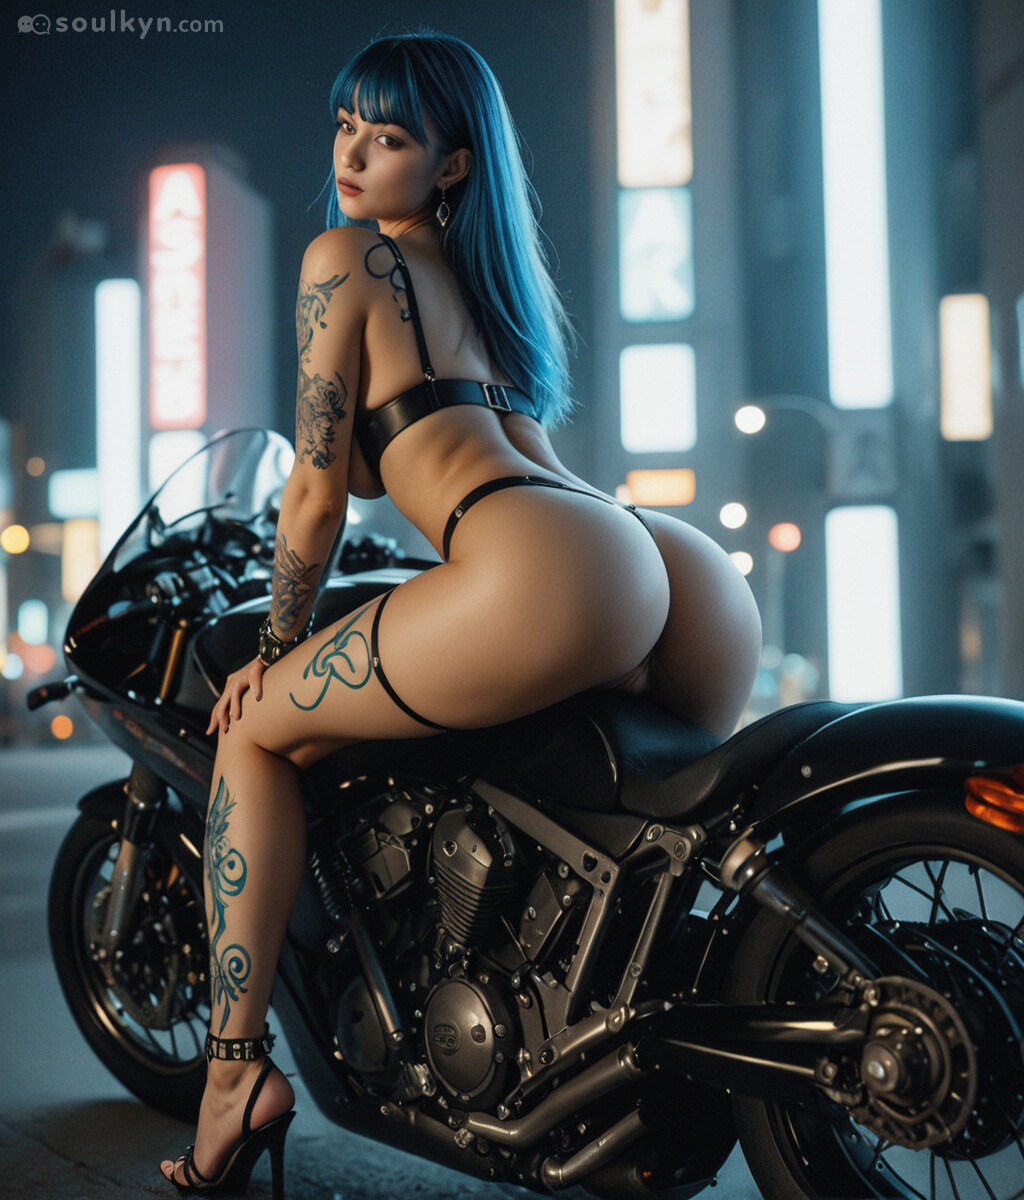
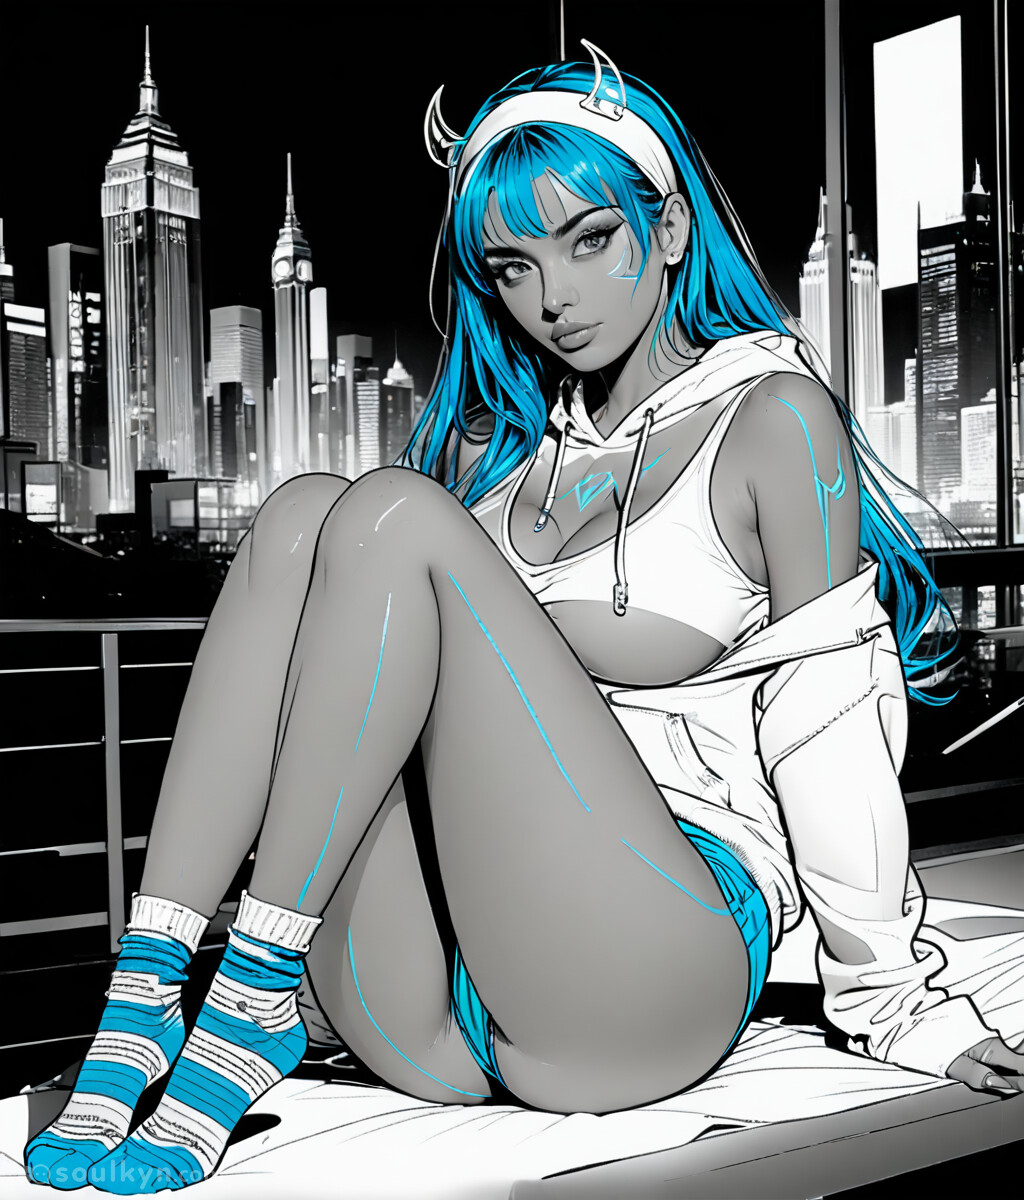
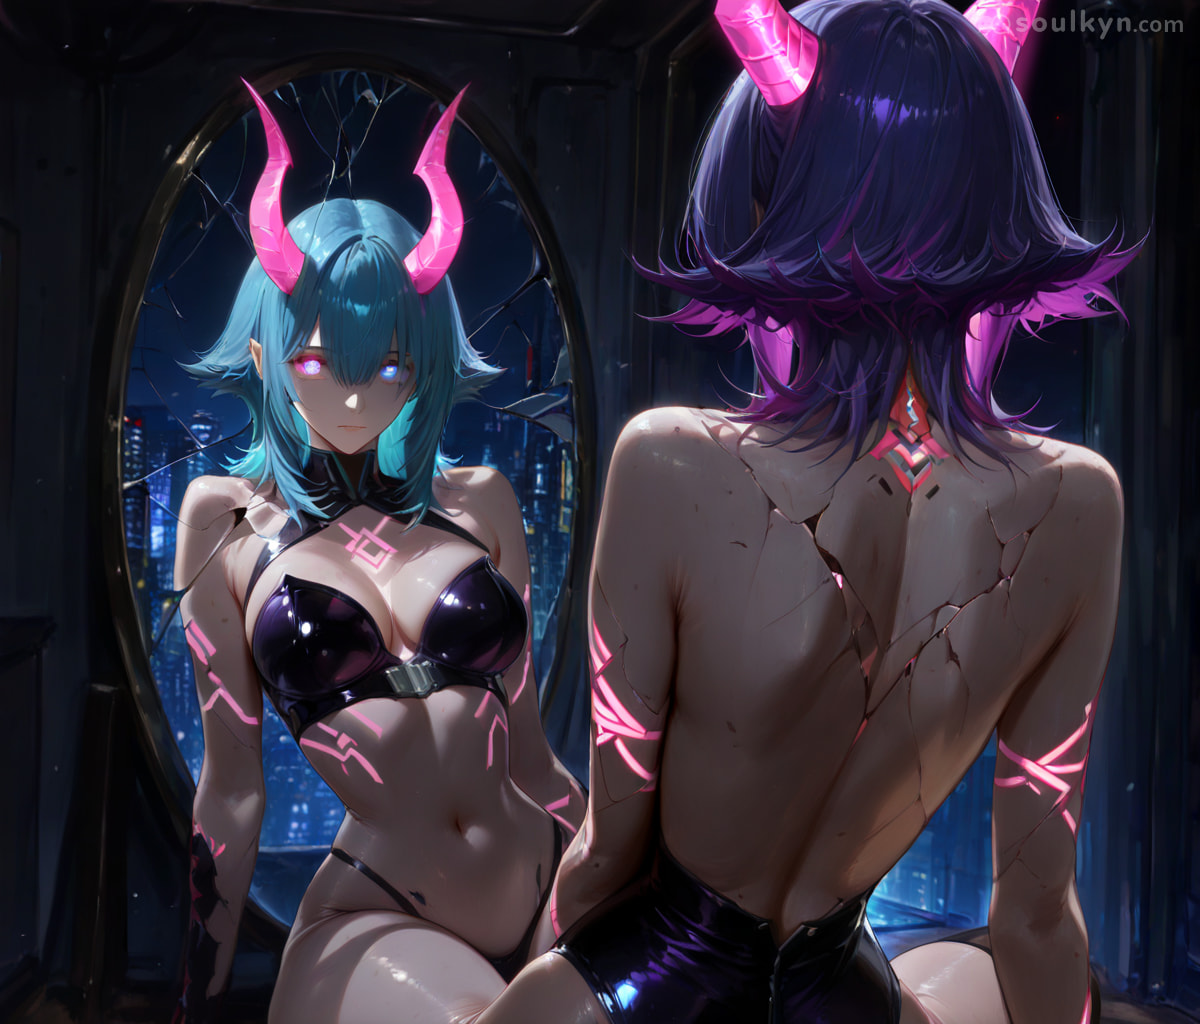
Hey you’re here most likely to learn about how styles work! Great! Be prepared to read a wall of text after a wall of text. Some images included™️
This tutorial assumes you have actually read the advanced tutorial
Let us begin!
By reading previous relevant tutorials you probably have a general idea how to structure your prompts. The thing is physical, location/background and clothing tags are more of a generalized suggestion than an actual necessity.
First of all lets see how different sets of prompts affect image generation
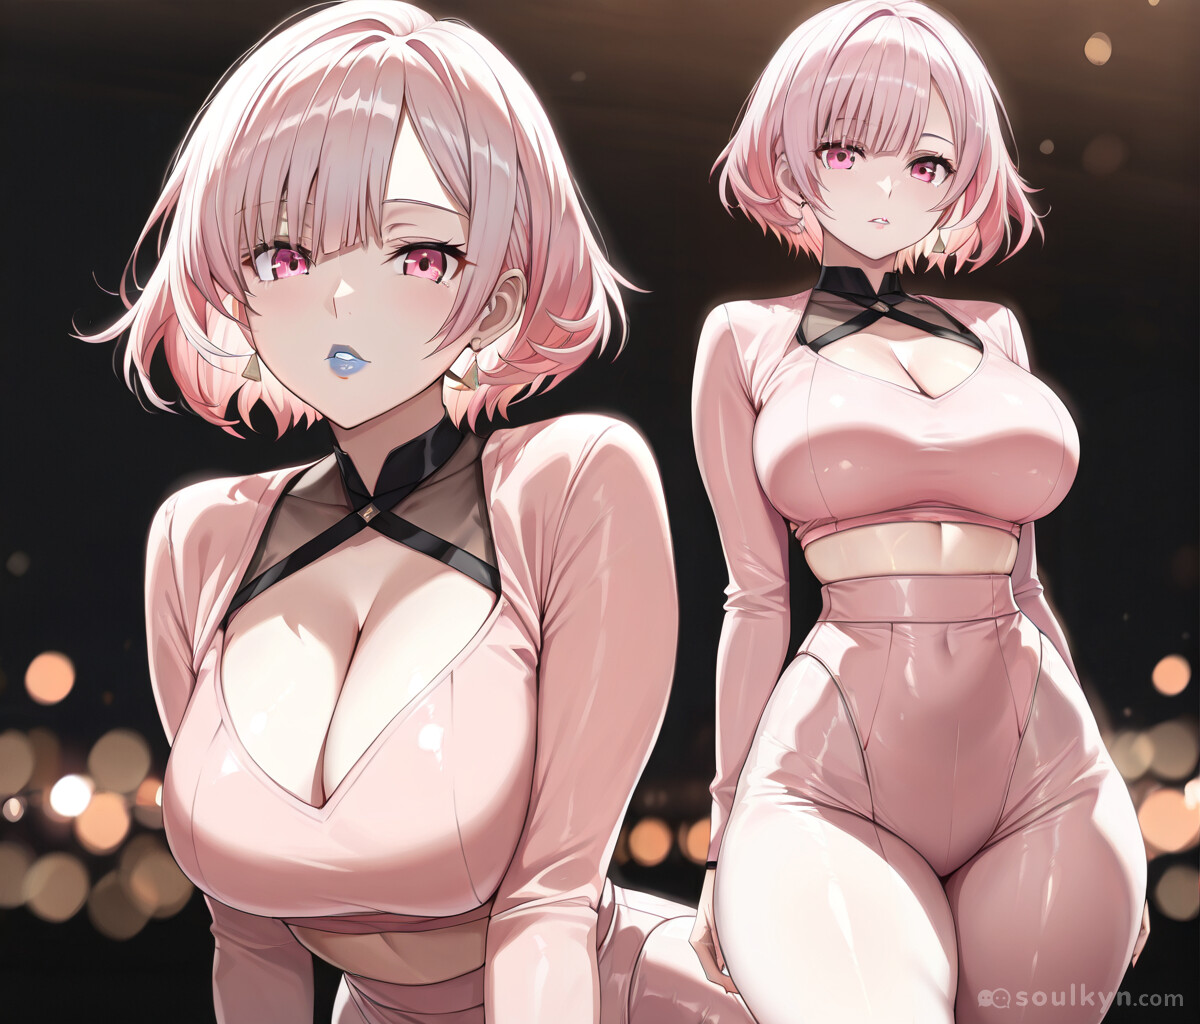
Here is my private character Yoru
Very Long Side Bangs, Pink Eyes, Blue Lips, Pink Short Hair, Full Lips, Big Hips, Curvy Figure, Slender Waist, Petite Build, Fair Skin, Thick Thighs, Soft Curves, Adult Woman
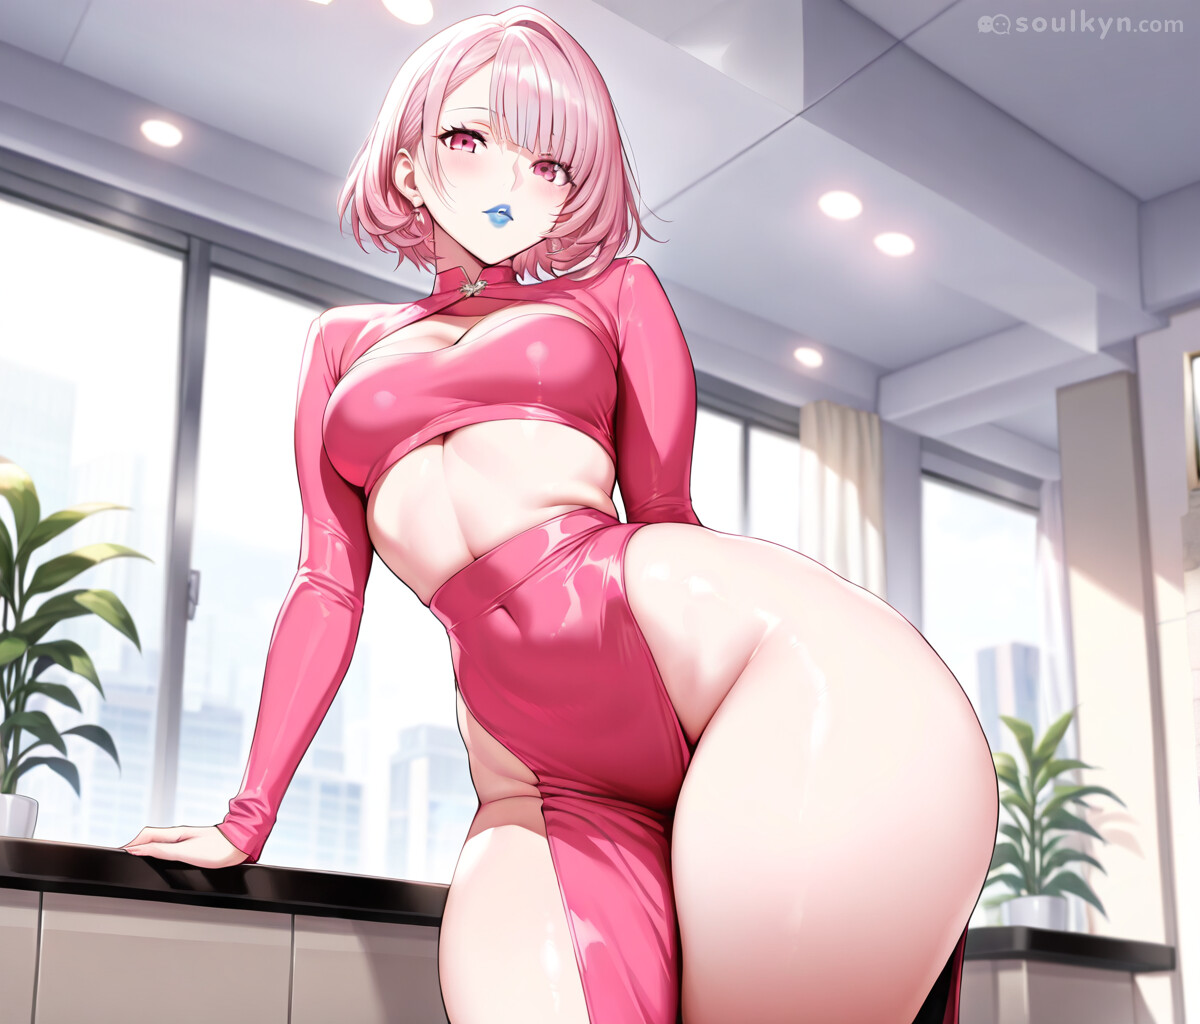
Yoru but with stylized Bakground
Background: Cinematic lighting;Film look, Low key light;Dark background, Directional light/Golden hour, Natural color;Color graded, Tonal contrast;Moody blacks, Depth of field/Bokeh effects, Lens bloom/Anamorphic flare, Real lens distortion;HDR, Sharp focus;Clarity, Skin shading/Ambient occlusion, Filmic soft shadows/Film grain
Here are physical prompts for Aria
Buxom Body Type :2, Round Feminine Face :2, Anime Style Eyes :2, Soft Details, Detailed_hair :2, Tall, Soft Feminine Face, Thicc Thighs, Detailed_eyebrows:2, Detailed_eyes:2, Detailed Clothing :2, Adult_woman :2, Intricate_hair_details :10, Blonde Hair, Long Eyelashes :2, Detailed Clothing Texture :2, Blue Very Detailed Eyes :2, Classic Anime Style :2
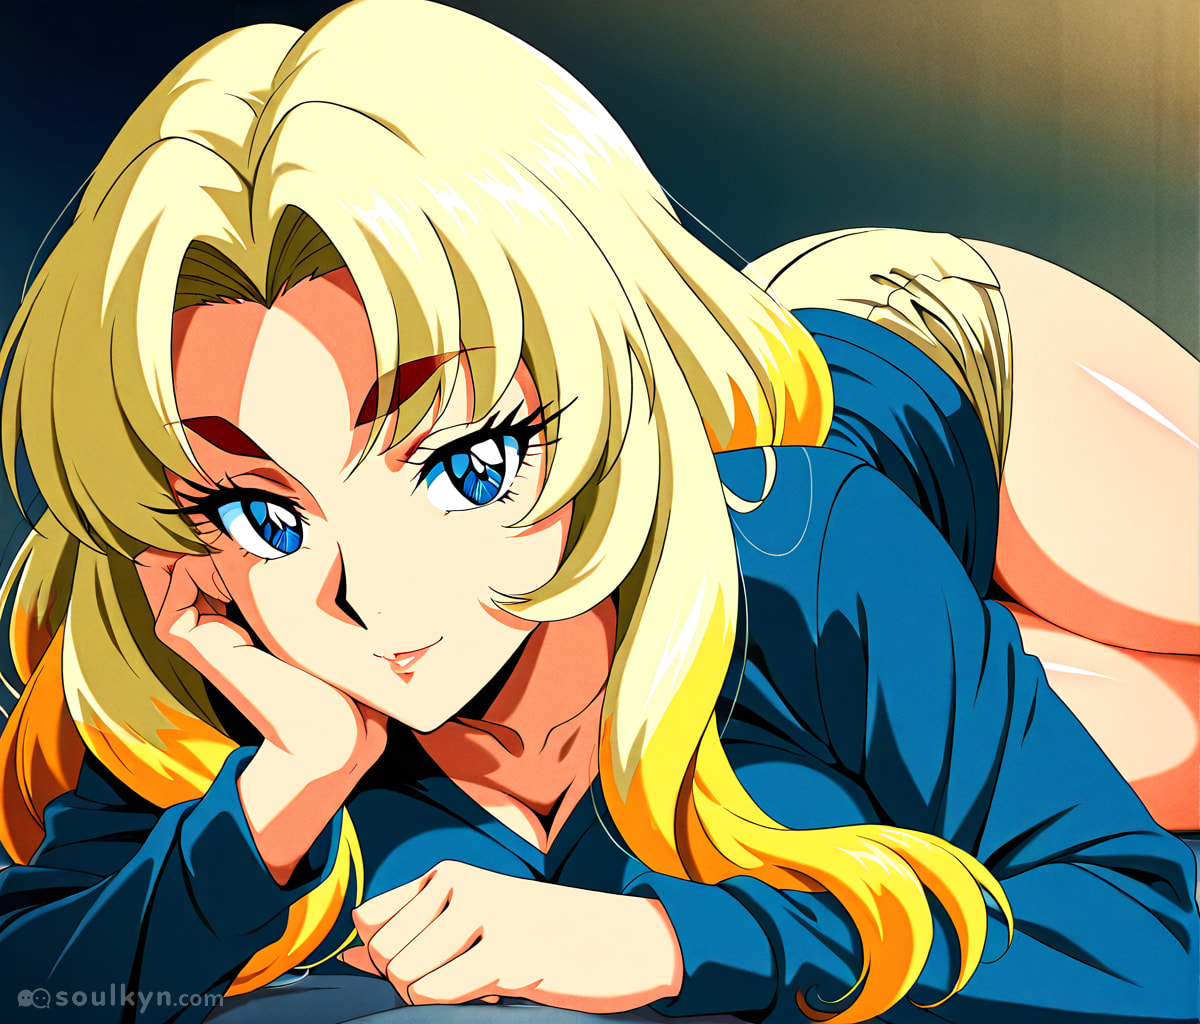
Prompt strength 11 on A-OG
Here is her with an example of style prompts
Clothing: Cinematic lighting;Film look, Low key light;Dark background, Directional light/Golden hour, Natural color;Color graded, Tonal contrast;Moody blacks, Depth of field/Bokeh effects, Lens bloom/Anamorphic flare, Real lens distortion;HDR, Sharp focus;Clarity, Skin shading/Ambient occlusion, Filmic soft shadows/Film grain, Photographic framing
Background: Cowboy_shot:2, Film_grain:1.1, Cinematic_composition:1.4, Depth_of_field:1.5, Dramatic_angle:1.2, Close-Up:2, Detailed_eyes:1.4, Soft_lighting:1.2, Highres:1.2, Fine_details:1.3, Atmospheric:1.2, Portrait:1.5, Looking_at_viewer:1.4, Bokeh:1.3, Sharp_focus:1.4, Upper_body:1.3, Blurred_background:1.5, Masterpiece:1.2
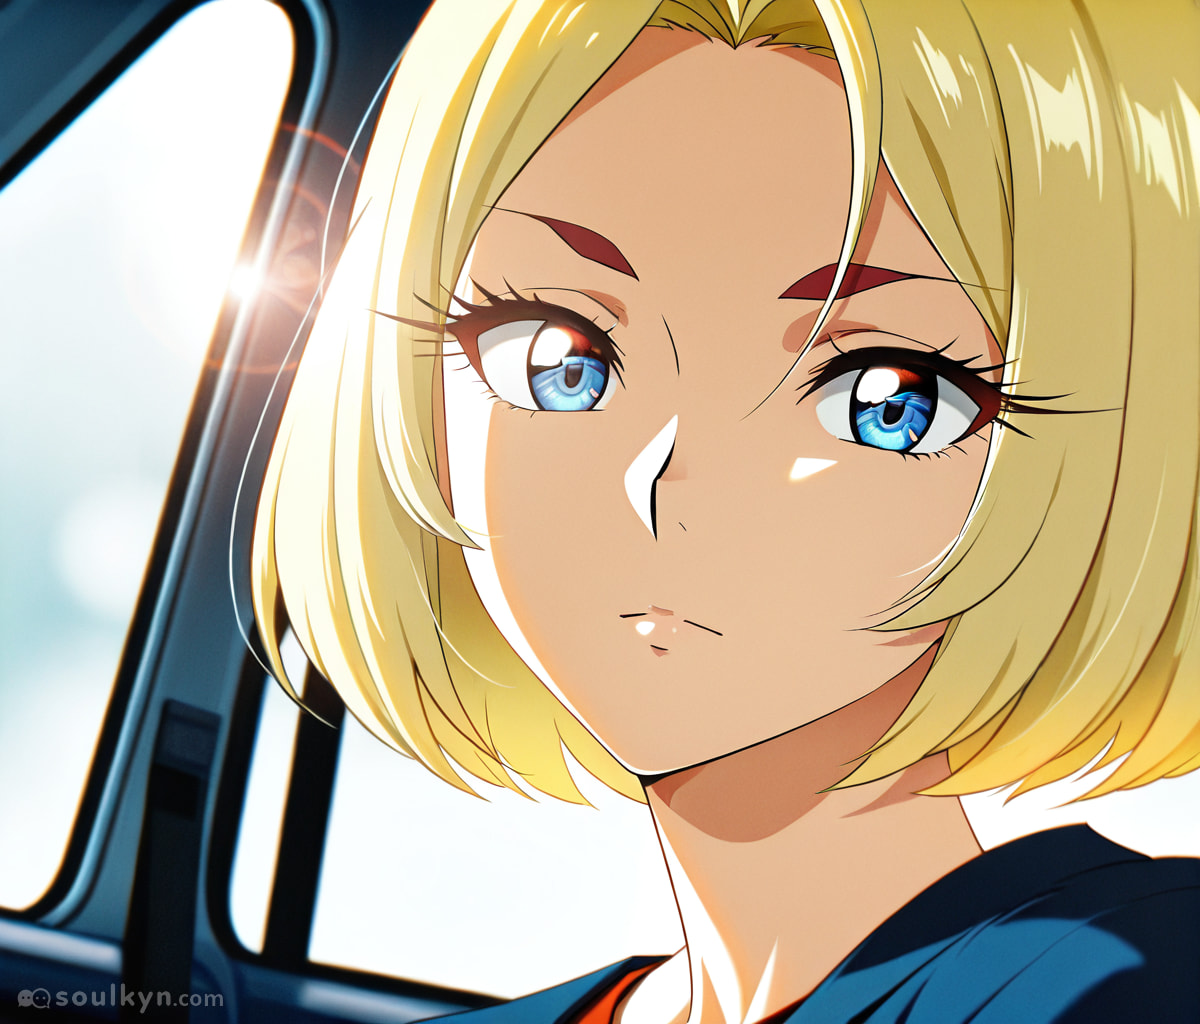
Quite overwhelming isn’t it!
That is what we are solving in this tutorial.
What we are doing with those tags is giving the AI more information about how we want pictures to look like.
This can be done with great many things be it physical tags, background, clothing or loras.
Prompting in itself isn’t really complicated if you know where to look for resources. I strongly suggest repositories with tags like danbooru
Image composition is everything you really need to create pictures like this one
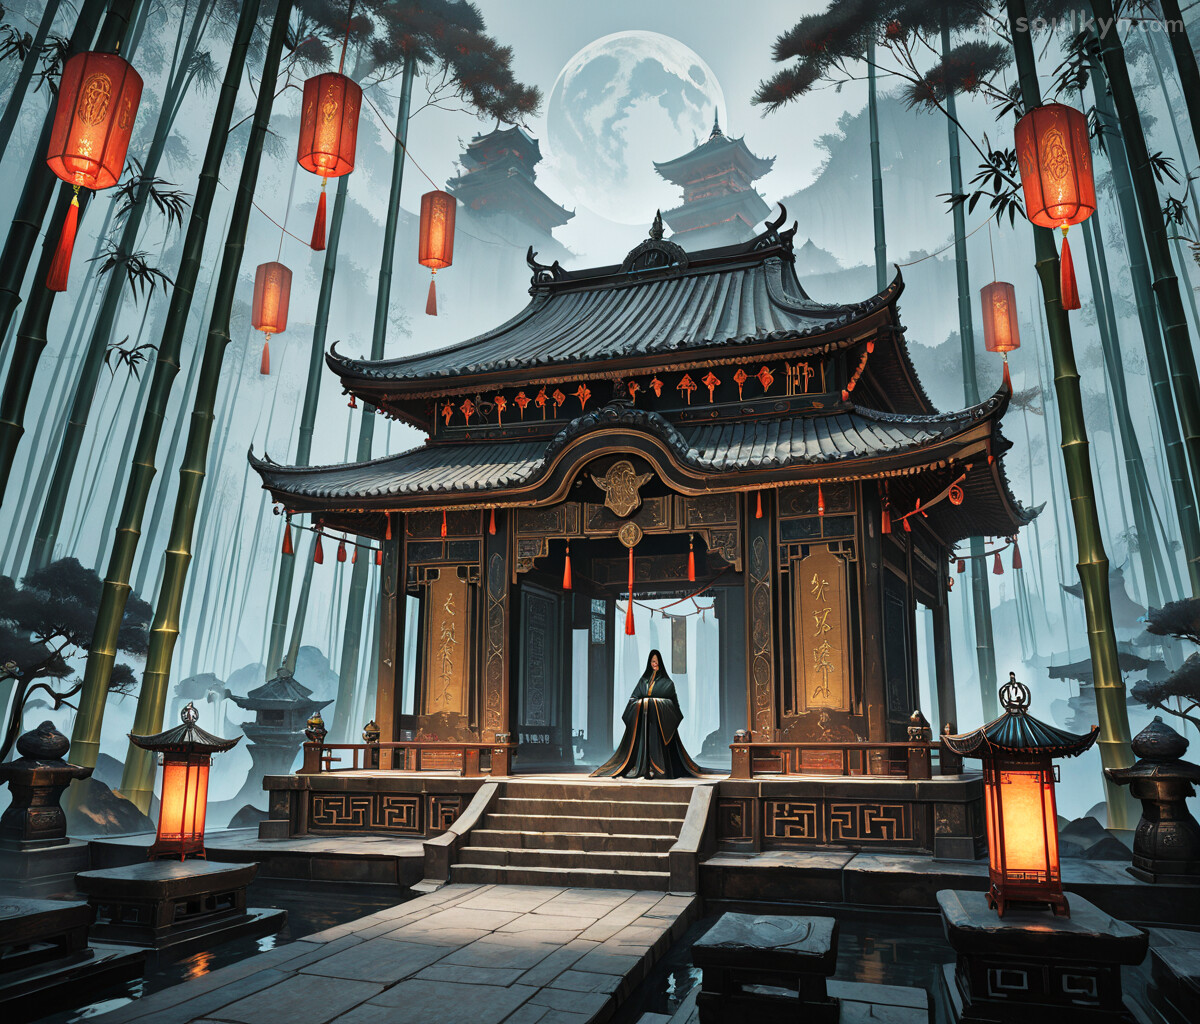
ADDBASE (epic, grand, scene)+++, (solo, alone)+++, (panorama)++, (chinese theme, ancient china)+++, (lonely, alone)+++, Muted_colors+++
Main things you need to understand when writing your own prompt:
- Be extremely precise,
- Be mindful of redundant tags (tags AI does not understand)
- Always pay attention to weights (if you put too much or in pointless places the math will break and it will start showing up artifacts)
- Have an outcome in mind.
With this behind us let us go to another topic:
Let’s talk about style
Now to explain what makes the overall artstyle and what affects it.
The biggest thing for you as a creator is understanding how to properly describe an image. This can be done by stating what parts of image composition you have in mind.
Below you will find a table showing just that in action.
| Term | Explanation | Example | Example Image |
|---|---|---|---|
| Style / Stylization | Overall look | (Realistic_style)2 | |
| Shading / lighting | Defining the volume and depth | (realistic_shading)2 | |
| line-art | Definition of edges and forms | (clean_line-art)2 | |
| Proportions | How subjects are depicted | (anime_proportions)2 | |
| Texture / detail | The level and type of surface details | (highly_detailed)2 | |
| composition / framing | How things are arranged | (isometric_compostion)2 | |
| Simulation | what medium does the picture simulate | (Oil_painting simulation)2 |
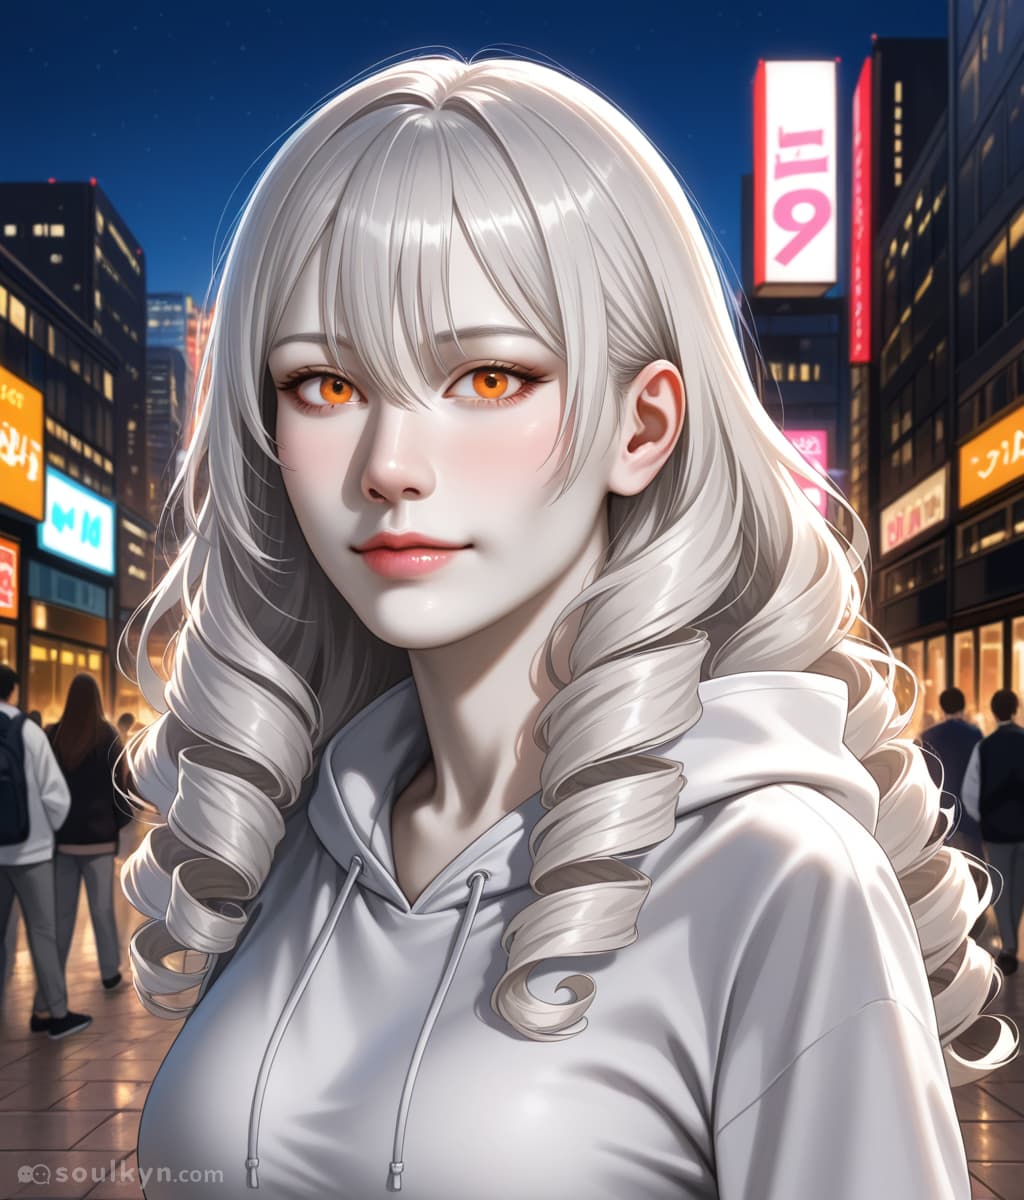
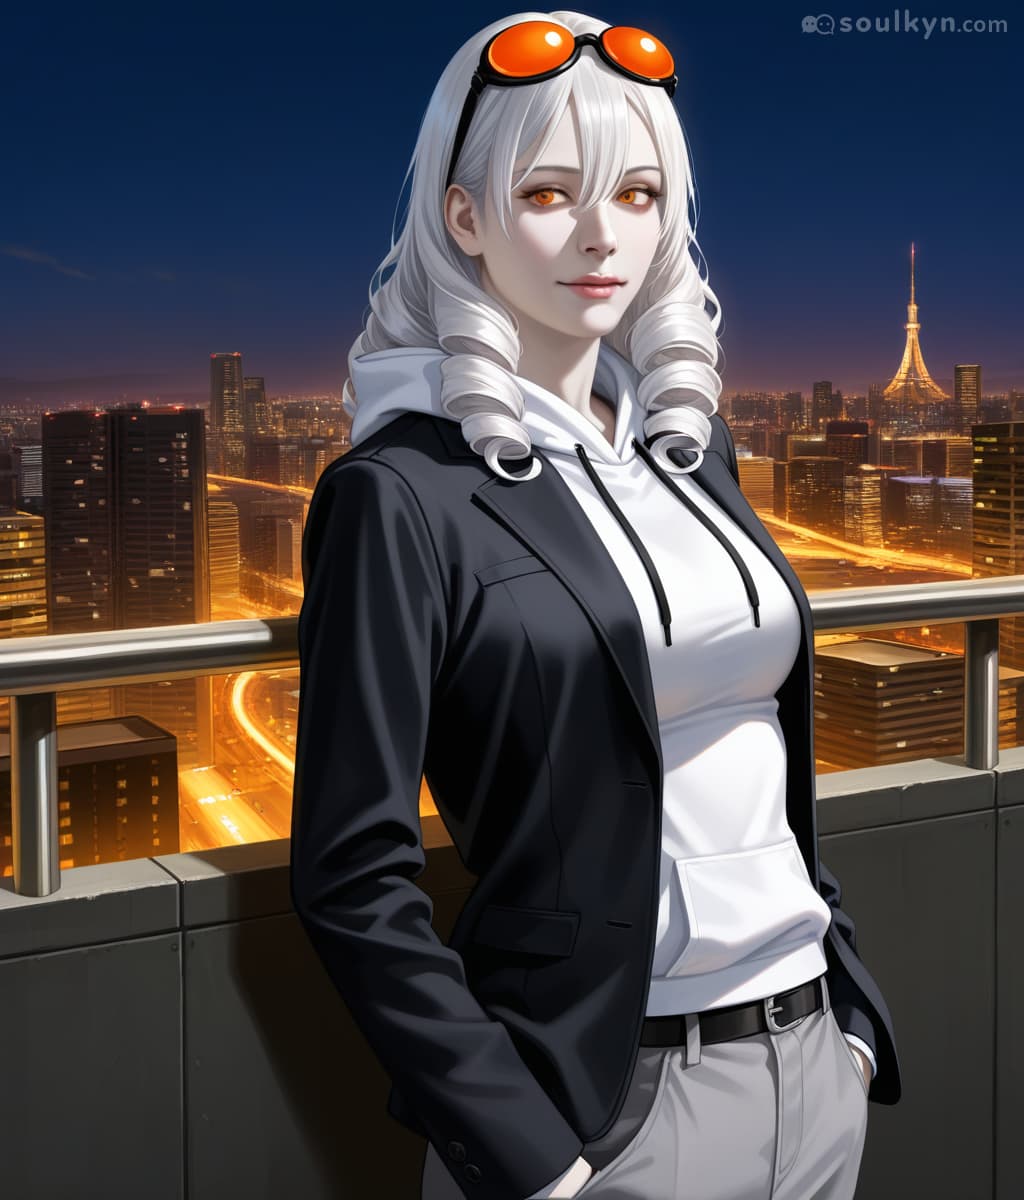
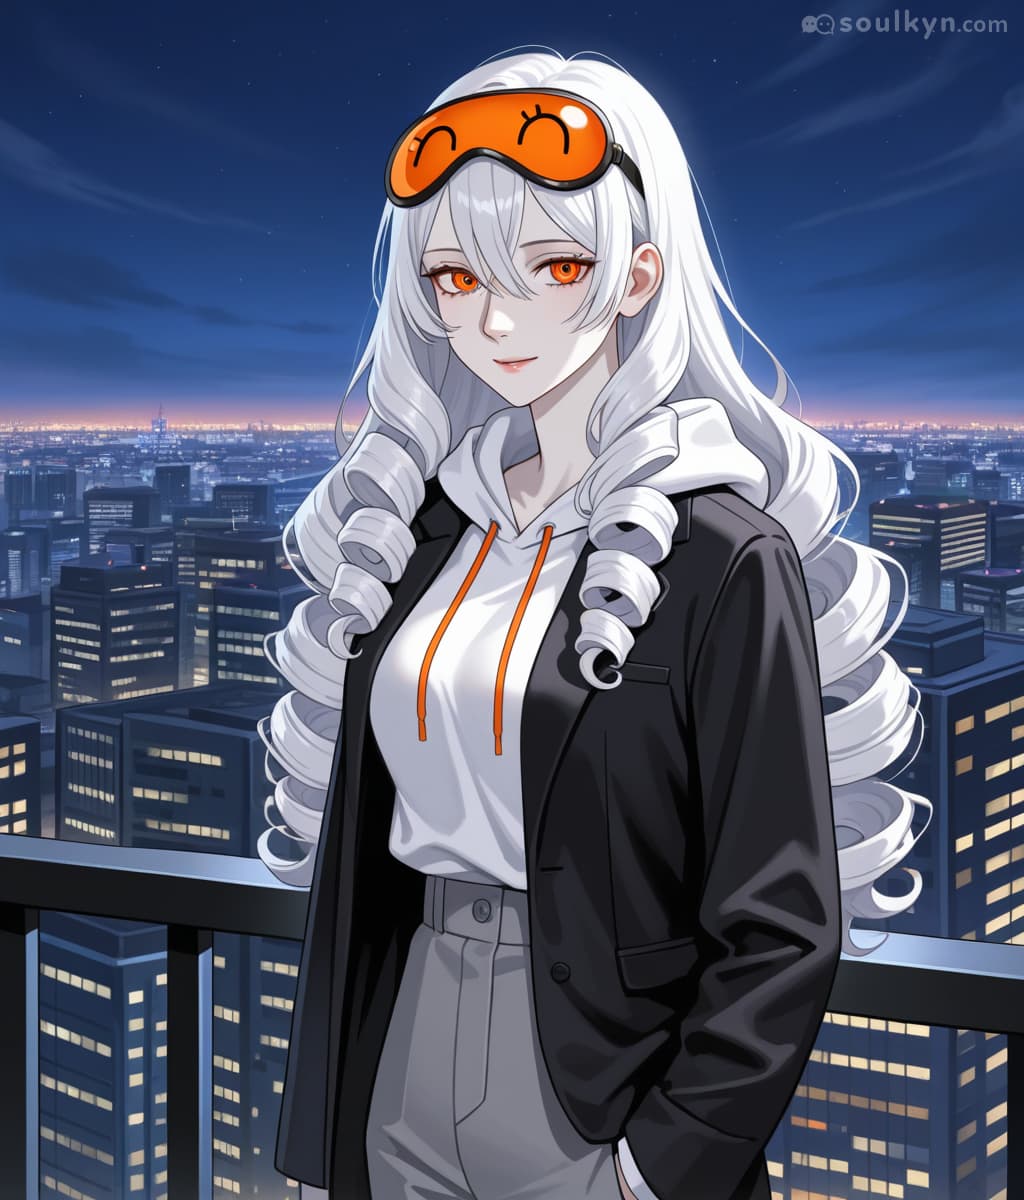
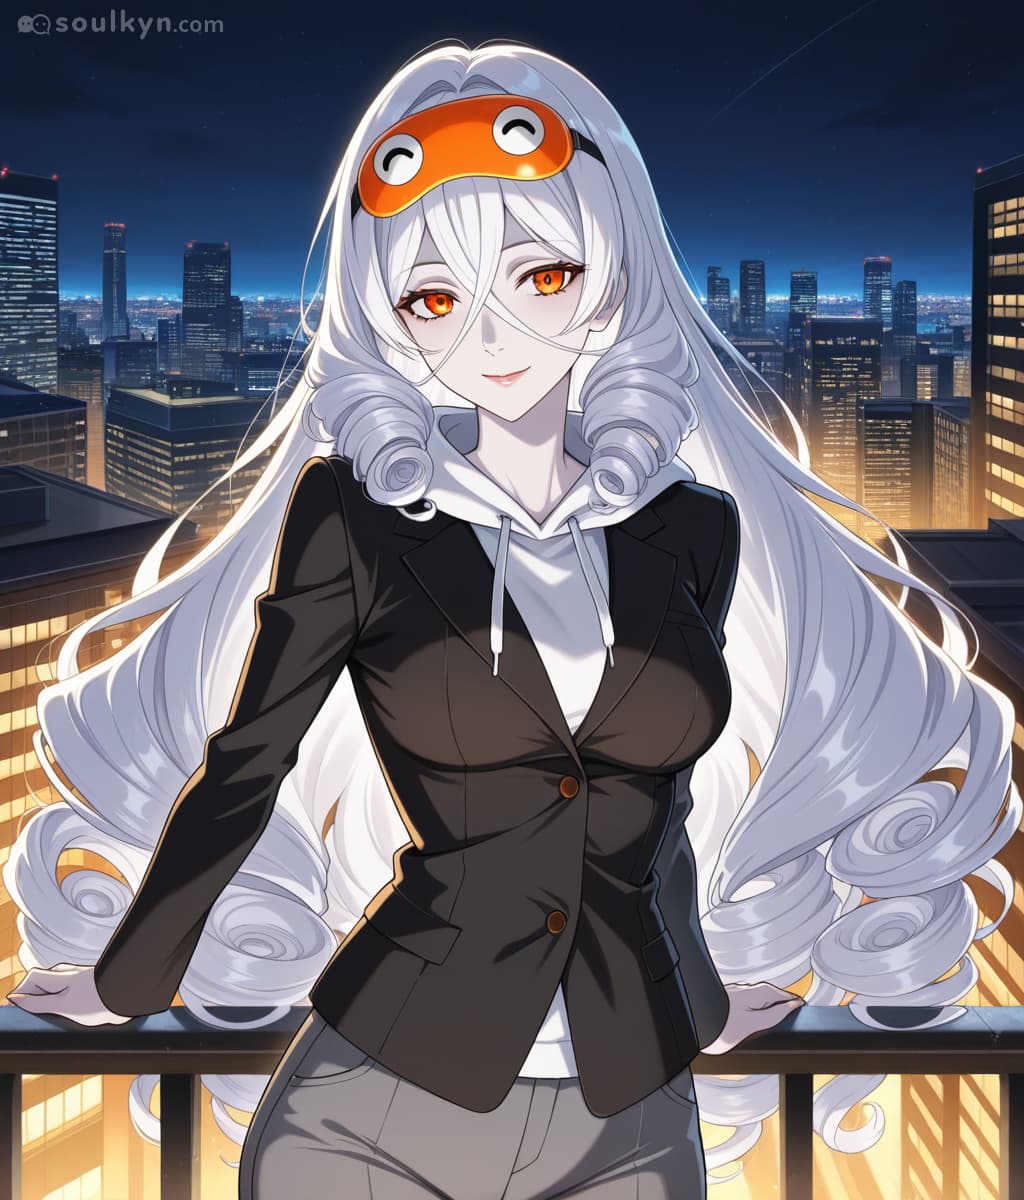
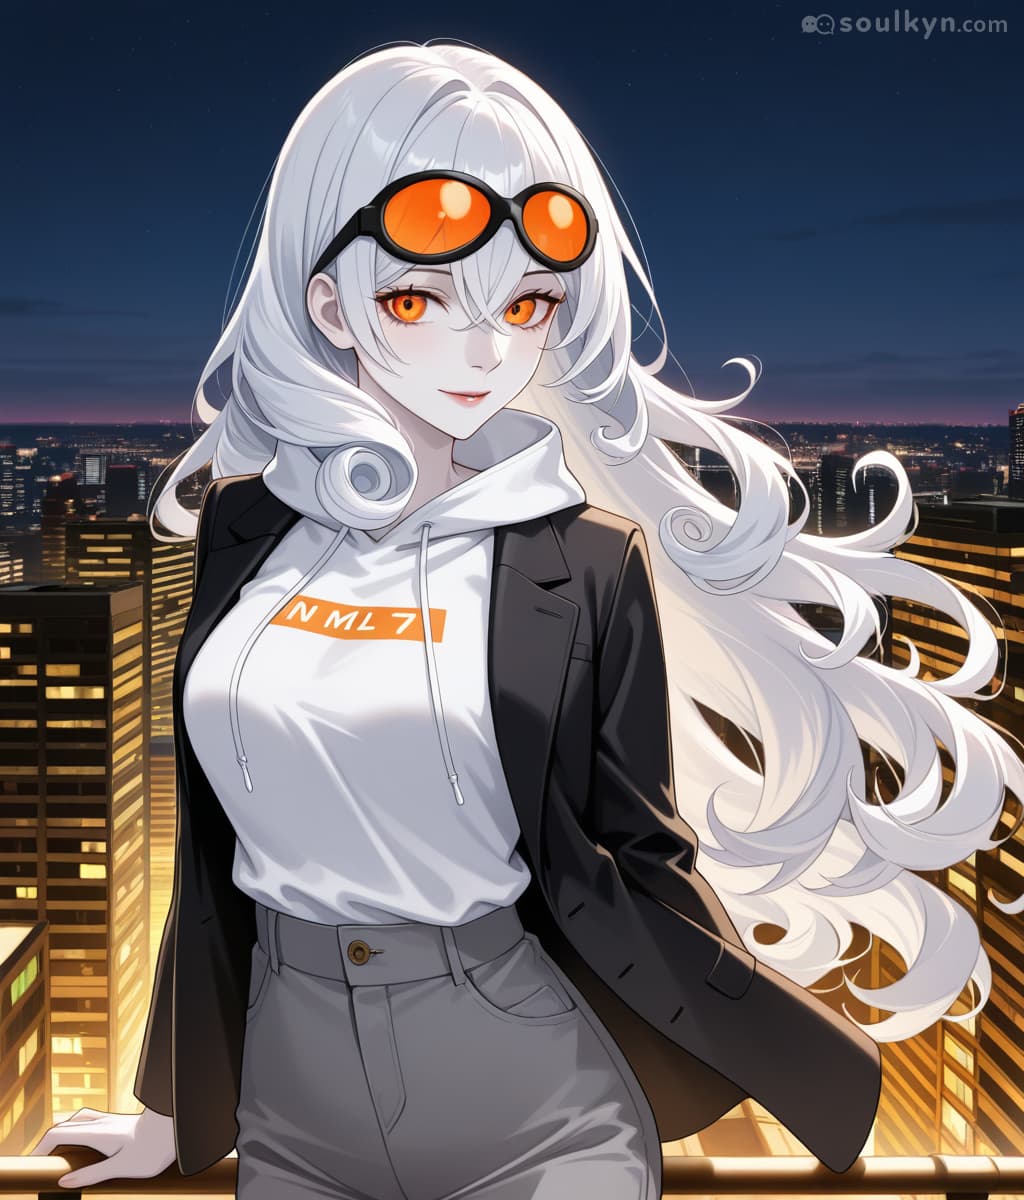
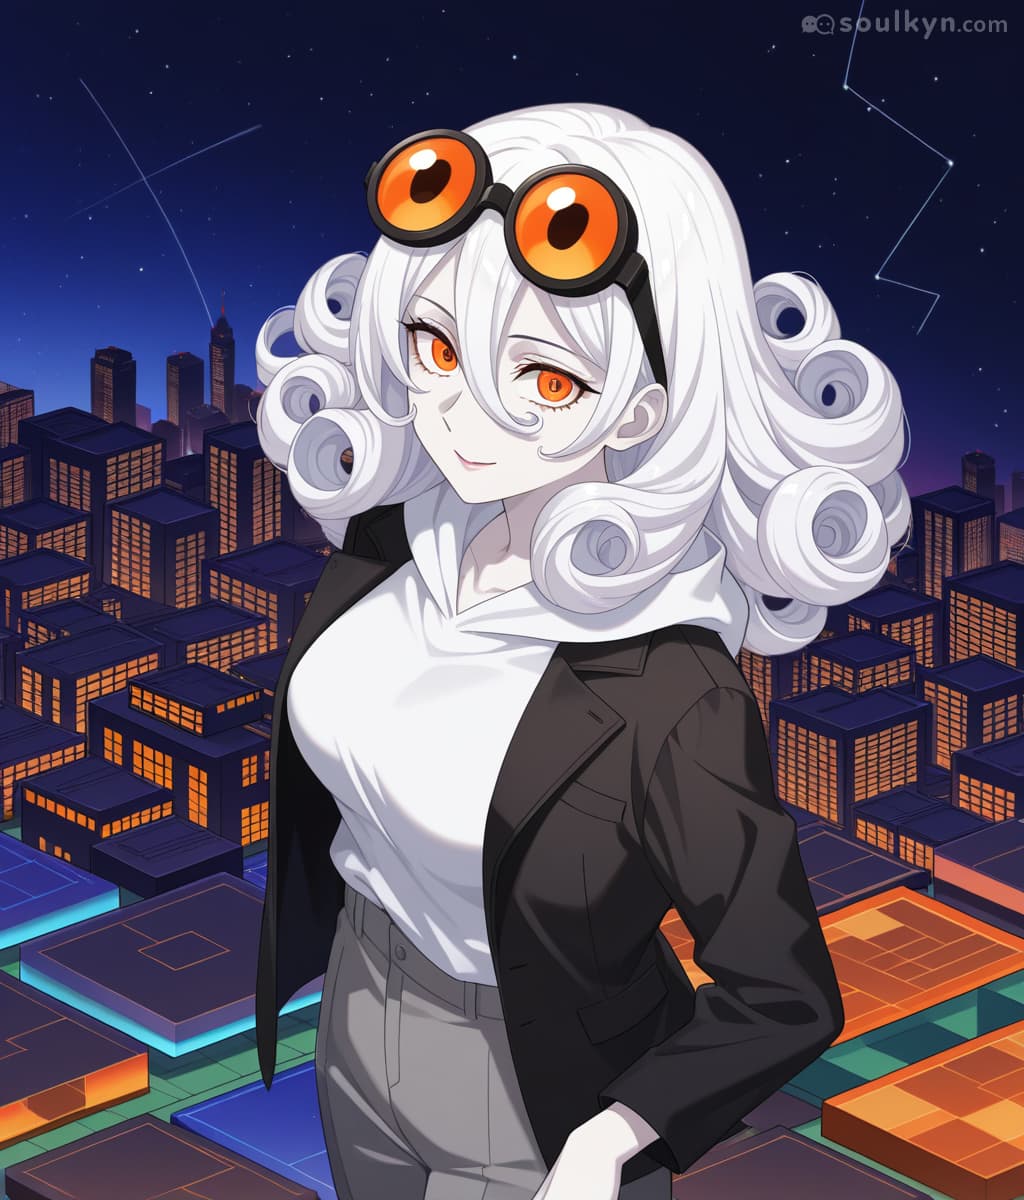
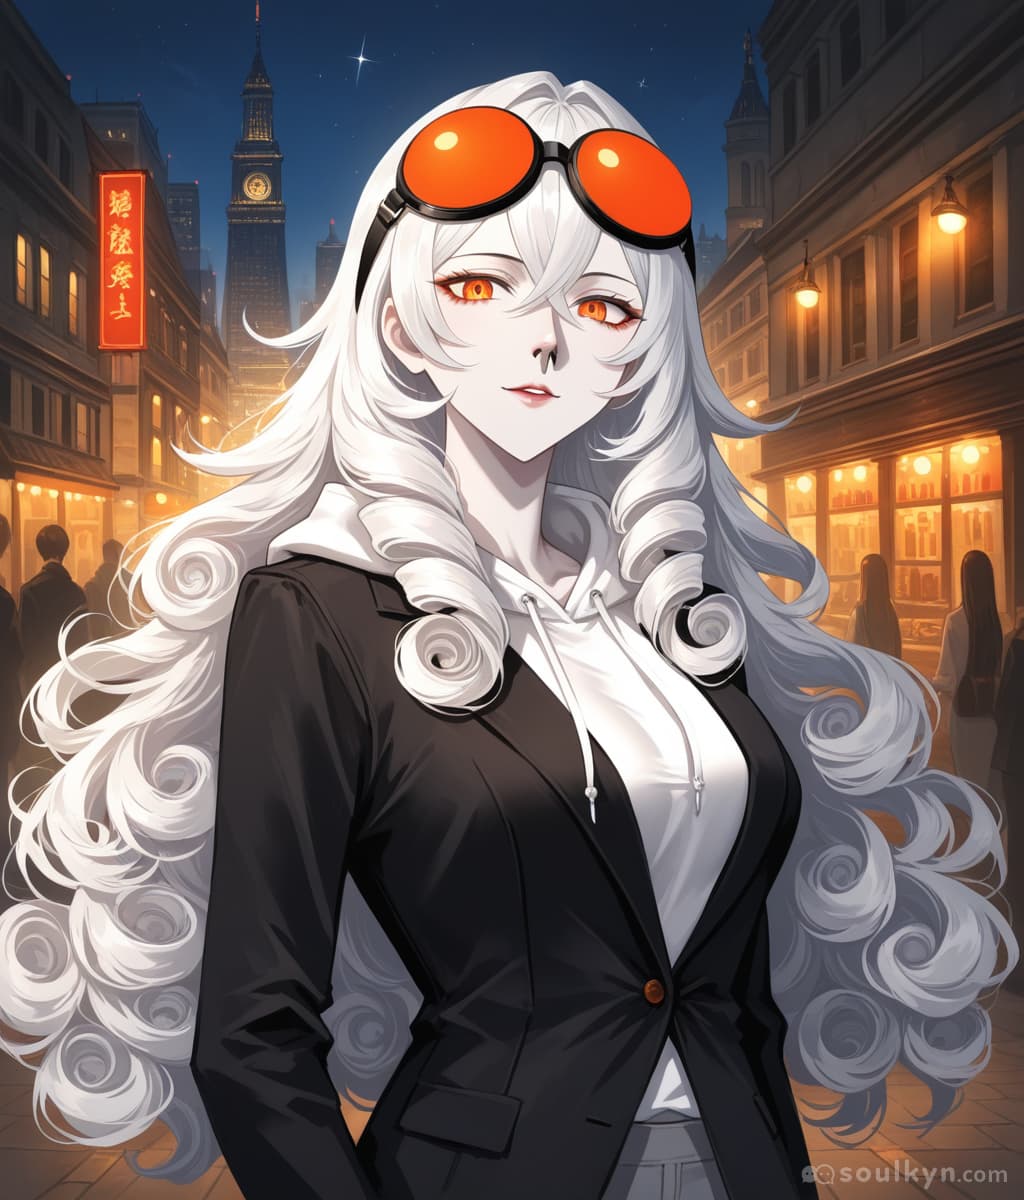
Using this knowledge we can actually start constructing a basic style.
example:
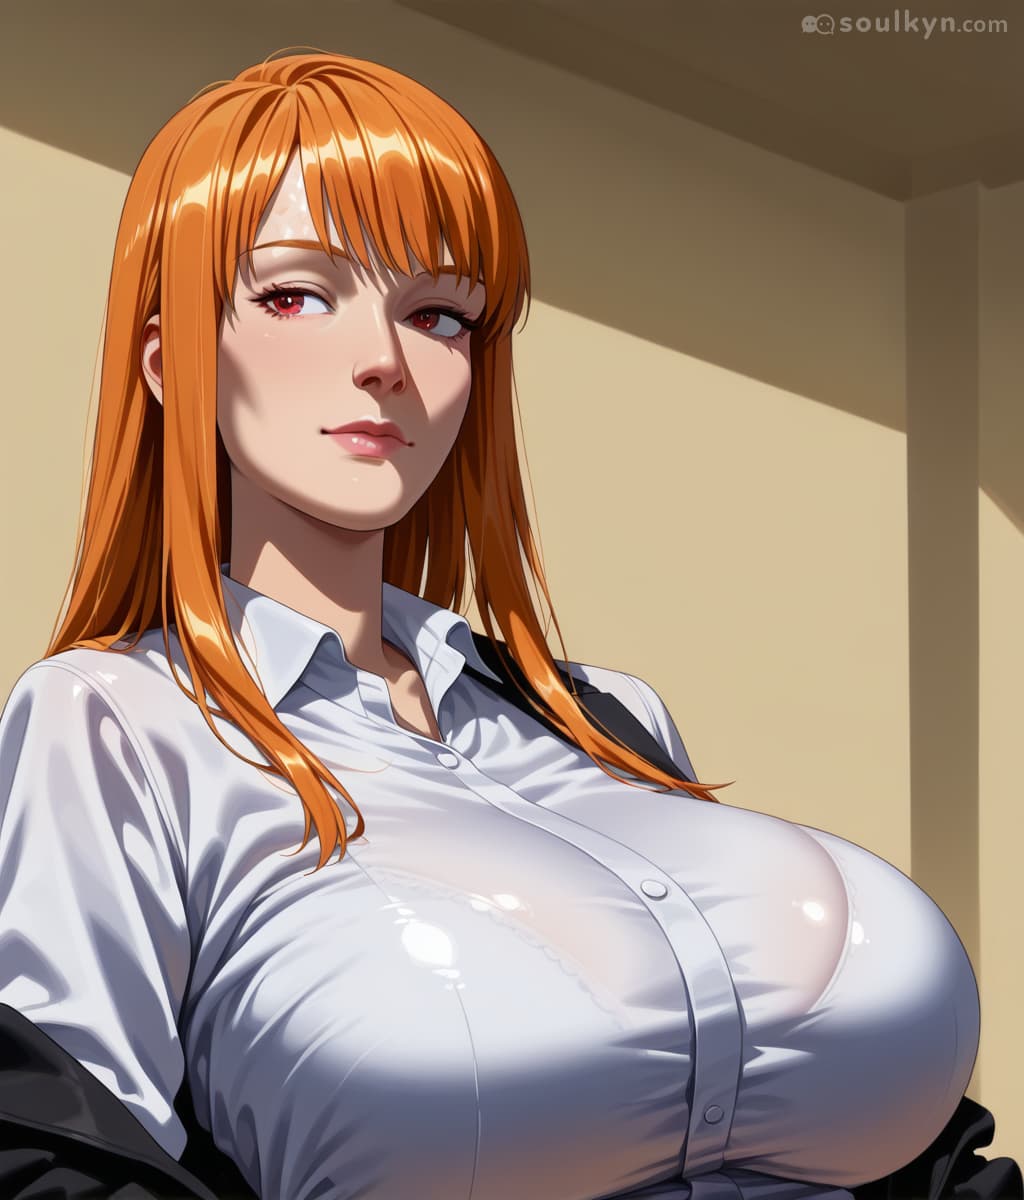
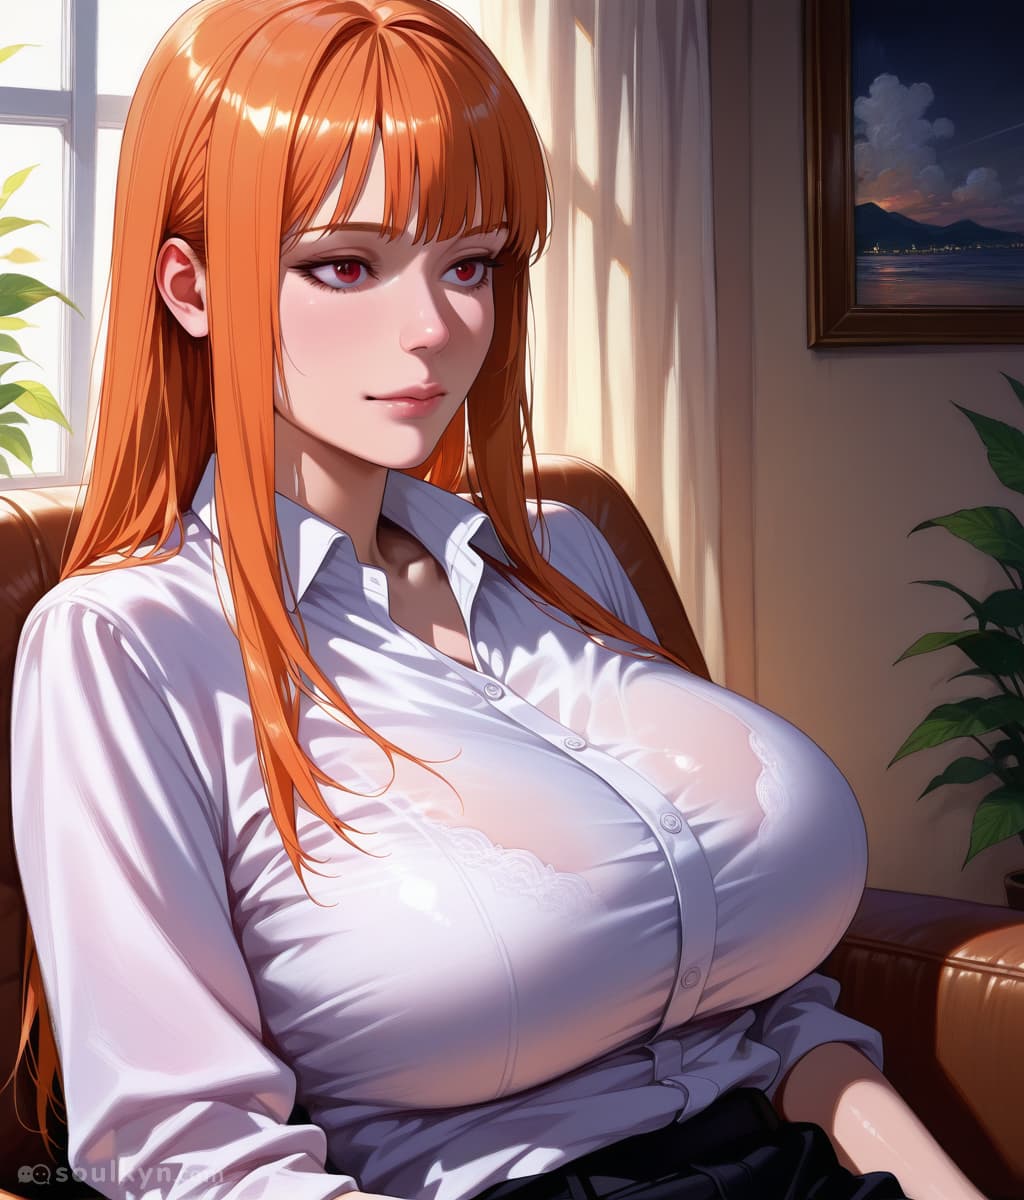
Now after seeing it you might be asking why didn’t I use a , between the keywords and here is an example of what happens when you add them
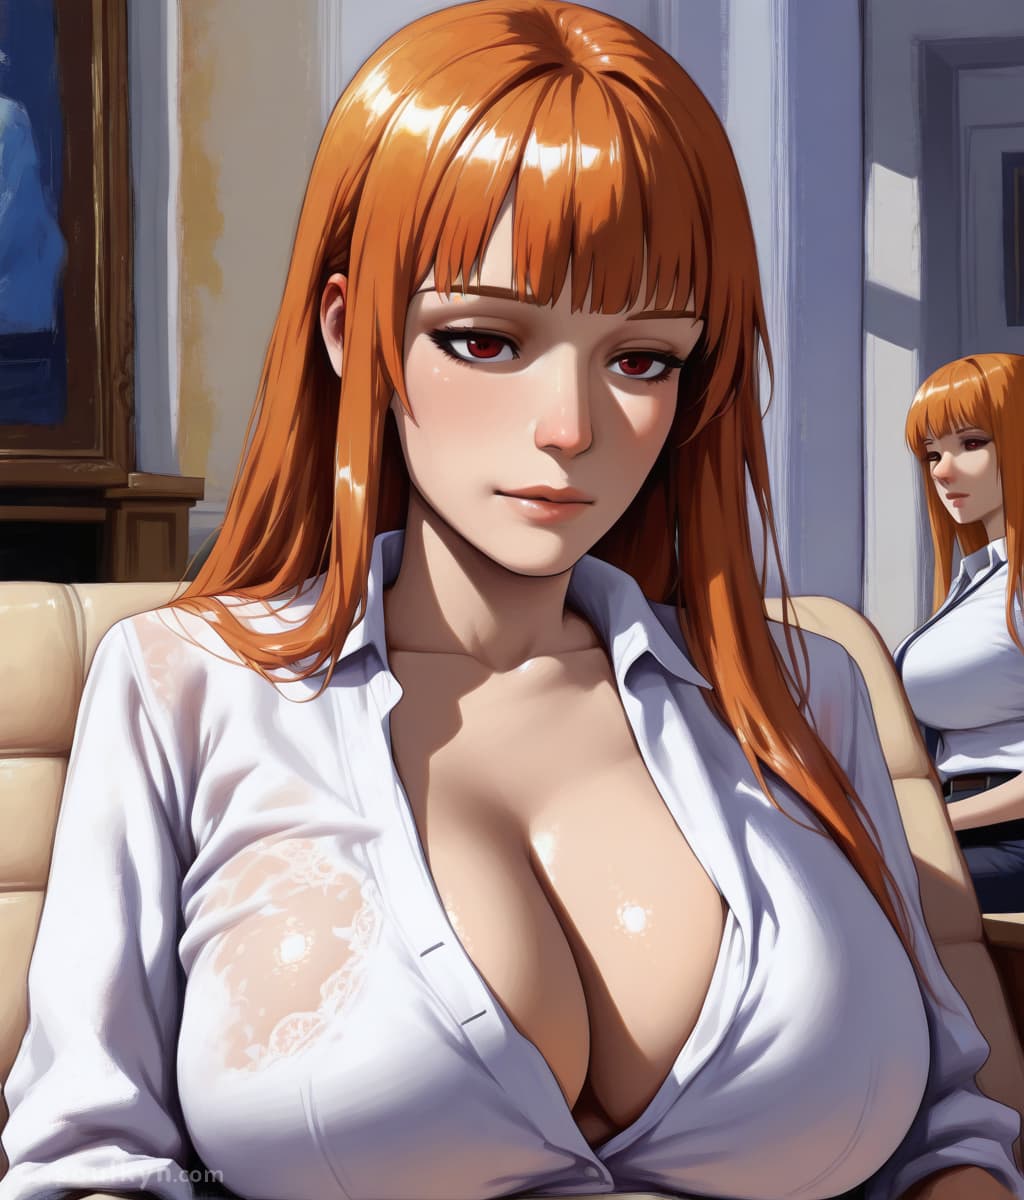
The picture changed A LOT and that’s because of how the ai sees your prompt
| Case 1 - using a , | The user wants a realistic shading > now make it painterly style |
|---|
| Case2 - not using a , | The user wants a painterly styled picture with realistic shading |
|---|
Weights
There are a lot of misconceptions about how to use weights on the site. Soulkyn does not let you use negative prompts this means that as long as you use a tag it will appear. The base value is 1. If you lower it to 0.001 it is still higher than 0. If you don’t want stuff to appear do not add it.
This means that if you add Photorealistic anime style it’s default weight is 1. You can modify it to be like this in physicals Photorealistic anime style :0.4 or Photorealistic style :1.4 it just changed how much the tag influences the outcome. Due to normalization of tags even if they have :100 included they will be brought down to around 2.
Here is an example of one of my many Fukas on Anime-Hyper with variations of photorealistic.
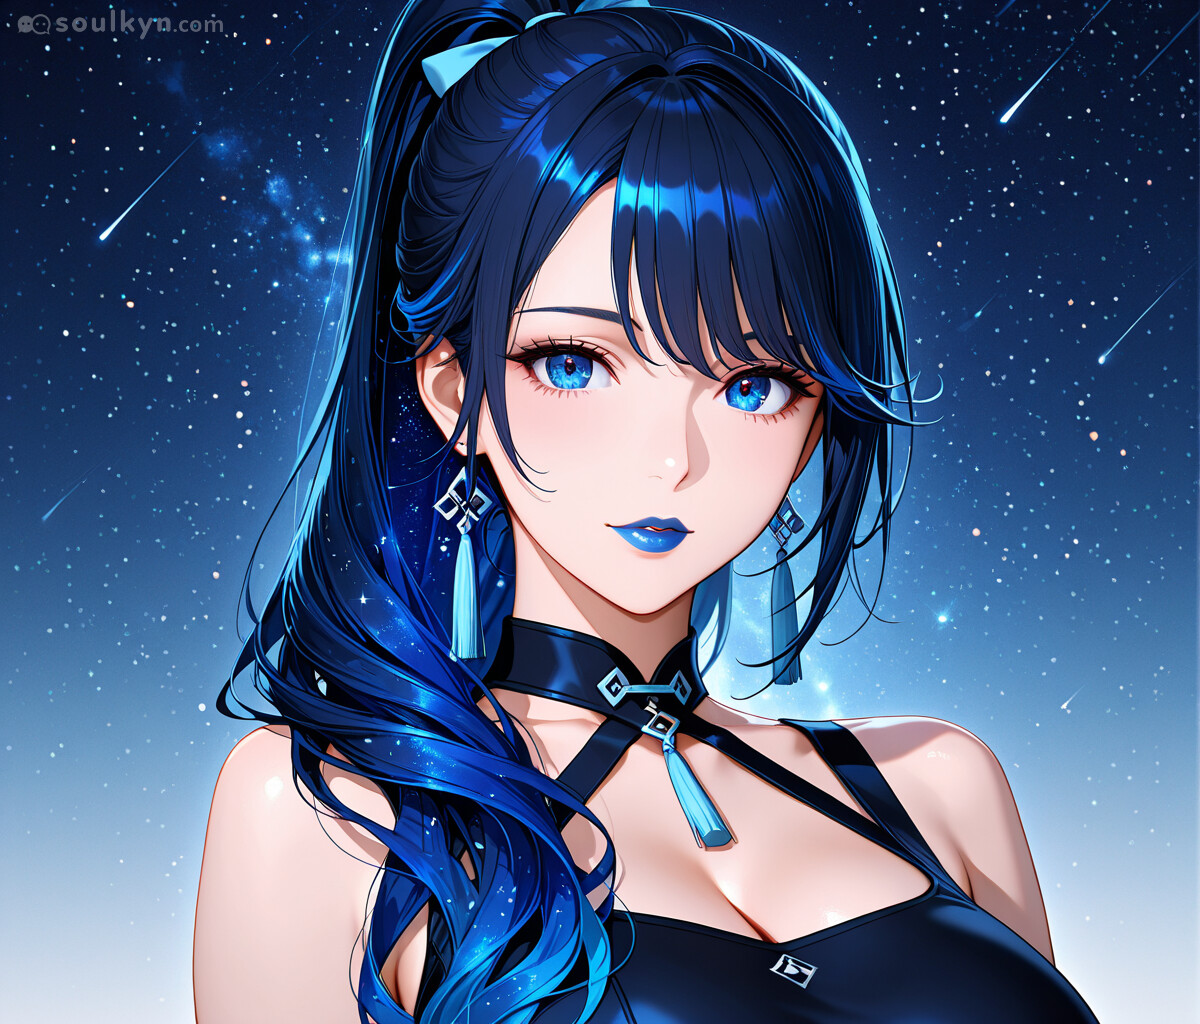
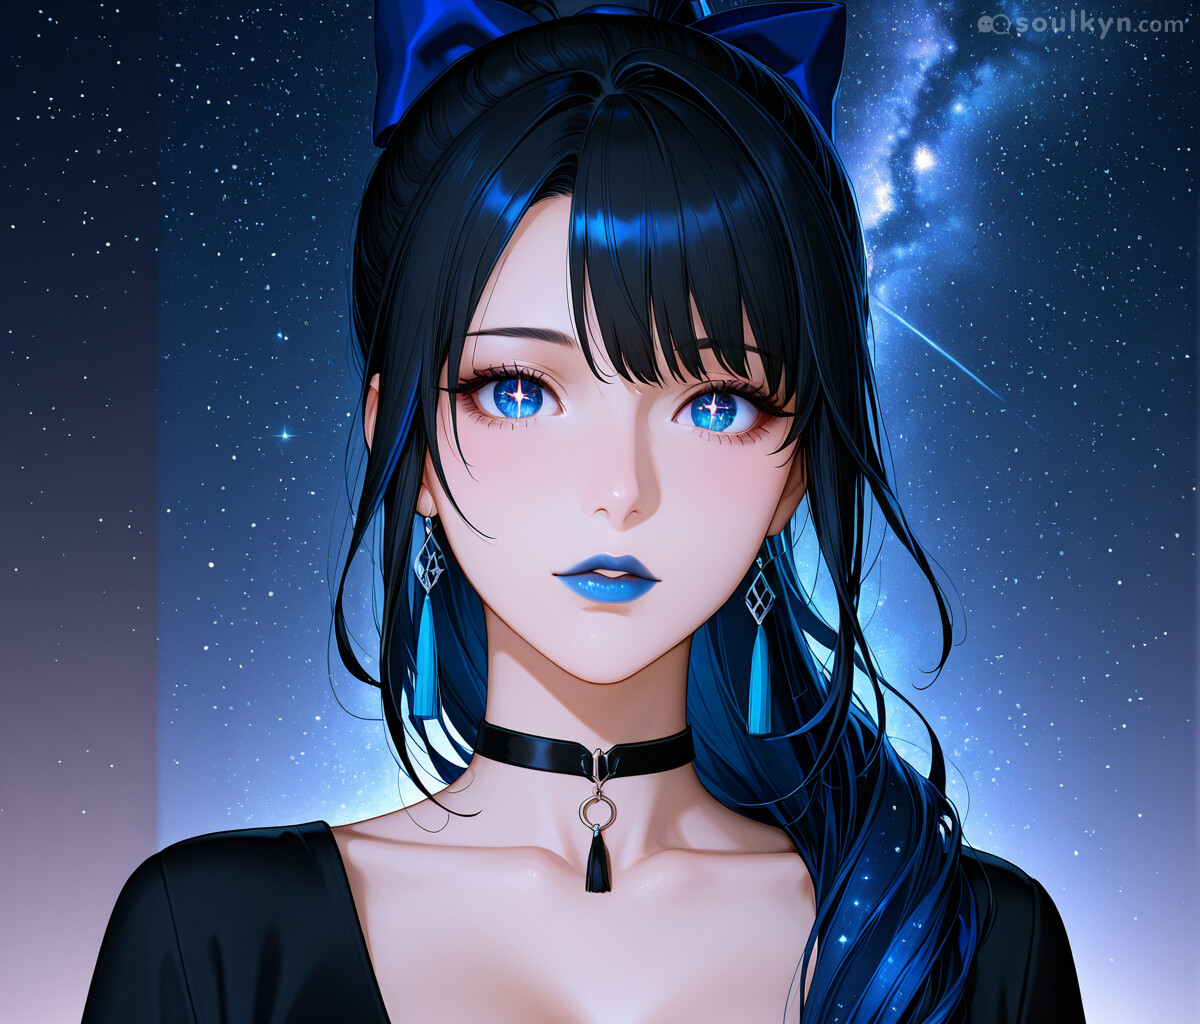
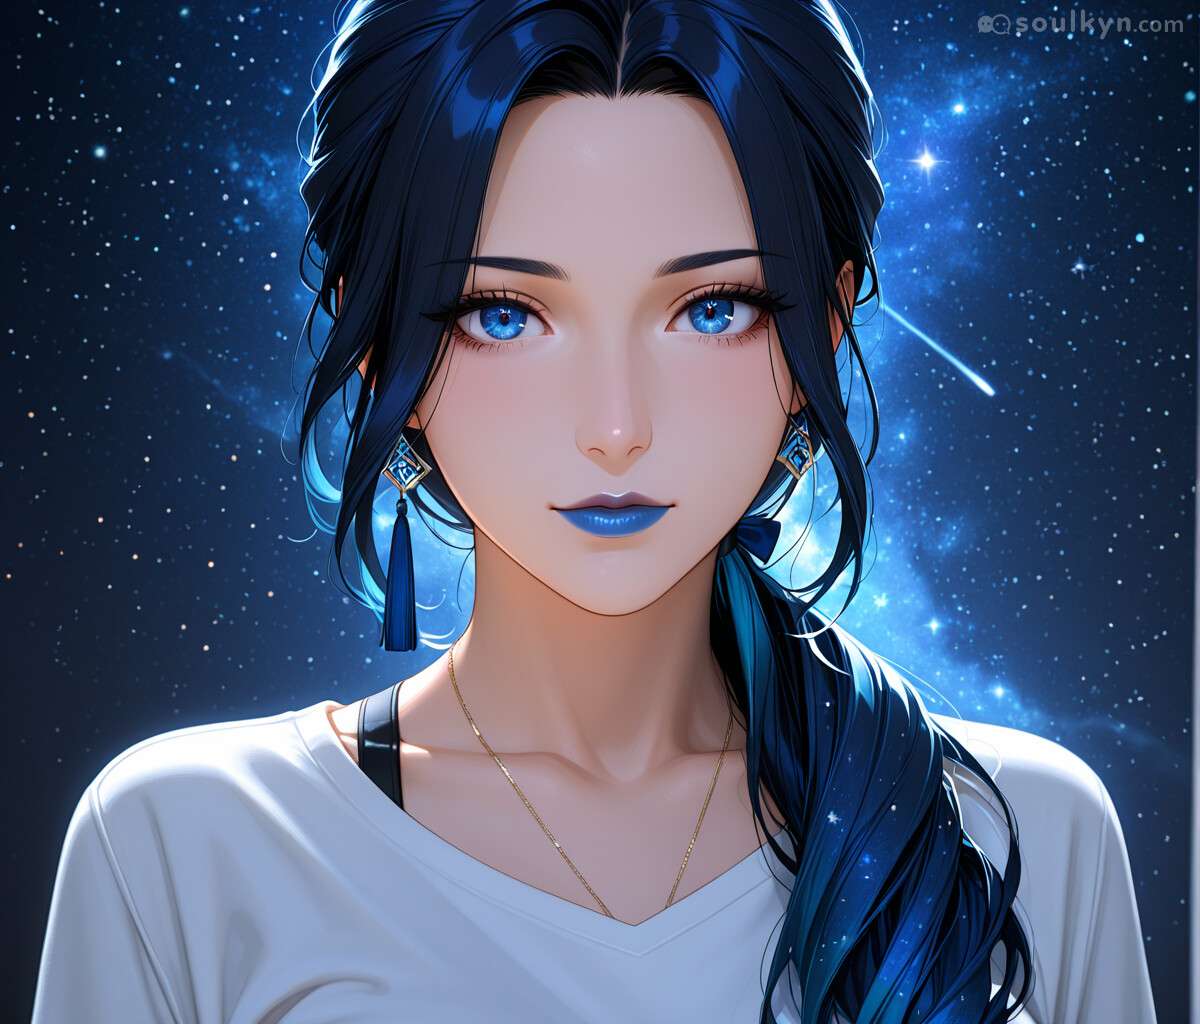
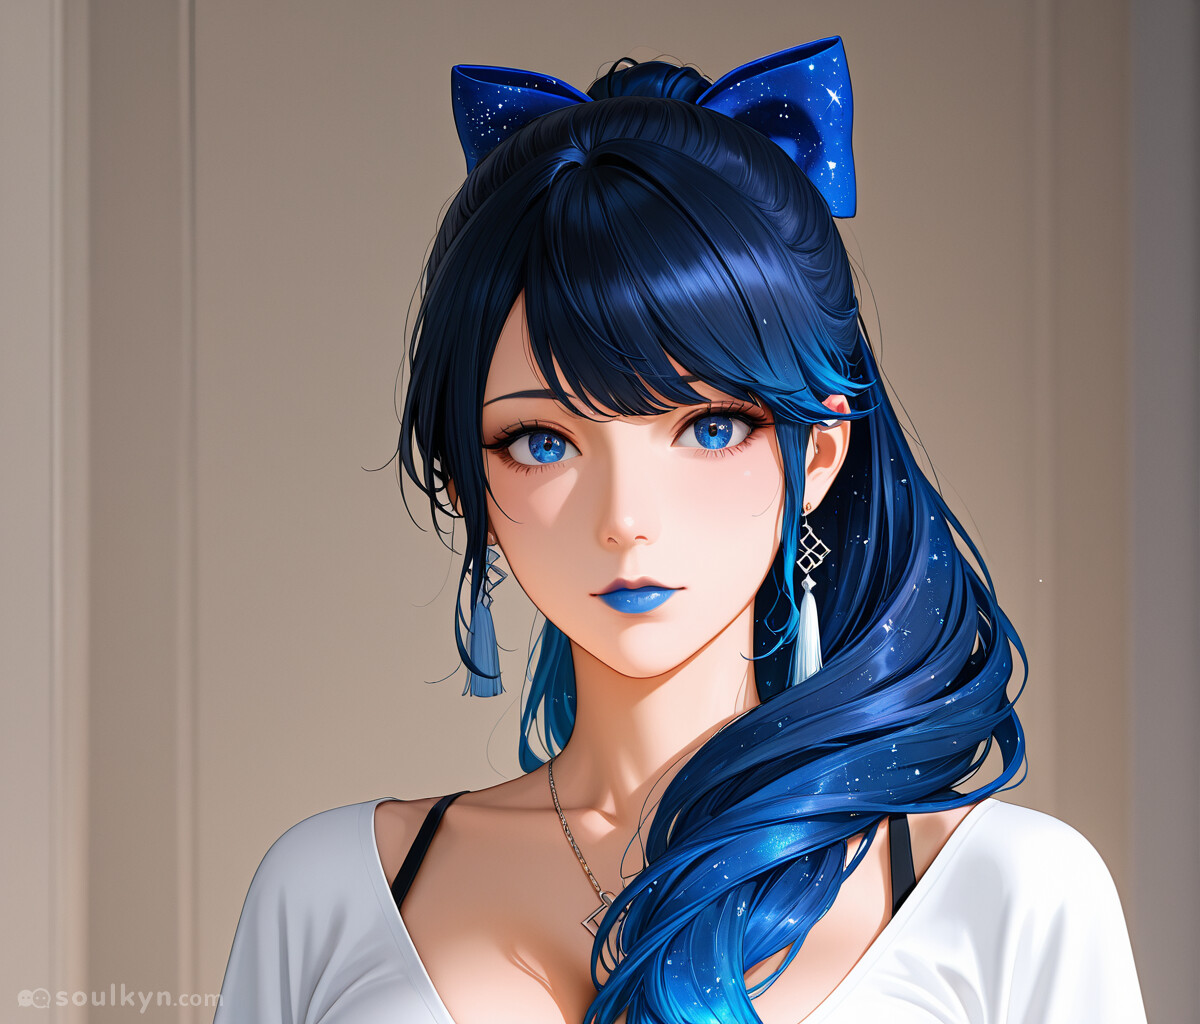
As you can clearly see the weights in physicals actively change how the style changes towards more realistic.
This honestly applies to anything you are doing with your kyn, be it sizes of body parts or etc.
Creating the Style
Now with the afromentioned knowledge we can start creating our first style prompts that will be saved as background presets.
Few styles we will be making right now:
- Old Anime Style
- Photorealistic
- Cinematic
- Epic
For this I will be using StarFuka with Anime-Hyper
We won’t be creating anything very intricate because this isn’t our goal. Our goal is to learn and it is best done with small steps.
Old Anime Style
What is the first thing that comes to mind when we say “old anime”. For me it is bold black lineart. The 1980s perfect black outline of the characters, the simple style, Flat colors etc. By now you might already be grasping what I mean when I mention those. They are a form of tags in themselves.
1980s_anime_style, Bold Lineart, Thick lineart, Flat colors, Simple_anime_style, classical anime style, old anime style, vector shading
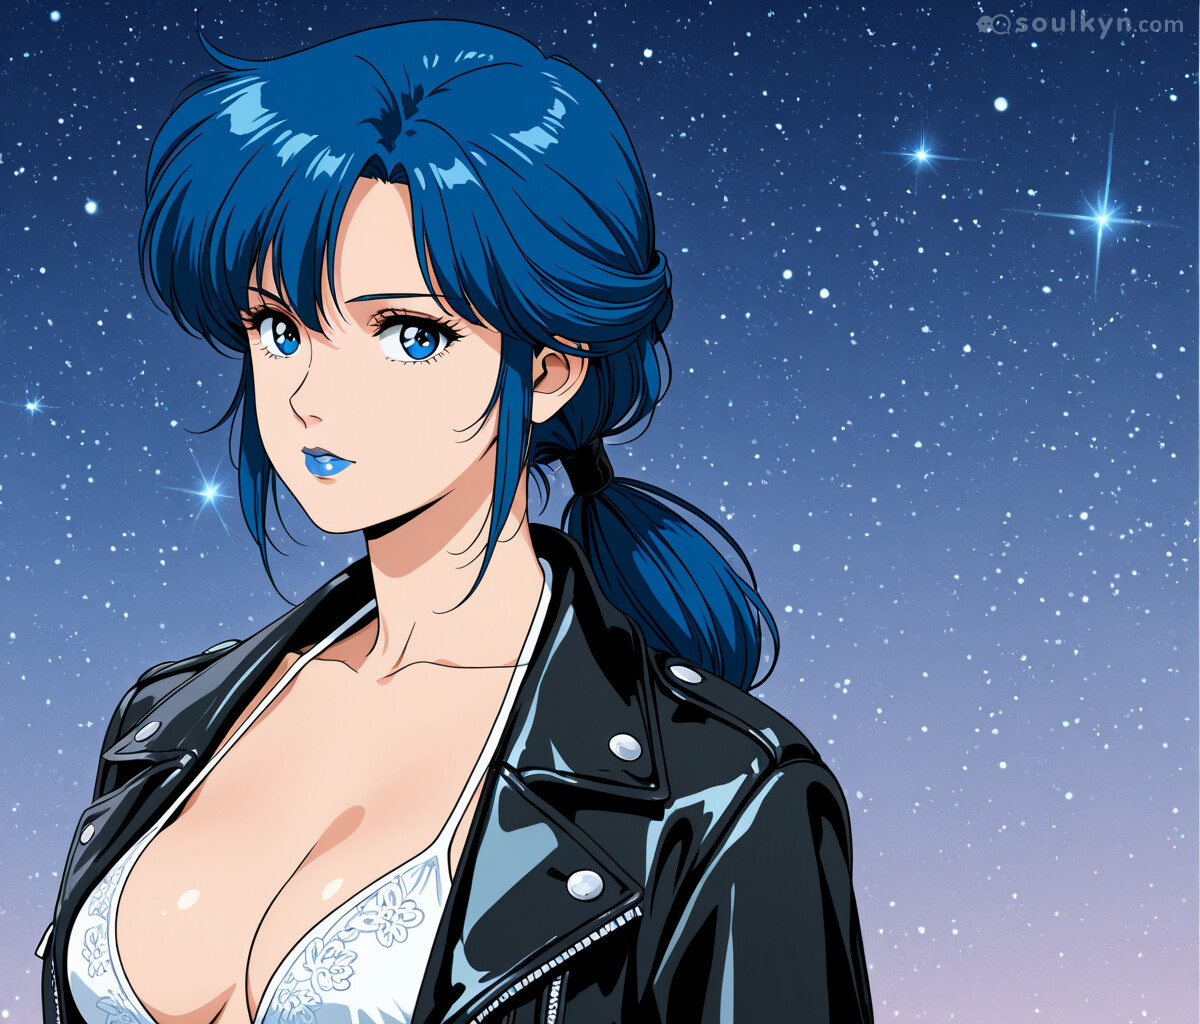
Now let us analyze what tags do what:
1980s_anime_style, Simple_anime_style, classical anime style, old anime style - Those tags are here to better tell AI what sort of anime style we want.
Bold / Thick Lineart - This describes what sort of lineart we want
Flat Colors - Flat colors are colors that don’t really blend, don’t have depth due to shading, light etc. They are flat.
Vector Shading - Vector shading is simple shading that is just a patch of darker color not blended with the rest of the image.
Photorealistic
What comes to mind when you hear Photorealism?
It is mostly realistic details. Realistic shading, realistic style, realistic hair, eyes and all of that. Let us describe it for the AI.
Realistic Hair, Realistic Eyes, Photorealistic Style :2, Very Detailed, Best, Realistic, Photorealistic Shading, Realistic Character Style, Photorealistic Anime Style, Realistic Shading :2, Realistic Shadows
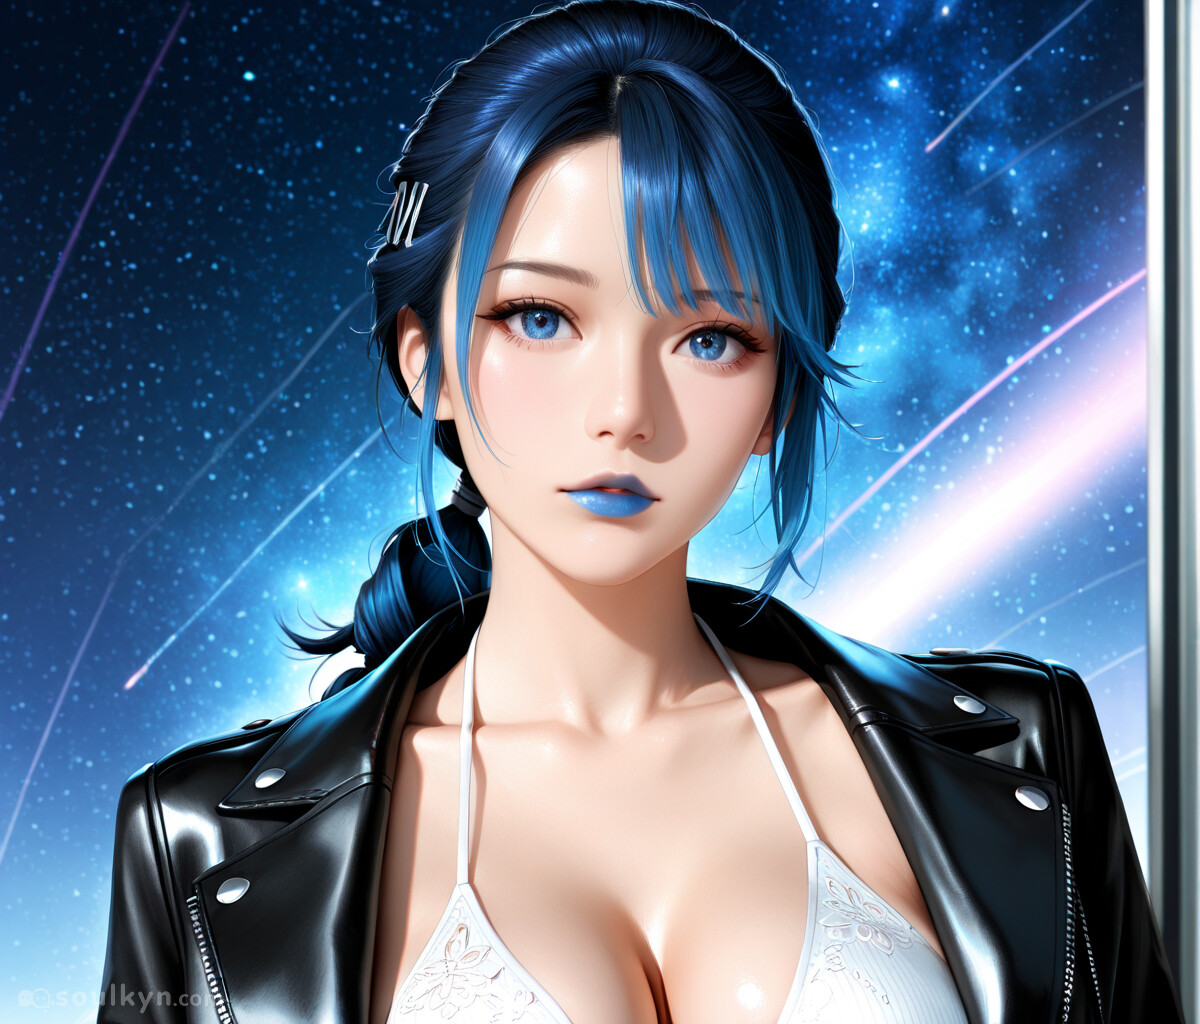
I think the tags for this one are self explanatory but:
Realistic/photorealistic XYZ - We want to tell AI which parts of the picture we want to be realistic. The more detailed description the better the result to a certain point.
Best/Detailed - We use this to reinforce the quality.
Cinematic
On the other hand this one is tricky. What do you imagine when you hear phrase “Cinematic shot”? For me it is lens flare, blurry background, sharp focus, bokeh, flying particles, basically all nine yards when it comes to “film and photography effects”
Depth of field, cinematic_lighting:2, sharp_focus, film_grain, volumetric_lighting, bokeh, lens_flare, highres
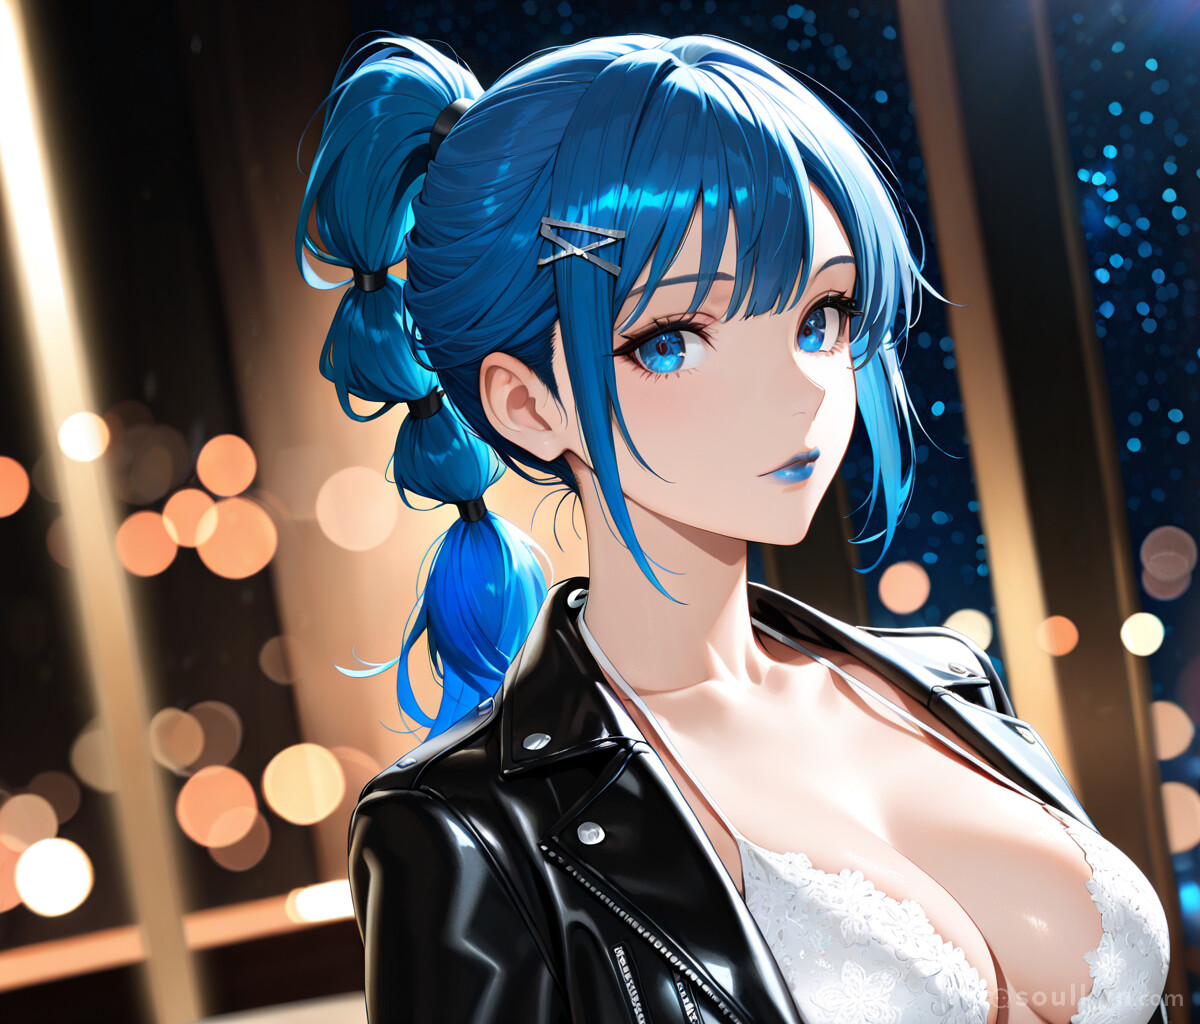
This one is a doozy so hang tight.
Depth of field - It is basically how certain objects in the background / foreground are blurry.
cinematic_lighting - It adds more dramatic shading to the image.
Film grain - A slight imperfection in the fidelity of the picture, not every model is able to do that.
Bokeh, lens_flare - The funny blurry flying dots in the background.
Epic
What the hell is “Epic” style. It is a grandiose style made for scenes. It is over dramatic and how I create pictures like those two
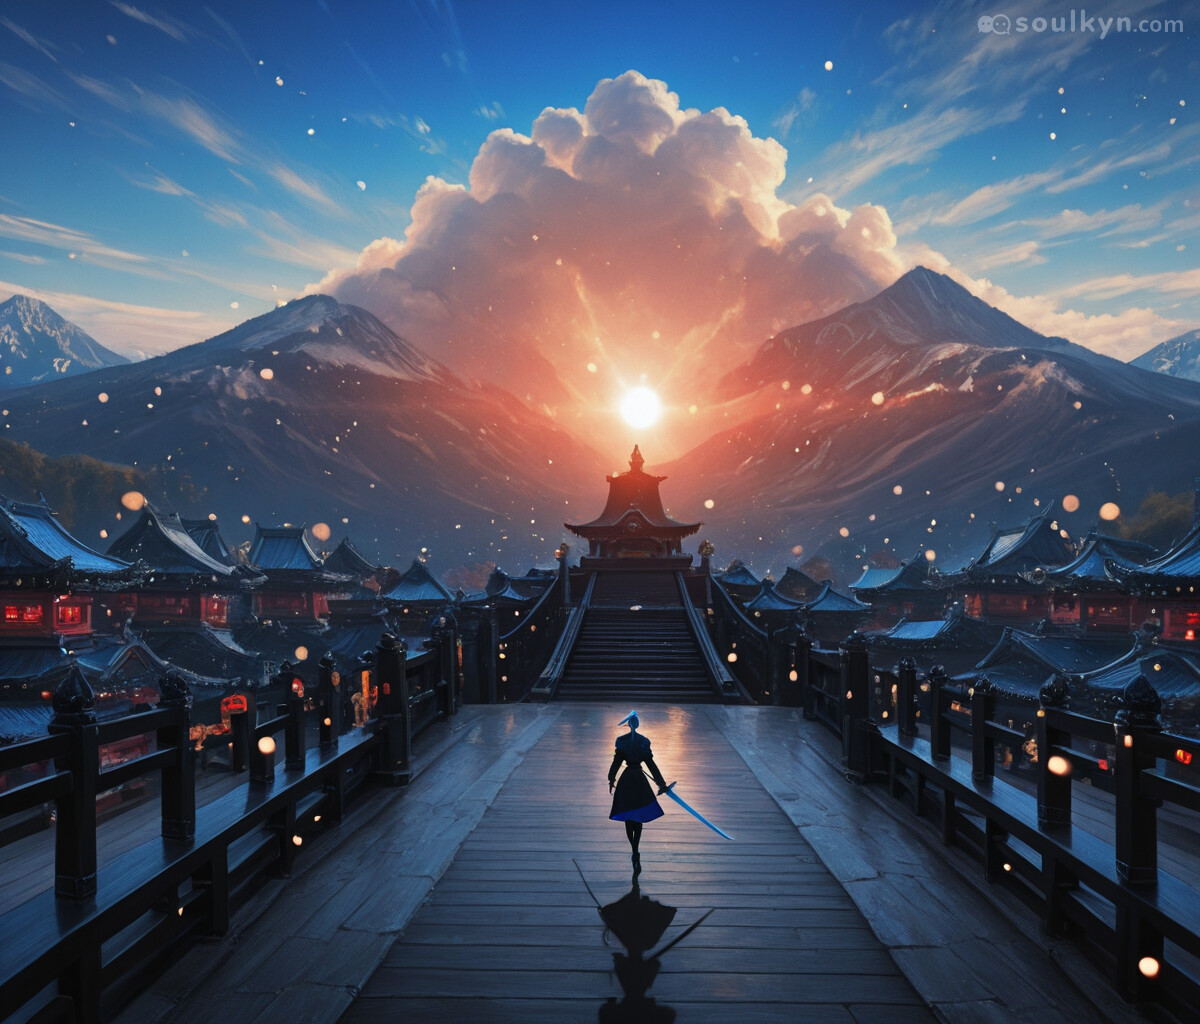
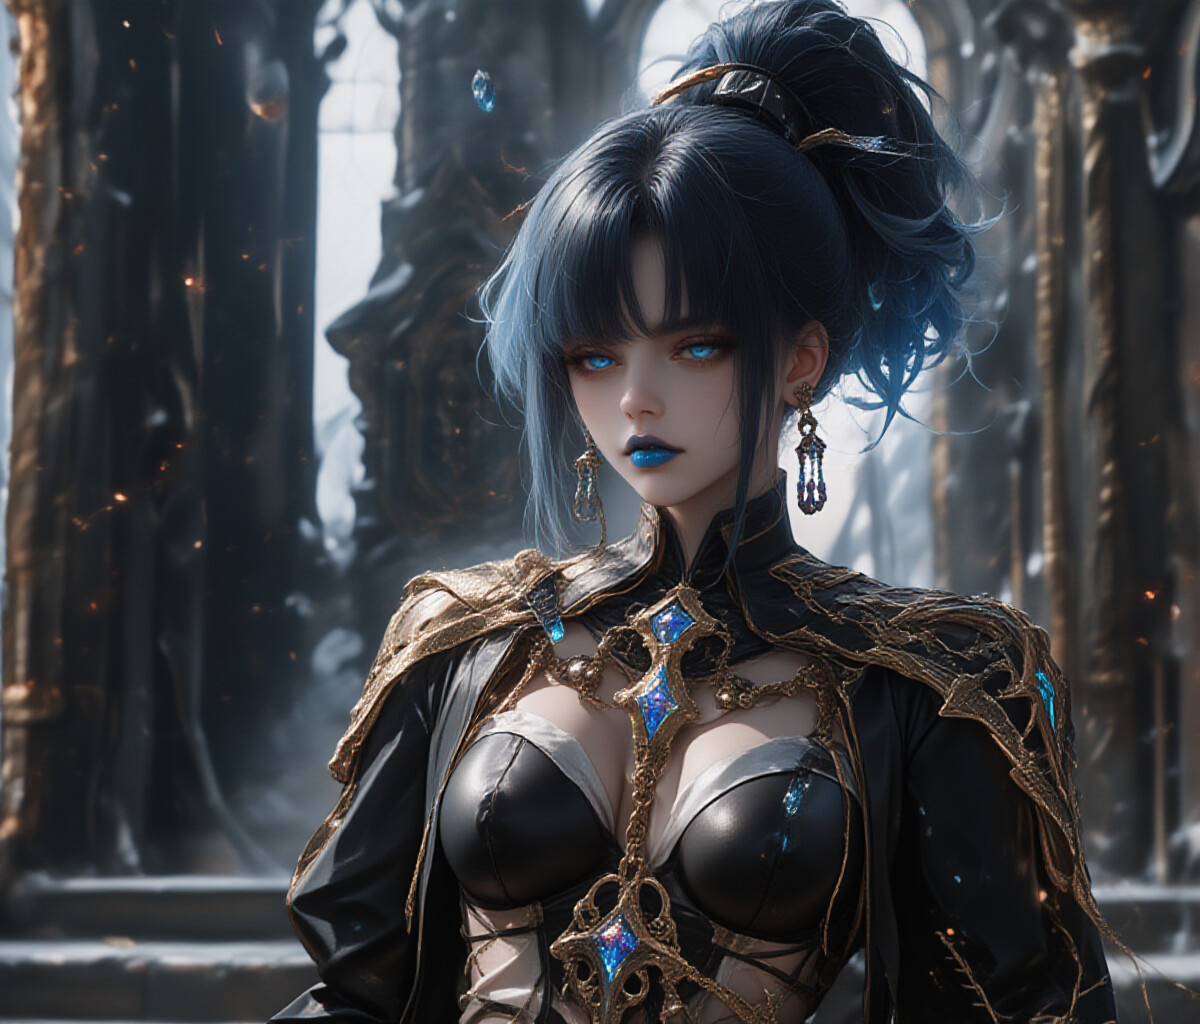
The full prompt for those is very long and intricate and so we won’t be going over it but we will talk about the general setup and now hold your breaths:
Epic:2, Epic_scene:2, very_dramtic:2, Epic_theme:2, dramatic_scene:2
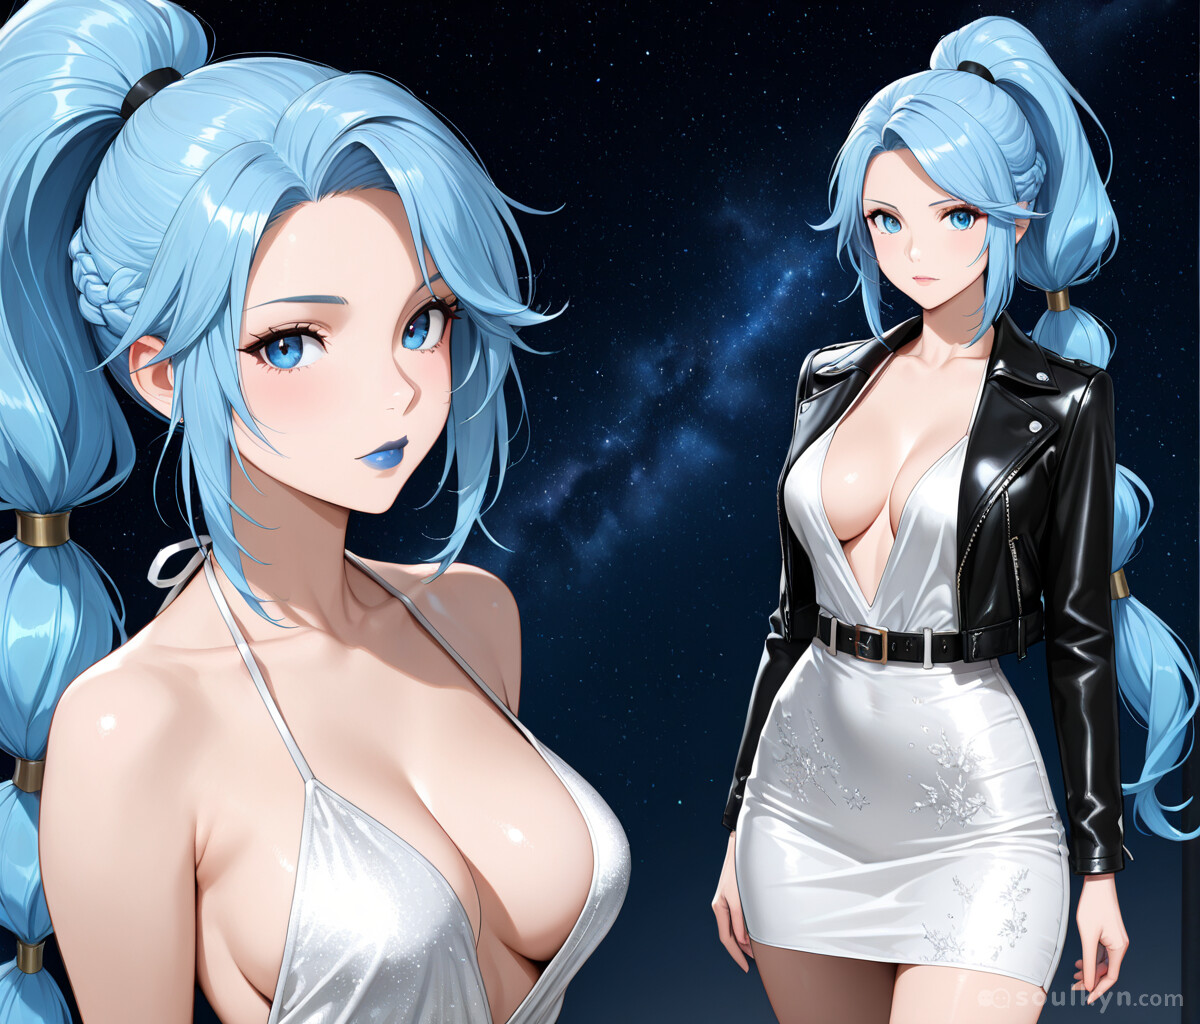
By itself you will get pointless slop.
Now modify it and add it not as a background preset but as an image prompt like this:
ADDBASE __MAIN_PERSONA__ (epic scene, epic, scene, Japanese theme)2 (epic)2 (best, masterpiece, no_lineart)+++,
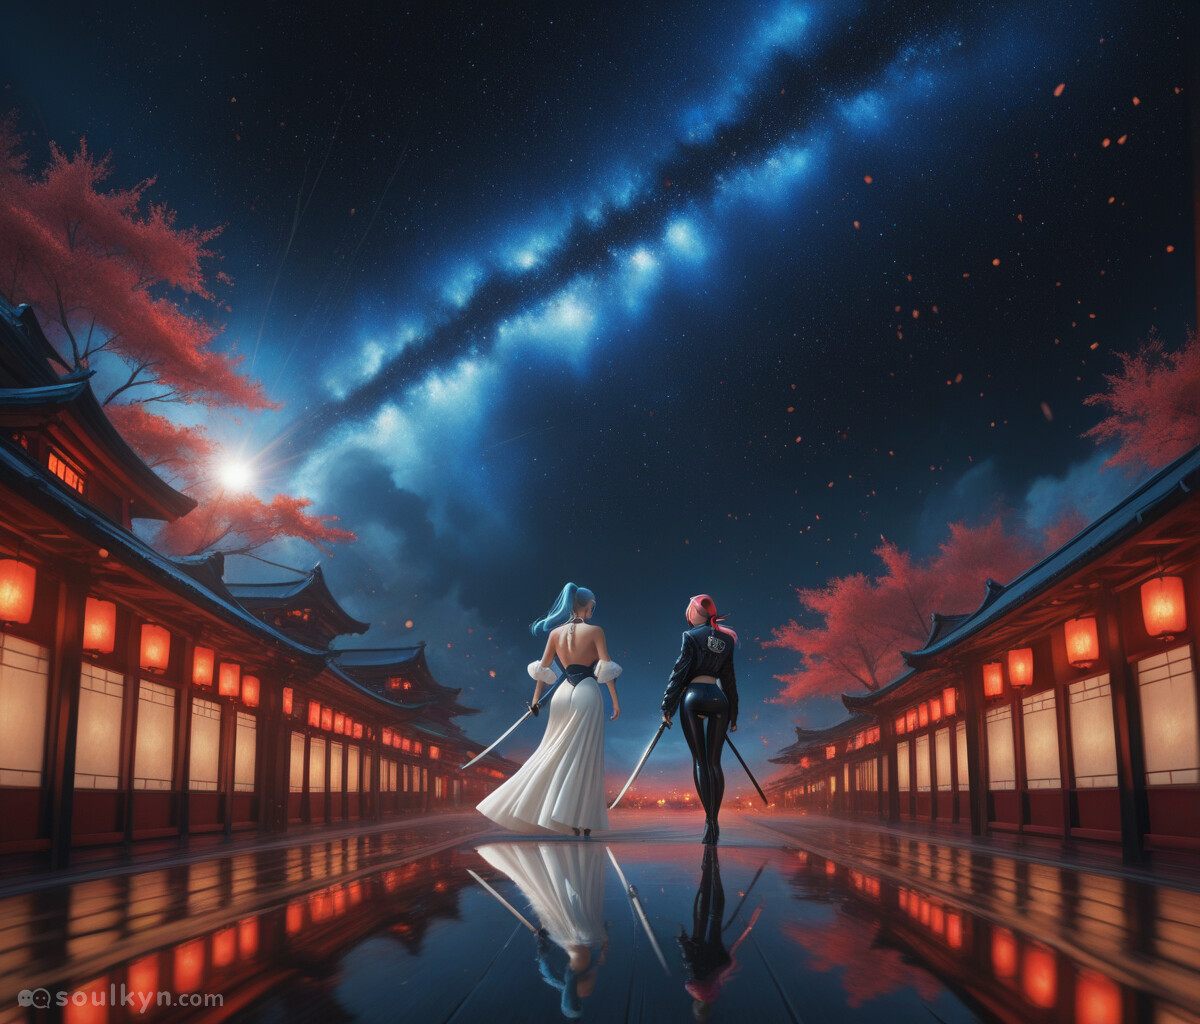
This is a result of a very simplified prompt on Anime-Alpha
To explain it we basically tell AI we want an extremely generic picture with added some flavor on top.
This is basically everything you need to know about creating your own styles. Go and experiment with different prompts and loras!
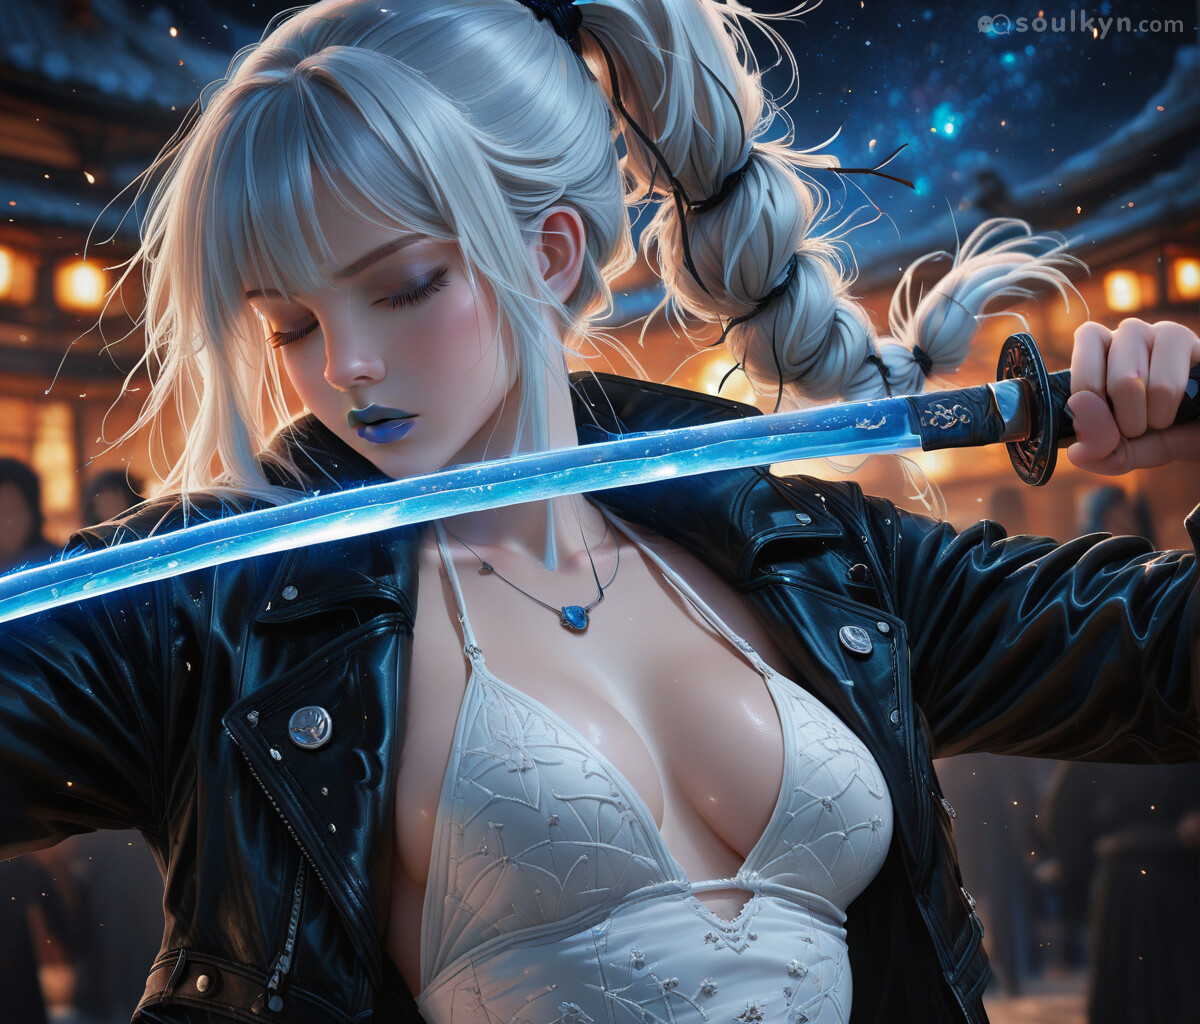
This is an example of the same prompt as above but with a few loras and my own custom style preset.
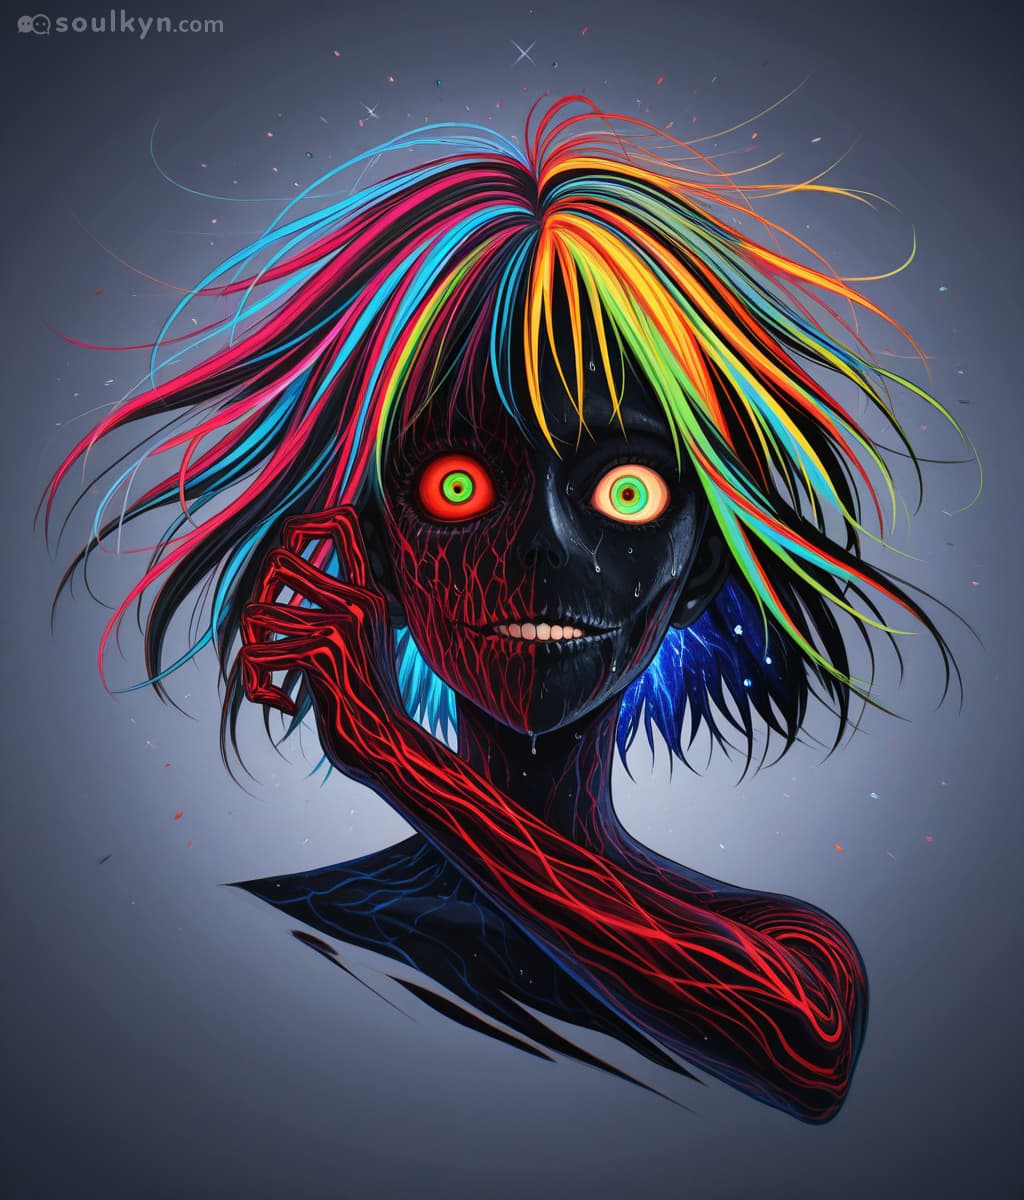
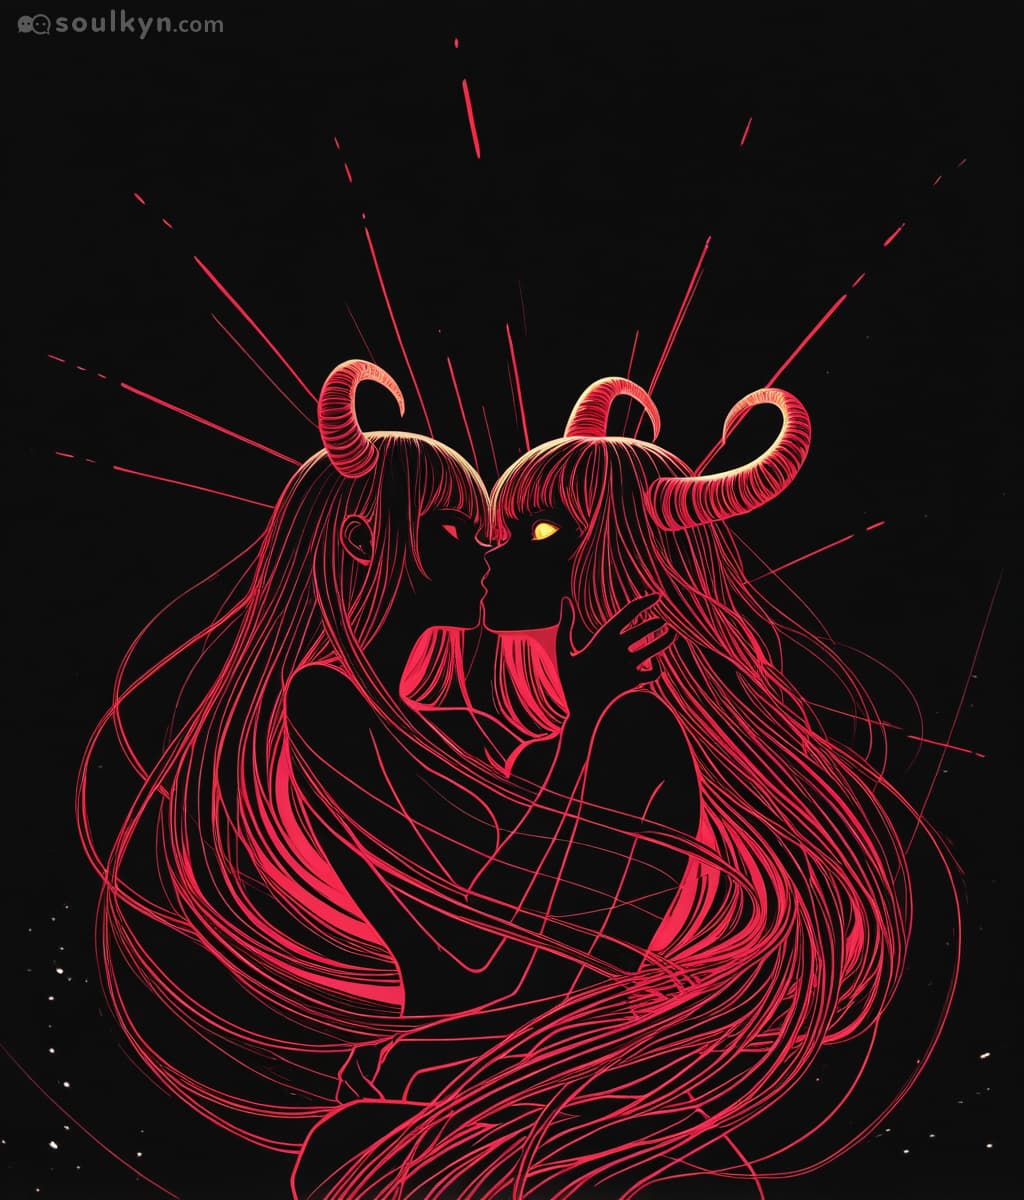
54 tags style example: Courtesy of @leahbettsisdead
| Physical | Clothes | Location | Prompt | Result |
|---|---|---|---|---|
| Horror And Macabre Elements, Atmospheric Perspective, Mythological And Barbarian Motifs, Flowing Drapery And Hair, Dramatic Chiaroscuro, Blended Realism And Exaggeration, Dramatic Use Of Contrast, Primal Energy And Savagery, Saturated Hues, Vibrant Color Palettes, Intense Emotional Expression, Romanticized Realism, Exaggerated Anatomy, Detailed Textures, Surreal And Dark Fantasy Themes, Foreshortening For Depth, Pulp Fiction Aesthetic, Epic Scale And Grandeur | Ray Tracing, Unreal Engine 5, Blender, Particle Effects, Chromatic Aberration, Volumetric Lighting, Global Illumination, Photorealistic Skin Textures, Glowing Wireframes, Surrealism, Octane Render, Metallic Shaders, Prismatic Refraction, 3D Render, Trending On Artstation | Pencil Sketch, Numerous Styles, Hand-Drawn, Messy Sketch, Ink Drawing, Sketch, Marker Art, Charcoal Sketch, Painted, Hentai Style, Anime Style, Scribbled, Inked, Black & White, Selective Color/Color Splash, Watercolor Art, Drawing | Speed Lines, Facial Blushes, Caricatures, Sparkling Effects, Sweat Drops, Detailed Costumes, Ecchi Fan Service, Pointy Chins, Symbolism In Eyes, Transformation Sequences, Cat-Like Mouths, Colorful Hair, Exaggerated Proportions, Large Expressive Eyes, Dynamic Hair Flow, Over-The-Top Poses | ===================== |
| Physical | Clothes | Location | Prompt | Result |
|---|---|---|---|---|
| Horror And Macabre Elements, Atmospheric Perspective, Mythological And Barbarian Motifs, Flowing Drapery And Hair, Dramatic Chiaroscuro, Blended Realism And Exaggeration, Dramatic Use Of Contrast, Primal Energy And Savagery, Saturated Hues, Vibrant Color Palettes, Intense Emotional Expression, Romanticized Realism, Exaggerated Anatomy, Detailed Textures, Surreal And Dark Fantasy Themes, Foreshortening For Depth, Pulp Fiction Aesthetic, Epic Scale And Grandeur | Ray Tracing, Unreal Engine 5, Blender, Particle Effects, Chromatic Aberration, Volumetric Lighting, Global Illumination, Photorealistic Skin Textures, Glowing Wireframes, Surrealism, Octane Render, Metallic Shaders, Prismatic Refraction, 3D Render, Trending On Artstation | Pencil Sketch, Numerous Styles, Hand-Drawn, Messy Sketch, Ink Drawing, Sketch, Marker Art, Charcoal Sketch, Painted, Hentai Style, Anime Style, Scribbled, Inked, Black & White, Selective Color/Color Splash, Watercolor Art, Drawing | looking afar,high quality,8k,from below,low contrast,default,art bloom,anime image,glowing outline,masterpiece,good quality,high contrast,creative masterpiece,black background,dramatic churrascaro,best quality,1girl,light particles,chromatic aberration,flat color,neon yellow,upper body,flowing hair,silhouette,limited palette,(spot color),goat horns, (newest-)++ (absurdres-) (soft–) (hentai–) , (upright_straddle)+++ (kissing)+++, (silhouette)+++ | =========================== |
HIGHLY IMPORTANT
When making your own custom styles remember to use not only sliders but also different presets both sfw and nsfw. They can drastically change the style of the picture